dinner ideas

How to Make Kare-Kare: A Flavorful Journey into Filipino Cuisine

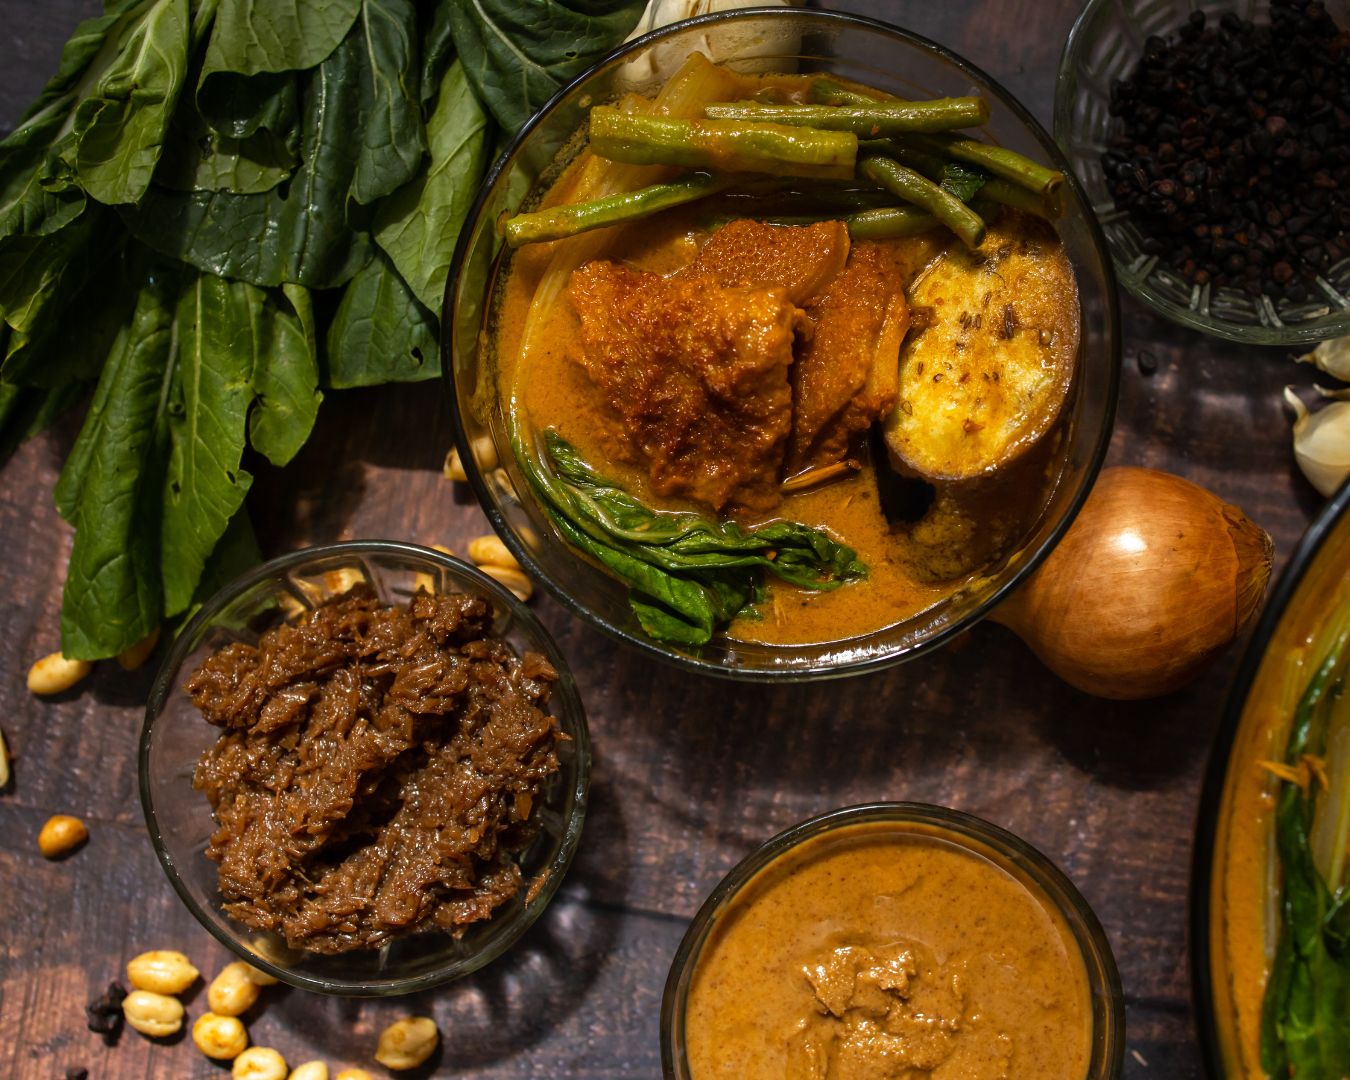
Kare-Kare, with its rich peanut sauce and tender meat, is a beloved dish in Filipino cuisine that embodies the warmth and comfort of home-cooked meals. While it may seem intimidating to recreate this iconic dish at home, with the right ingredients and techniques, anyone can master the art of making Kare-Kare. Embark on a flavorful journey into the heart of Filipino cooking and learn how to make Kare-Kare from scratch in your own kitchen. Ingredients: To make Kare-Kare, you will need: Instructions: 1. Prepare the Peanut Sauce: In a skillet, heat some cooking oil over medium heat. Add the ground peanuts and toast them until golden brown and aromatic. Remove the peanuts from the skillet and set aside. In the same skillet, add the rice flour and toast it until lightly browned. In a separate pot, combine the toasted peanuts, rice flour, annatto seeds, beef broth, chopped onion, and minced garlic. Bring the mixture to a boil, then reduce the heat and let it simmer for about 30 minutes, stirring occasionally. 2. Cook the Meat: In a separate pot, bring water to a boil and add the oxtail or beef tripe. Let it boil for about 5 minutes, then drain the water and rinse the meat under cold water. In the same pot, add fresh water and bring it to a boil again. Add the parboiled meat and simmer until tender, about 2 to 3 hours for oxtail or 1 to 2 hours for beef tripe. 3. Add the Vegetables: Once the meat is tender, add the assorted vegetables to the pot. Simmer until the vegetables are cooked through but still crisp-tender. 4. Combine and Season: Once the meat and vegetables are cooked, add the peanut sauce to the pot. Stir until well combined and let it simmer for a few more minutes to allow the flavors to meld together. Season the Kare-Kare with fish sauce or shrimp paste, salt, and pepper to taste. Adjust the seasoning according to your preference. 5. Serve and Enjoy: Transfer the Kare-Kare to a serving dish and garnish with chopped scallions and crushed peanuts. Serve the Kare-Kare hot with steamed rice and shrimp paste on the side for dipping. Enjoy this delicious and comforting Filipino dish with family and friends, and savor the flavors of Kare-Kare that evoke memories of home. Making Kare-Kare from scratch may require time and effort, but the end result is well worth it. With its rich and creamy peanut sauce, tender meat, and vibrant array of vegetables, Kare-Kare is a dish that embodies the heart and soul of Filipino cuisine. So, roll up your sleeves, gather your ingredients, and embark on a flavorful journey into the world of Kare-Kare—a dish that is sure to delight your taste buds and warm your soul.

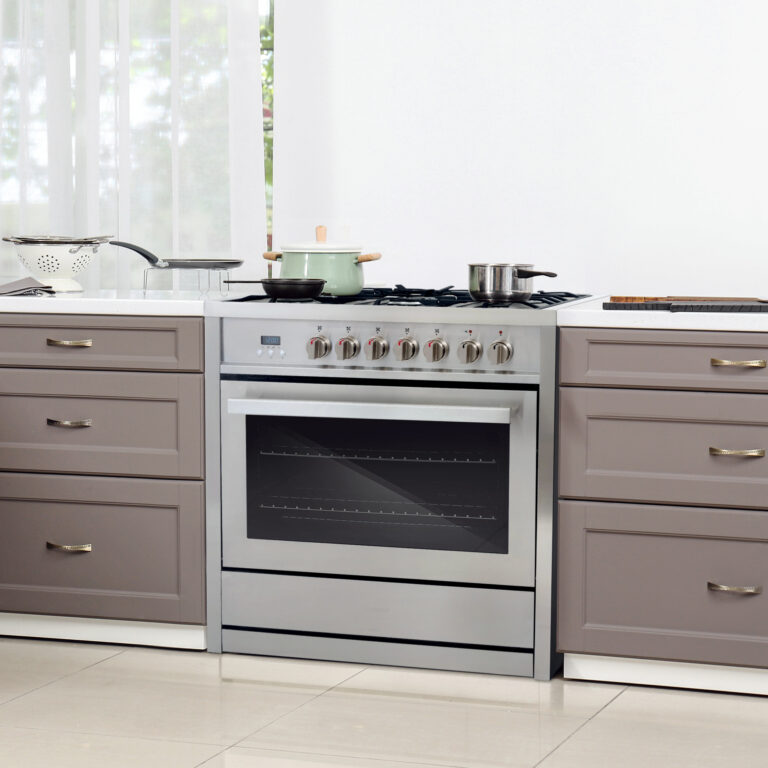
Safety First: Built-In Features That Make the COS-850SLTX-E a Family-Friendly Choice

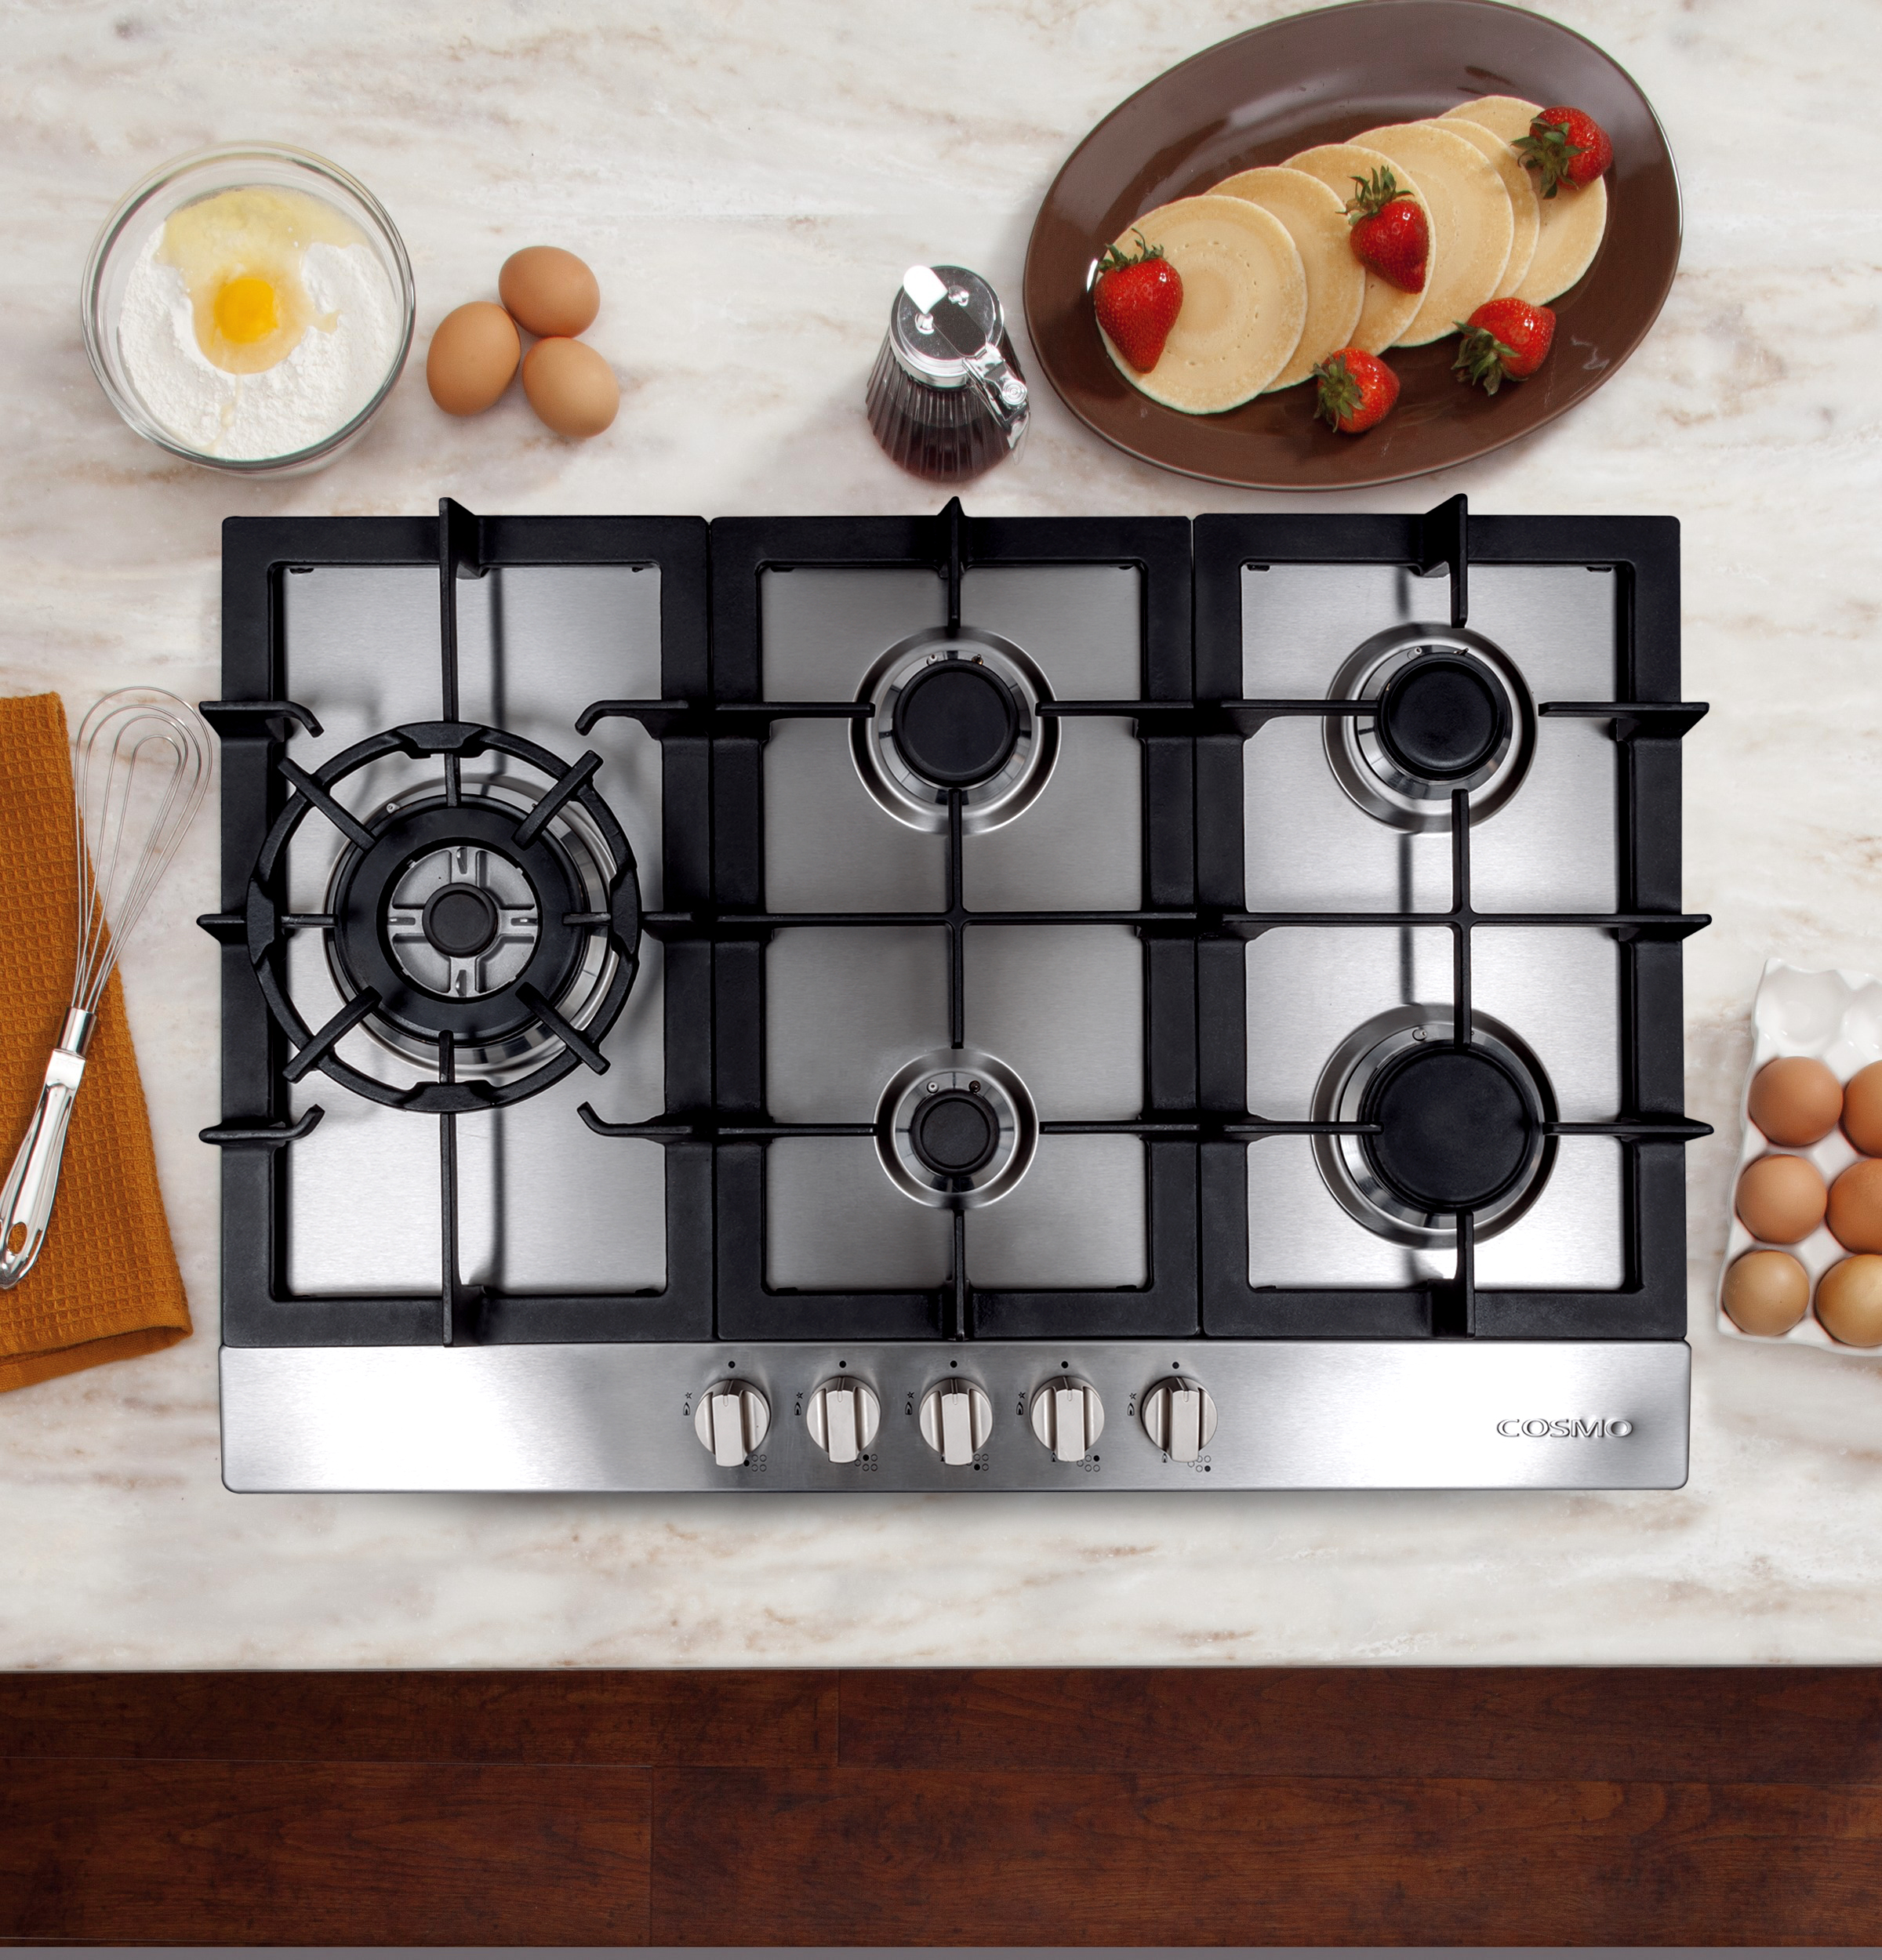
When it comes to kitchen appliances, safety is a top priority—especially for families. The COS-850SLTX-E 30″ Stainless Steel Gas Cooktop is designed with built-in safety features that provide peace of mind while delivering exceptional cooking performance. With a focus on protection, efficiency, and ease of use, this cooktop is an excellent choice for busy households. Enhanced Safety Features Designed for Everyday Convenience Why the COS-850SLTX-E is Ideal for Families Tips for Maximizing Safety in Your Kitchen The COS-850SLTX-E 30″ Gas Cooktop is built with family safety in mind, offering a combination of protective features, durable construction, and reliable performance. It’s the perfect addition to any modern kitchen looking for a balance of safety and style.

Master Chef in Your Own Kitchen: Unleashing the Power of the COS-GRP486G 48″ Gas Range

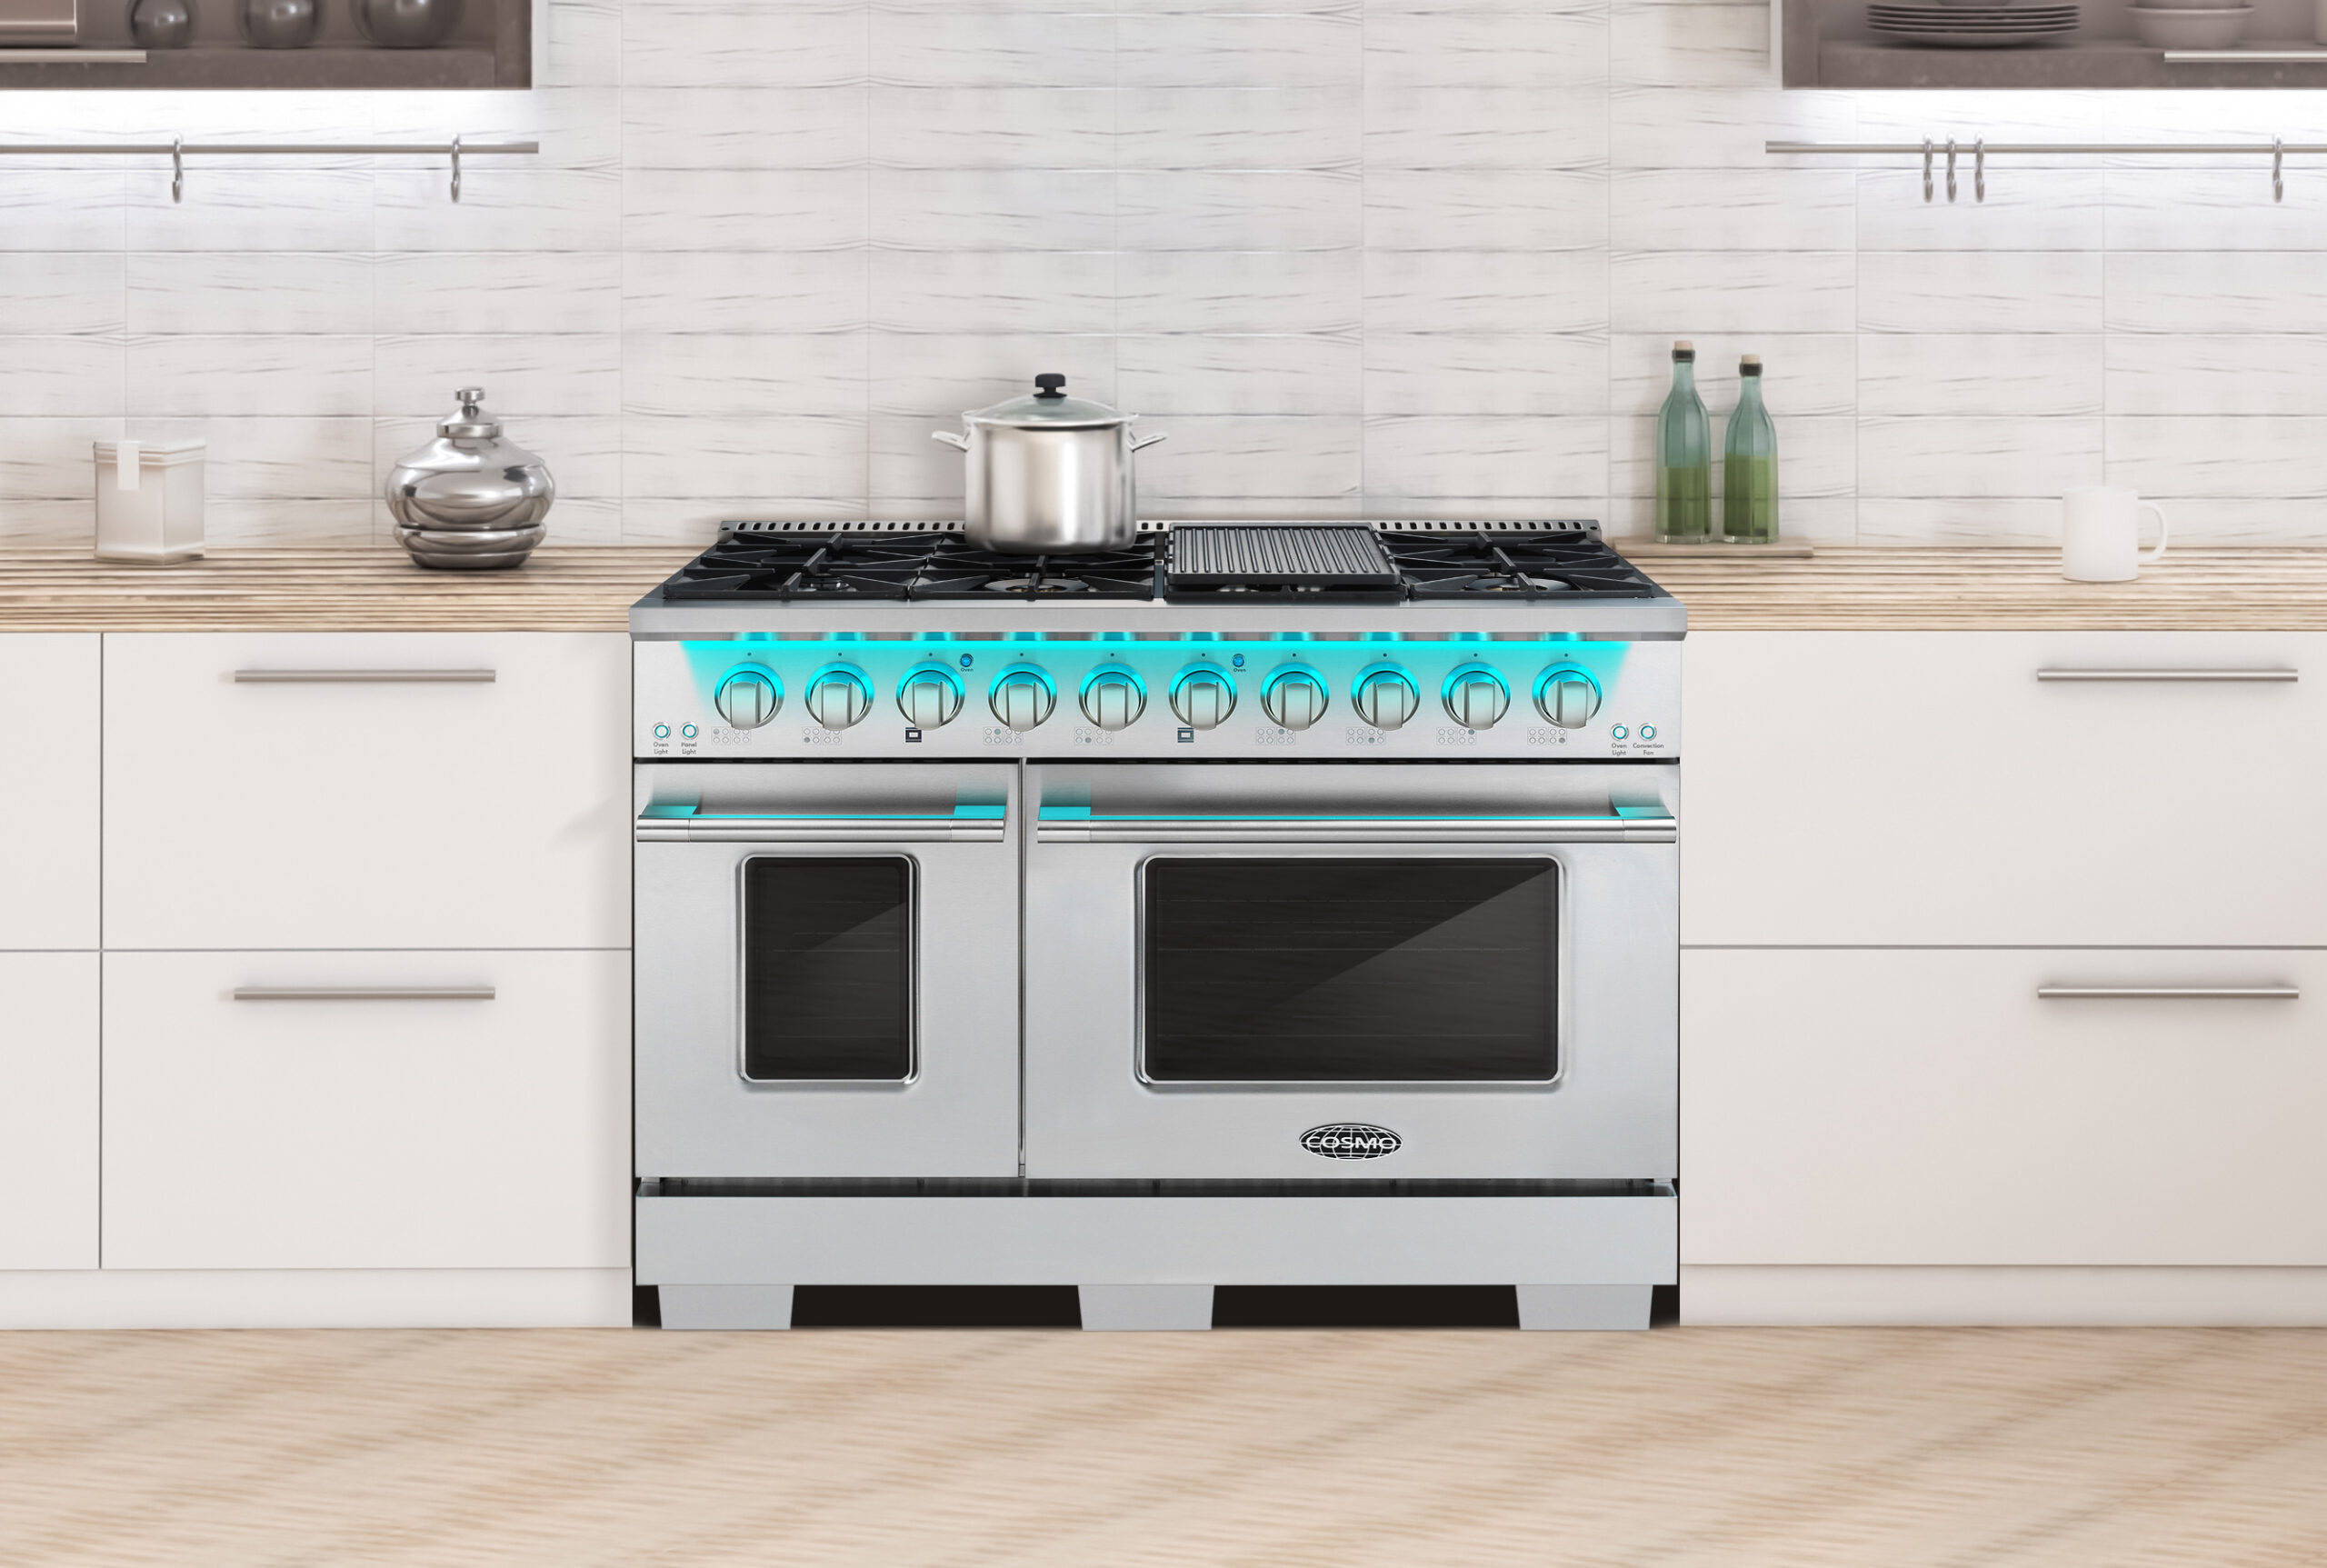
For home chefs who demand both power and precision, the COS-GRP486G 48″ Professional-Style Gas Range is a game-changer. Designed with high-performance cooking in mind, this gas range delivers the versatility and efficiency needed to take your culinary skills to the next level. Whether you’re preparing a simple weeknight meal or hosting a gourmet dinner party, this range is built to handle it all. Unmatched Cooking Power Spacious Oven Capacity Sleek and Professional Design Why the COS-GRP486G is a Must-Have for Serious Home Cooks Tips for Maintaining Peak Performance The COS-GRP486G 48″ Professional-Style Gas Range brings the efficiency and precision of a commercial kitchen into your home. With its high-performance burners, spacious oven capacity, and sleek design, this range is an essential addition for any serious home chef looking to master their craft.

The Fertility Diet: Boosting Reproductive Health and Increasing Your Chances of Conception

Embarking on the journey to parenthood can be both exciting and challenging. One crucial aspect that often gets overlooked is nutrition. A well-balanced diet designed to improve reproductive health can significantly increase your chances of conception. The fertility diet focuses on whole grains, healthy fats, plant-based proteins, and full-fat dairy. Here’s how you can integrate these key components into your daily meals to support your fertility journey. Whole Grains for Steady Energy and Hormone Balance Whole grains are rich in fiber, vitamins, and minerals, which are essential for maintaining steady blood sugar levels and hormonal balance. Unlike refined grains, whole grains provide sustained energy without causing rapid spikes in blood sugar, which can disrupt hormone function. Healthy Fats for Hormone Production Healthy fats are vital for the production of hormones, including those that regulate ovulation and reproduction. They also help reduce inflammation in the body, creating a more favorable environment for conception. Plant-Based Proteins for Reproductive Health Plant-based proteins are beneficial for reproductive health because they are low in unhealthy fats and high in essential nutrients and antioxidants. Replacing some animal proteins with plant-based options can improve ovulation and overall fertility. Full-Fat Dairy for Hormonal Support Full-fat dairy products contain beneficial fats that can help support hormone production and balance. Research has shown that women who consume full-fat dairy products may have a lower risk of infertility compared to those who consume low-fat or fat-free versions. Sample Meal Plan for a Day Breakfast: Lunch: Snack: Dinner: Dessert: Integrating whole grains, healthy fats, plant-based proteins, and full-fat dairy into your diet can significantly improve reproductive health and increase your chances of conception. By making these dietary adjustments, you’re not only supporting your fertility but also enhancing your overall health. Remember, a balanced diet is just one aspect of a healthy lifestyle, so be sure to combine these nutritional changes with regular exercise, adequate sleep, and stress management for the best results. Here’s to a healthy and successful journey to parenthood!

Proper Etiquette When Eating with Family

Dining with family is a cherished tradition that fosters connection and strengthens relationships. Practicing good etiquette during these meals not only shows respect but also enhances the dining experience for everyone. Here’s a guide to proper etiquette when eating with family. Be Punctual Prepare Properly Setting the Table Seating Arrangements Start with Gratitude Proper Table Manners Conversation Etiquette Respect Serving Sizes Handling Mistakes End of the Meal Additional Tips Practicing proper etiquette when eating with family enhances the dining experience and strengthens familial bonds. By being mindful of your manners and showing respect for others, you create a warm, welcoming atmosphere that everyone can enjoy. Embrace these etiquette tips, and you’ll contribute to making family meals a cherished and harmonious tradition.

Use a Kitchen Scale to Accurately Measure Ingredients for Baking

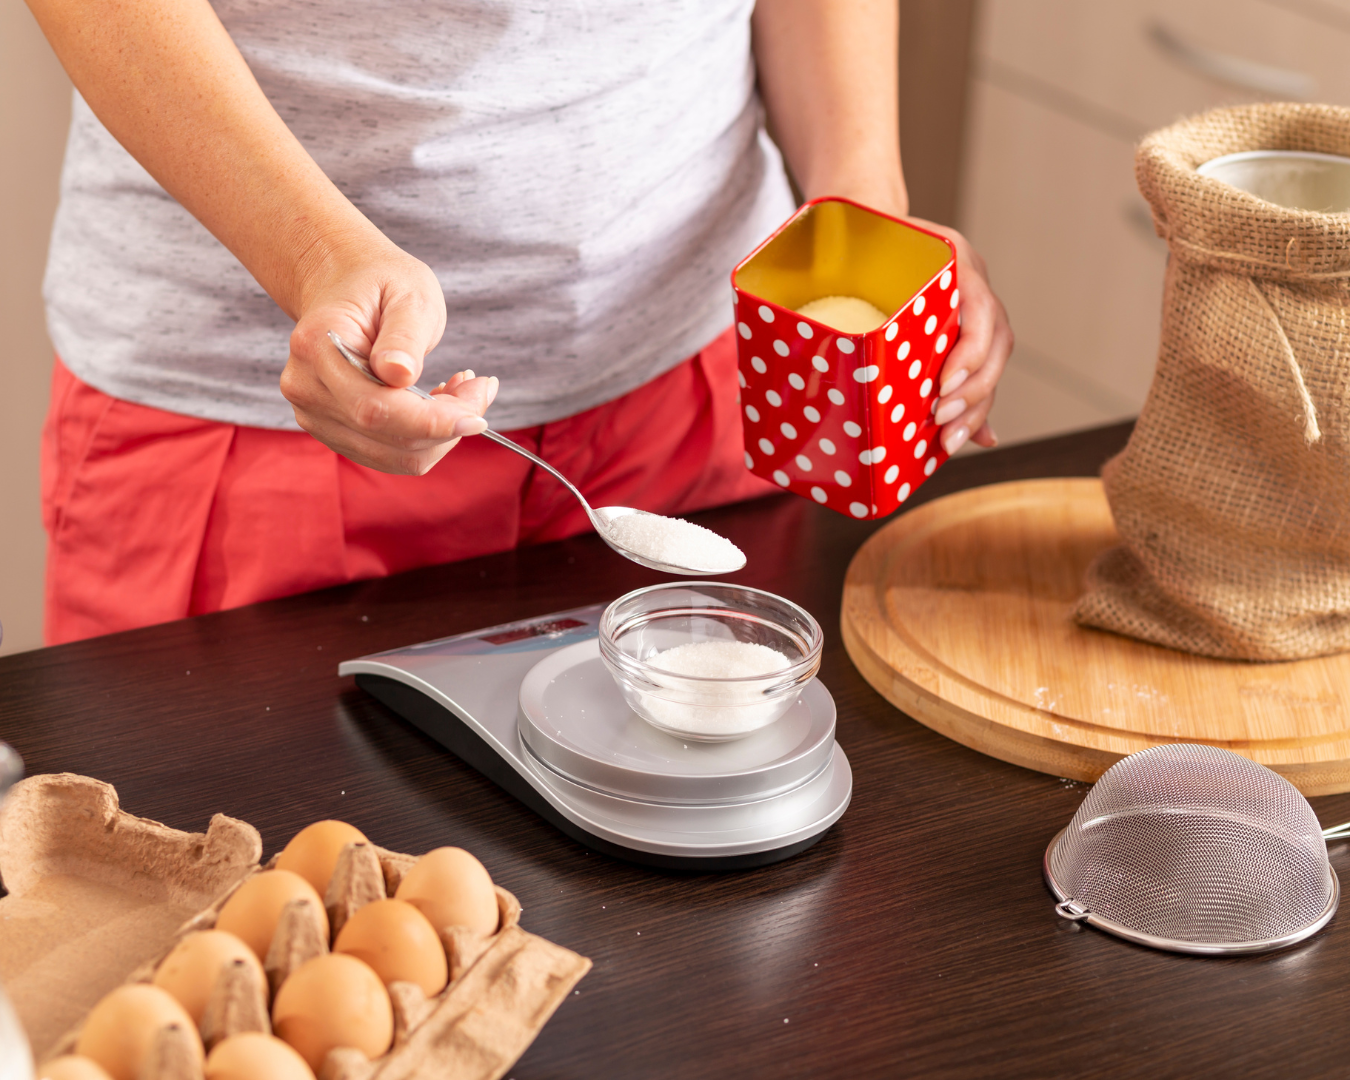
Baking is a science that requires precision. The accuracy of your measurements can make the difference between a perfectly risen cake and a dense, heavy flop. One of the best tools to ensure consistent, precise measurements is a kitchen scale. Here’s why you should use a kitchen scale for baking and how to get the most out of it. Why Use a Kitchen Scale? How to Use a Kitchen Scale for Baking Additional Tips for Baking with a Kitchen Scale Using a kitchen scale for baking is a game-changer. It brings precision, consistency, and efficiency to your baking process, ensuring that your cakes, cookies, and breads turn out perfectly every time. Invest in a good quality kitchen scale, and start enjoying the benefits of accurate measurements in your baking endeavors. Happy baking!

How to Clean and Maintain a Kitchen Island

A kitchen island serves as the heart of your kitchen, offering additional workspace, storage, and a place for family and friends to gather. To keep this central feature looking its best and functioning efficiently, regular cleaning and maintenance are essential. Here’s a comprehensive guide on how to clean and maintain your kitchen island, including tips for different countertop materials and organizing the area. Daily Cleaning Routine A clean kitchen island starts with daily maintenance: Weekly Deep Cleaning Once a week, give your kitchen island a more thorough cleaning: Caring for Different Countertop Materials Different countertop materials require specific care methods to maintain their appearance and longevity: Maintaining the Island’s Functionality Keeping your kitchen island organized enhances its functionality and aesthetic appeal: Protecting the Island Prevent damage and extend the life of your kitchen island with these protective measures: Seasonal Maintenance Every few months, take some time for additional maintenance: Regular cleaning and maintenance of your kitchen island not only keep it looking beautiful but also ensure it remains a functional and integral part of your kitchen. By following these tips and caring for the specific materials of your island, you can enjoy a pristine and organized kitchen island for years to come. Happy cleaning!

Cooking Tips and Tricks for Getting the Most Out of Your Wall Oven

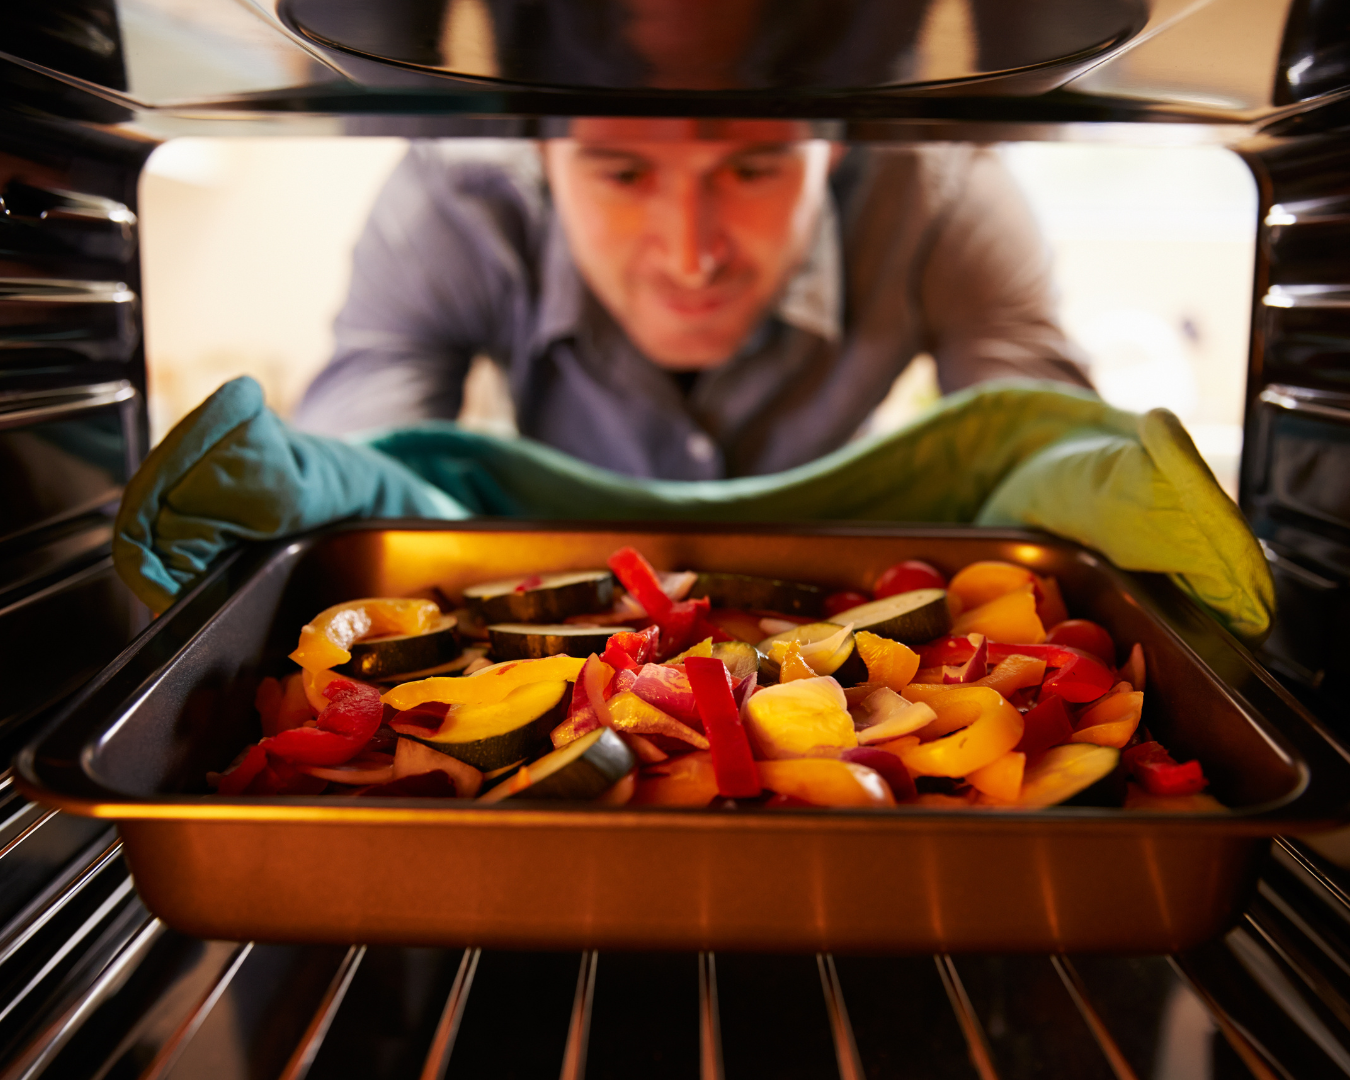
Wall ovens are a fantastic addition to any kitchen, offering flexibility and convenience. To ensure you get the most out of your wall oven, here are some essential cooking tips and tricks that will enhance your culinary experience. Understand Your Oven’s Features Modern wall ovens come equipped with a range of features. Familiarize yourself with settings such as convection, broil, and bake. Convection ovens, for example, use a fan to circulate hot air, cooking food more evenly and often more quickly than conventional ovens. Understanding these features can help you choose the right setting for your dishes. Preheat Properly Always allow your wall oven to preheat fully before placing your food inside. This ensures that the oven reaches the correct temperature, providing consistent cooking results. Most recipes account for this preheating time, so skipping this step can lead to unevenly cooked meals. Use the Right Racks The placement of your oven racks can significantly affect cooking outcomes. For baking, place the rack in the center of the oven to allow even heat distribution. For roasting, positioning the rack lower in the oven can help achieve a perfect golden-brown finish. Invest in Quality Cookware The type of cookware you use can impact your cooking results. Heavy, high-quality baking sheets and roasting pans distribute heat more evenly. Consider using ceramic or glass dishes for casseroles, as they retain heat well, ensuring your food cooks thoroughly. Utilize Convection Settings If your wall oven has a convection setting, use it to your advantage. Convection is excellent for roasting vegetables, baking pastries, and even cooking meats, as it ensures even heat distribution and can reduce cooking times. Just remember to reduce the recipe’s temperature by about 25 degrees Fahrenheit when using convection. Rotate Pans for Even Cooking Even with the best ovens, hot spots can occur. To combat this, rotate your pans halfway through the cooking process. This simple step can help ensure your food cooks evenly, preventing one side from becoming overdone while the other remains undercooked. Keep the Oven Door Closed Resist the urge to frequently open the oven door while cooking. Each time you open the door, heat escapes, which can affect the cooking time and temperature. Use the oven light and window to check on your food instead. Clean Your Oven Regularly A clean oven performs better. Regular cleaning prevents the buildup of grease and food particles that can cause smoke and affect the taste of your food. Follow your oven’s manual for the best cleaning practices, and consider using natural cleaning solutions to avoid harsh chemicals. Use an Oven Thermometer Oven temperature can vary from what the dial reads. An oven thermometer placed inside the oven can help you monitor and maintain the correct temperature, ensuring your dishes are cooked to perfection. Experiment with Broiling Broiling uses high heat from the top of the oven to quickly cook food. It’s perfect for achieving a crispy crust on meats or a golden-brown finish on casseroles and gratins. Keep a close eye on your food when broiling to prevent burning. Embrace Slow Cooking and Proofing Some wall ovens come with settings for slow cooking and proofing dough. These features can be incredibly convenient for busy schedules and for achieving perfect bread rises. Take advantage of these settings to expand your cooking repertoire. Utilize the Warming Drawer If your wall oven includes a warming drawer, use it to keep dishes warm until you’re ready to serve. This is especially useful when preparing multiple courses or entertaining guests. Keep a Baking Stone in the Oven A baking stone can help regulate your oven’s temperature and provide a consistent heat source. Leave the stone in the oven while baking bread or pizza to achieve a crispy crust. With these tips and tricks, you can maximize the potential of your wall oven and elevate your cooking skills. Whether you’re baking, roasting, or broiling, understanding how to use your oven’s features and maintaining it properly will ensure delicious and perfectly cooked meals every time. Happy cooking!

Pineapple Mango Salsa Recipe

Pineapple mango salsa is a vibrant and delicious condiment that adds a burst of tropical flavor to any dish. Whether you’re serving it with grilled fish, chicken, or as a topping for tacos, this salsa is sure to impress your guests and elevate your meals. The combination of sweet pineapple, juicy mango, and zesty lime creates a refreshing taste that’s perfect for summer gatherings or any time you want to add a bit of sunshine to your plate. Ingredients: Procedure: Step 1: Prepare the Ingredients Step 2: Combine the Ingredients Step 3: Mix and Chill Serving Suggestions: Pineapple mango salsa is a quick and easy recipe that brings a taste of the tropics to your table. Its refreshing and vibrant flavors make it a perfect accompaniment to a wide range of dishes. With fresh fruits and simple ingredients, you can create a delicious salsa that will impress your family and friends. Give this recipe a try and add a touch of sunshine to your meals!

How to Ferment Vegetables at Home: A Beginner’s Guide

Fermenting vegetables at home is a delightful and rewarding process that not only enhances the flavor of your food but also boosts its nutritional value. Rich in probiotics, fermented vegetables support gut health and can add a tangy zest to your meals. This beginner’s guide will walk you through the basics of vegetable fermentation, ensuring you achieve delicious results every time. What is Fermentation? Fermentation is a natural process where microorganisms like bacteria and yeast convert sugars and starches into alcohol or acids. In the case of vegetable fermentation, beneficial bacteria, primarily lactobacilli, convert sugars into lactic acid, which acts as a preservative and gives fermented foods their distinctive sour taste. Benefits of Fermented Vegetables Before you begin, gather the necessary equipment: Step-by-Step Guide to Fermenting Vegetables Step 1: Choose and Prepare Your Vegetables Select fresh, organic vegetables. Popular choices include: Wash the vegetables thoroughly to remove any dirt or pesticides. Cut them into desired shapes and sizes, keeping in mind that smaller pieces ferment faster. Step 2: Create the Brine The brine is a saltwater solution that helps create the ideal environment for fermentation. The basic ratio is 1-3 tablespoons of salt per quart (liter) of water. Dissolve the salt in water, ensuring it’s fully mixed. Step 3: Pack the Vegetables Pack the vegetables tightly into your fermentation vessel, leaving about 1-2 inches (2.5-5 cm) of headspace at the top. Pour the brine over the vegetables until they are completely submerged. Use weights to keep the vegetables below the brine to prevent mold growth. Step 4: Cover and Ferment Cover the jar with a cloth secured with a rubber band to allow gases to escape while keeping contaminants out. Place the jar in a cool, dark place, such as a pantry or cupboard, at a temperature between 60-75°F (15-24°C). Step 5: Monitor and Taste Fermentation times can vary depending on the vegetables and the temperature. Start tasting your vegetables after a few days. They are usually ready in 1-4 weeks. The longer they ferment, the tangier they become. When they reach your desired flavor, move them to the refrigerator to slow down the fermentation process. Tips for Successful Fermentation Delicious Ways to Enjoy Fermented Vegetables Fermenting vegetables at home is a simple and rewarding process that can boost the flavor and nutritional value of your meals. With just a few basic ingredients and some patience, you can create delicious, probiotic-rich vegetables that will benefit your health and delight your taste buds. So, gather your supplies, choose your favorite vegetables, and start fermenting your way to a healthier, tastier kitchen!