How to Clean Fish and Remove Scales: A Step-by-Step Guide
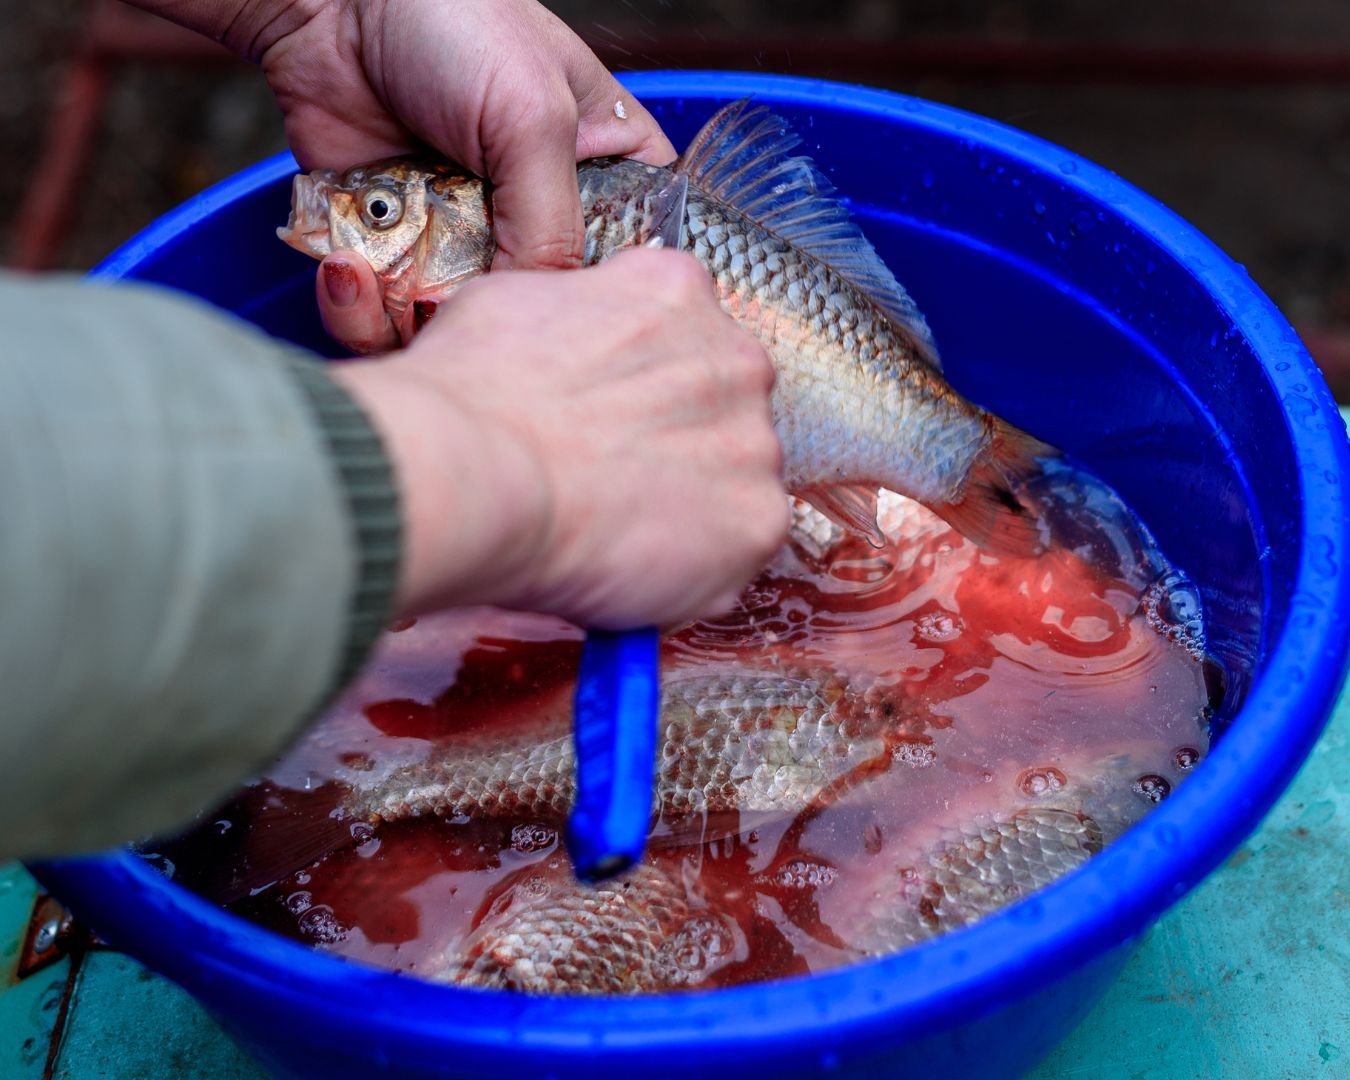
Cleaning fish and removing scales can be a bit daunting if you’re new to it, but with the right techniques and tools, you can make the process smooth and efficient. Whether you’re preparing a fresh catch or store-bought fish, properly cleaning and scaling your fish is essential for ensuring a delicious and enjoyable meal. Here’s a step-by-step guide to help you clean fish and remove scales with ease. Tools You’ll Need: Step 1: Prepare Your Workspace Start by setting up your workspace. Place a cutting board on a stable surface and have your tools ready. If you’re cleaning a large number of fish, you might want to use a bowl or basin to catch any debris and water. Step 2: Rinse the Fish Rinse the fish under cold running water to remove any surface dirt and slime. Pat the fish dry with paper towels to make it easier to handle. Step 3: Remove the Scales Step 4: Gut the Fish Step 5: Clean the Fish Step 6: Store or Cook the Fish If you’re not cooking the fish immediately, store it in the refrigerator on a plate or in a container, covered with plastic wrap or aluminum foil. For longer storage, you can freeze the fish. Wrap it tightly in plastic wrap or place it in a vacuum-sealed bag to prevent freezer burn. Cleaning and scaling fish may seem like a daunting task, but with the right approach, it can become a quick and manageable part of your cooking routine. By following these steps—rinsing the fish, removing scales, gutting, and cleaning—you’ll ensure that your fish is ready for a delicious meal. With a bit of practice, you’ll be able to clean fish like a pro, making your seafood preparations both efficient and enjoyable.