Simplify Your Baking Cleanup: Use a Silicone Baking Mat or Parchment Paper
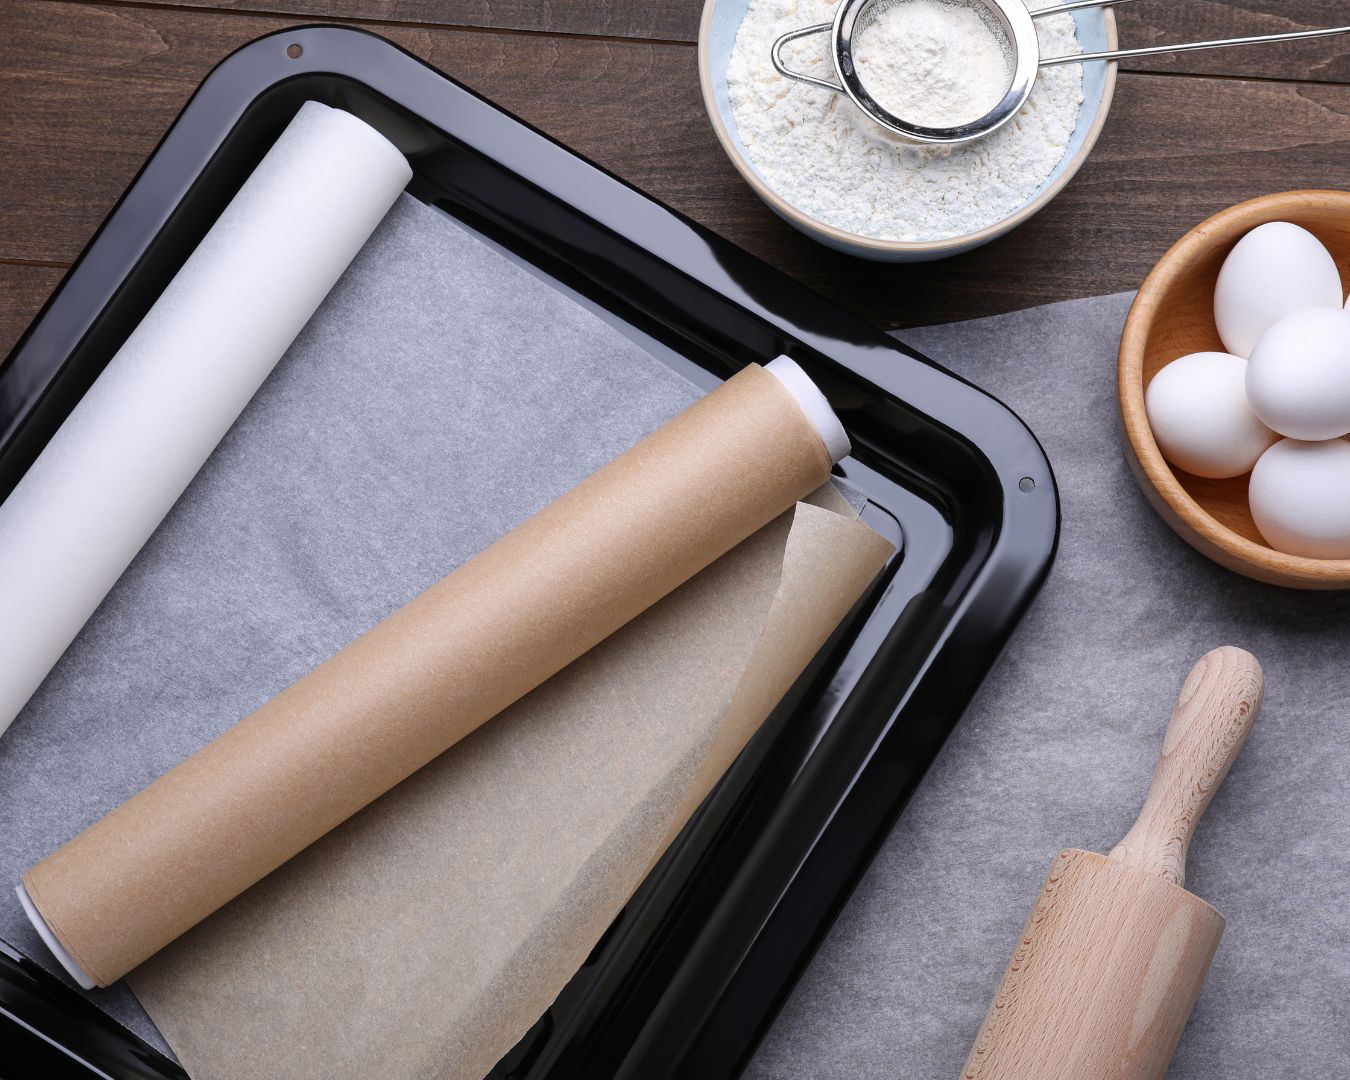
Baking is a beloved kitchen activity, bringing joy with every batch of cookies, cakes, and pastries. However, the aftermath can be less enjoyable when you’re left scrubbing stuck-on residue from your baking sheets. Fortunately, there’s a simple solution to this common problem: using silicone baking mats or parchment paper. These kitchen tools not only ensure a mess-free cleanup but also improve your baking results. Here’s why and how you should incorporate them into your baking routine. Benefits of Using Silicone Baking Mats 1. Easy Cleanup Silicone baking mats create a non-stick surface, preventing your baked goods from sticking to the pan. This means no more scrubbing off burnt bits or dealing with stuck-on dough. After baking, simply wipe the mat clean or pop it in the dishwasher. 2. Reusable and Eco-Friendly Unlike single-use parchment paper, silicone mats are reusable. This makes them an environmentally friendly option that reduces waste. A quality silicone mat can last for years, making it a worthwhile investment for any kitchen. 3. Even Heat Distribution Silicone baking mats promote even heat distribution, ensuring that your cookies, pastries, and other baked goods cook uniformly. This can result in better texture and flavor, with perfectly baked bottoms every time. 4. Versatility These mats are incredibly versatile. Besides baking, they can be used for rolling out dough, making candy, and even as a non-stick surface for kneading bread. Benefits of Using Parchment Paper 1. Convenience and Easy Cleanup Parchment paper provides a non-stick surface that makes transferring baked goods from the pan to a cooling rack a breeze. Once you’re done, you can simply toss the paper, leaving your baking sheet clean and ready for the next batch. 2. Prevents Sticking and Burning Parchment paper helps prevent delicate baked goods from sticking or burning on the bottom. It’s particularly useful for baking cookies, as it promotes even baking and easy removal from the pan. 3. Versatile Uses In addition to lining baking sheets, parchment paper can be used for a variety of kitchen tasks. It’s perfect for creating parchment packets for cooking fish or vegetables, and it can even be used to line cake pans for easy removal. 4. Heat Resistant Parchment paper is heat resistant and can be used in ovens up to high temperatures. This makes it ideal for a range of baking needs, from cookies to roasted vegetables. How to Use Silicone Baking Mats How to Use Parchment Paper Incorporating silicone baking mats or parchment paper into your baking routine can significantly reduce cleanup time and improve your baking results. These tools offer a convenient, non-stick surface that ensures even baking and easy removal of your baked goods. Whether you prefer the reusable nature of silicone mats or the versatility of parchment paper, both options are fantastic for any home baker looking to make their kitchen time more enjoyable and efficient. Say goodbye to scrubbing and scraping, and embrace a cleaner, easier baking experience. Your future self will thank you!