Your Air Fryer Is the Most Useful Appliance You Own in Summer | Here’s Why
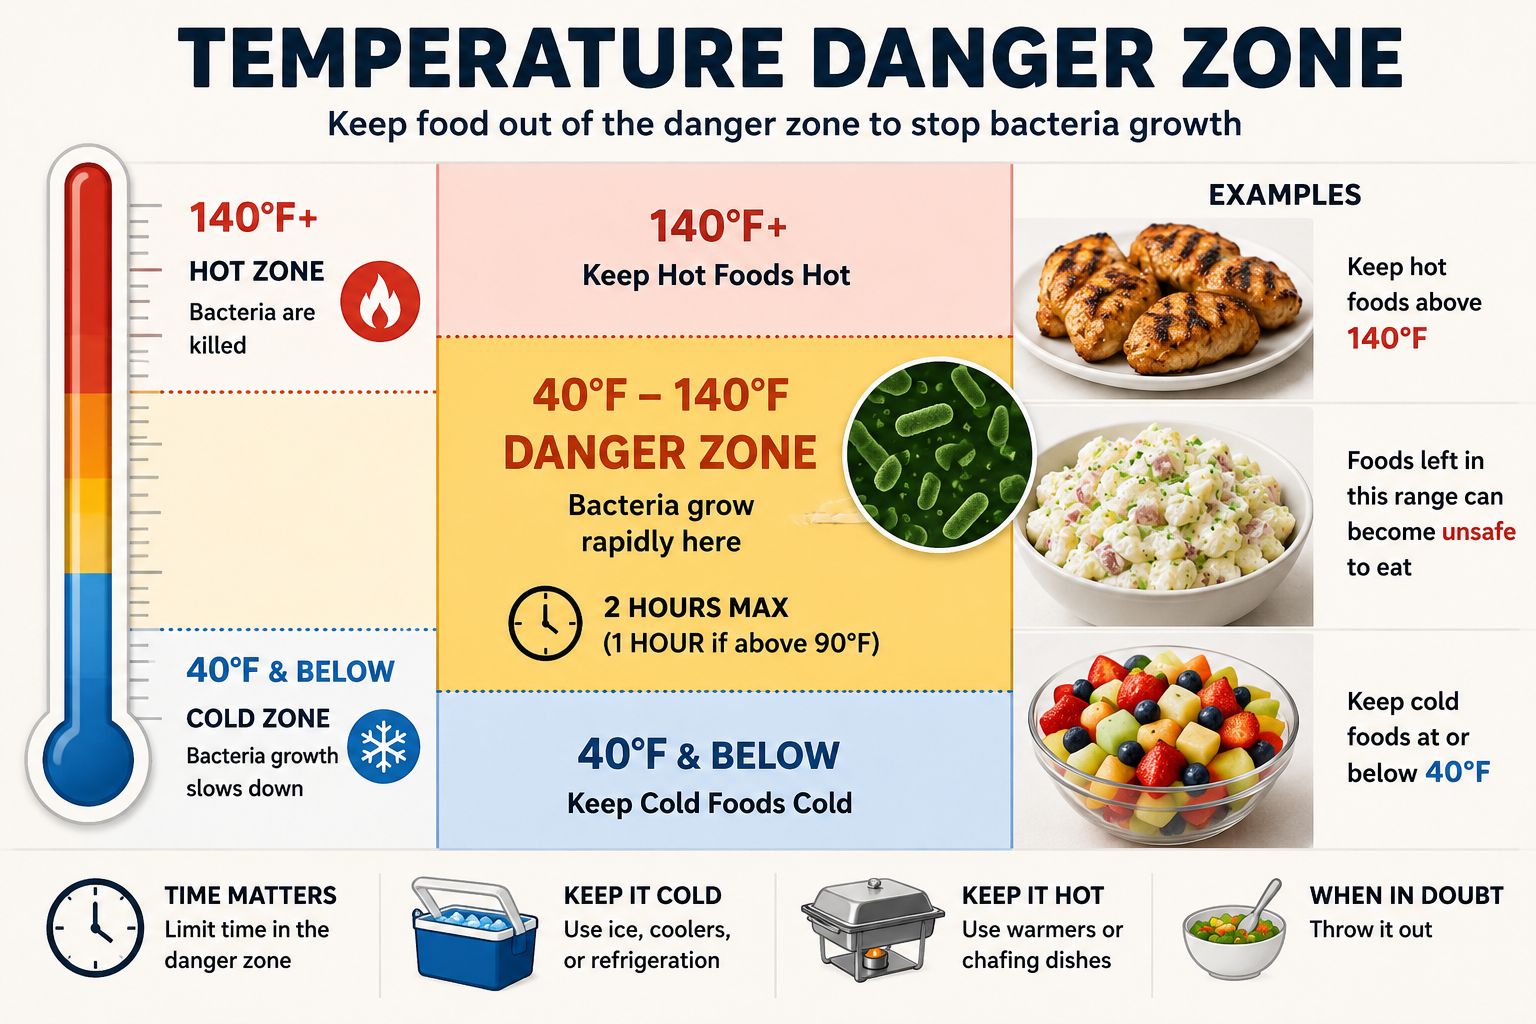
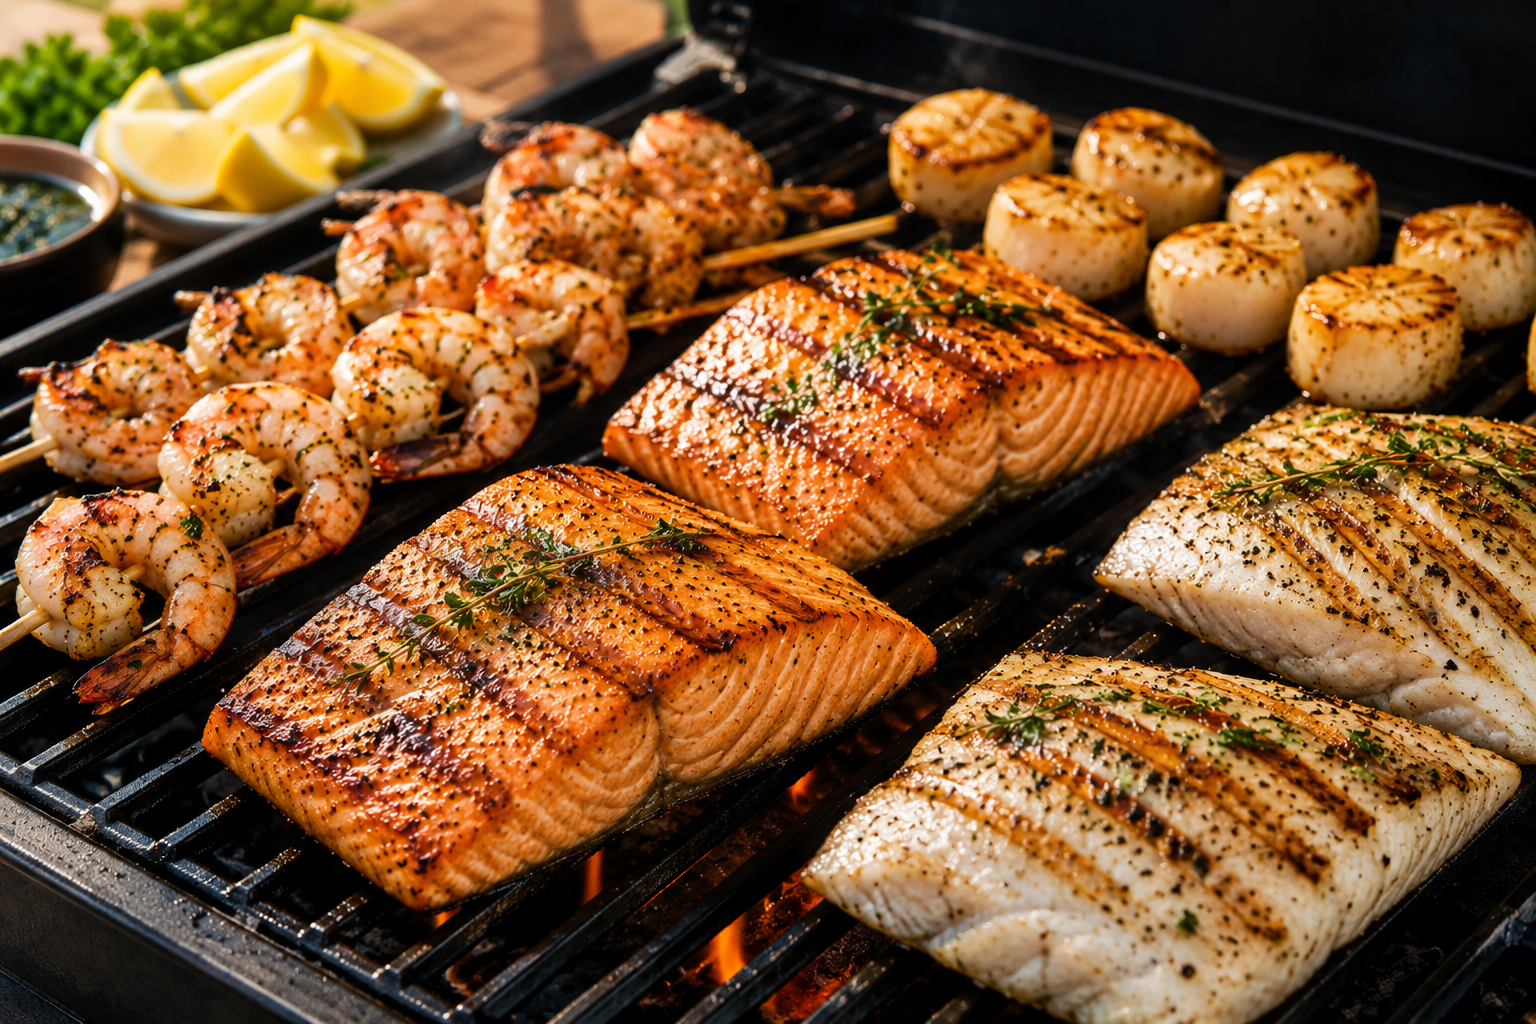
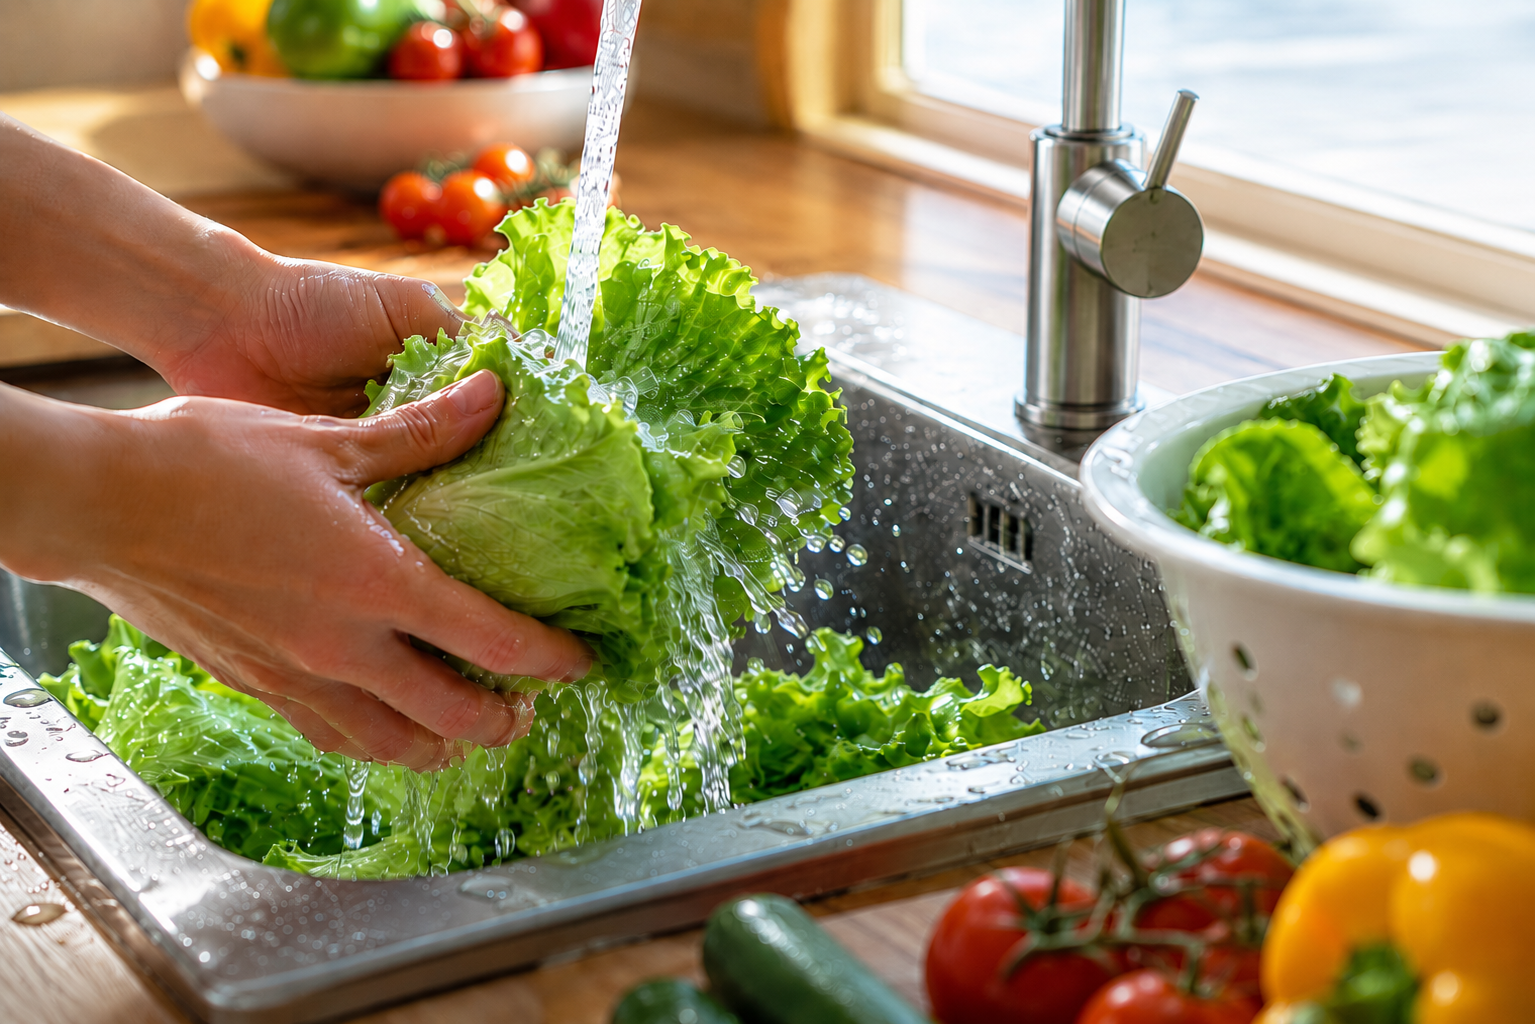
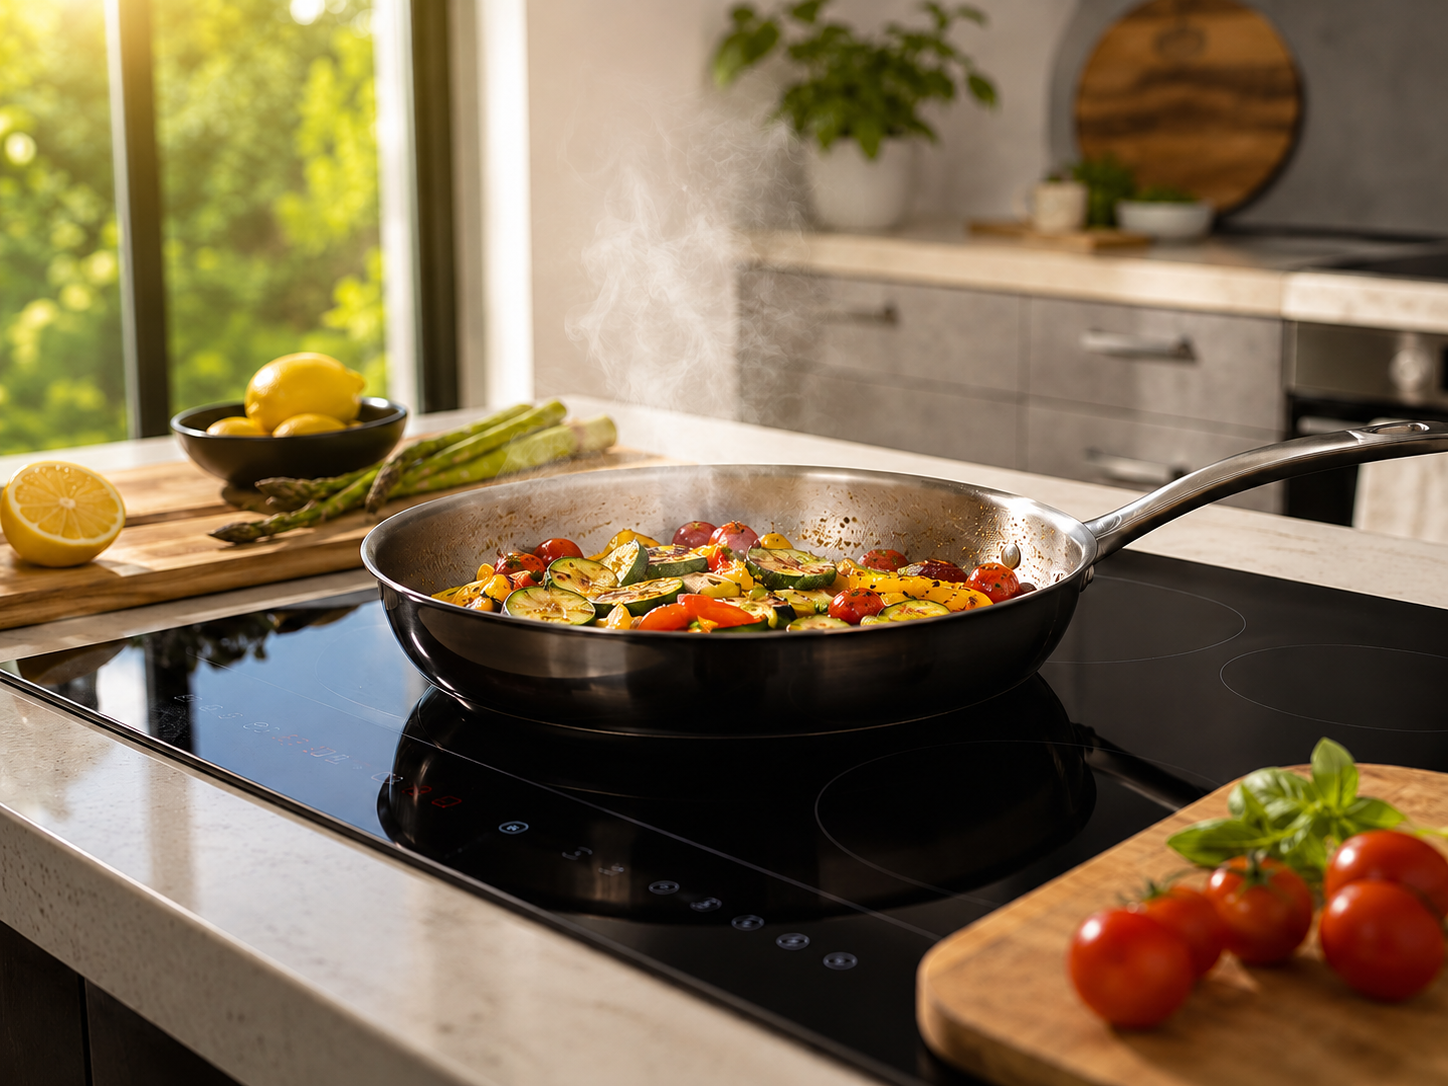
Most kitchen appliances have a season where they shine and a season where they fade into the background. The stand mixer comes out heavily in November and December for holiday baking and sits largely unused from March through October. The slow cooker earns its keep during cold months when braised short ribs and chili seem like obvious dinner choices and retreats to a cabinet shelf when summer arrives. The air fryer is different — it’s genuinely useful year-round, but summer is specifically when it becomes the most important appliance in your kitchen, the one you’d choose to keep if forced to give up everything else. This isn’t a general endorsement of air fryers as a category. It’s a specific argument about why summer creates conditions where the air fryer’s particular combination of capabilities — speed, heat efficiency, versatility, and minimal cleanup — addresses problems that summer cooking creates more acutely than any other season. Understanding why summer and air fryers are specifically well-matched helps you actually use the appliance to its potential rather than treating it as a specialty gadget for frozen foods and chicken wings. The Heat Problem Summer Creates in Your Kitchen Every argument for the air fryer in summer starts here, because this is the foundational problem the appliance solves better than anything else. What Your Oven Does to Your Home in Summer: A standard oven running at 375°F for 45 minutes isn’t just cooking food — it’s radiating heat into the surrounding kitchen through the door glass, the door seals, and the oven body throughout the entire cooking period. After the oven shuts off, it continues radiating heat as the cavity cools. In a home where the air conditioner is already working against 90°F outdoor temperatures, the oven’s heat contribution forces the cooling system to work harder, increases electricity consumption, and makes the kitchen itself genuinely uncomfortable during cooking. The Efficiency Gap: Gas ovens convert approximately 40% of their consumed energy into cooking heat. Traditional electric ovens do somewhat better at 65-70%. The remainder becomes waste heat distributed into your kitchen. An oven that runs for an hour in summer is doing something you don’t want — adding significant heat to a space you’re paying to keep cool. What the Air Fryer Does Instead: Air fryers heat a compact cavity of 2-6 quarts rather than a 5+ cubic foot oven. They reach cooking temperature in 3-5 minutes rather than the 10-15 minute preheat conventional ovens require. They complete most cooking tasks in 8-20 minutes rather than 25-45 minutes for oven equivalents. The total heat generated into your kitchen environment during an air fryer cooking session is dramatically lower — both because the heated cavity is smaller and because the cooking duration is significantly shorter. For a household trying to maintain comfortable indoor temperatures during a summer heat event, this difference is immediately felt rather than theoretically appreciated. The Numbers: Consider a chicken breast. Oven method: 10-15 minutes preheat plus 25-30 minutes cooking. Total time with oven actively heating: 35-45 minutes. Air fryer method: 3-5 minutes to temperature plus 15-18 minutes cooking. Total time: 18-23 minutes. The air fryer produces less than half the kitchen heat for the same result. Multiplied across every dinner preparation for a summer that runs from June through September, this efficiency difference affects both your electricity bill and your daily comfort in the kitchen in ways that accumulate meaningfully. Speed Changes What’s Practical for Summer Cooking Beyond the heat argument, speed is the second reason summer specifically benefits from air fryer cooking. Summer cooking has different time dynamics than the rest of the year, and the air fryer’s speed profile aligns with those dynamics unusually well. Summer Evening Cooking Context: Summer evenings are when people most want to be outside — on the patio, by the pool, at a neighbor’s yard, watching the kids play until the light fades. Coming inside to manage a 45-minute oven dinner competes with everything that makes summer evenings worth having. A cooking method that handles dinner in 15-20 minutes of mostly unattended operation fits the summer evening lifestyle in a way that extended oven cooking doesn’t. The After-Activity Cooking Problem: Summer days fill with activities that push dinner later than usual — afternoons at the beach, evening bike rides, extended pool sessions, outdoor socializing that runs longer than planned. Arriving home at 7pm hungry and tired, nobody wants to discover that dinner requires an hour of active kitchen time. Air fryer cooking handles the “we’re home later than expected and hungry now” scenario better than almost any other cooking method. Chicken thighs in 22 minutes. Salmon in 12 minutes. Roasted vegetables in 15 minutes. These timelines work when you’re already hungry and the alternative is waiting. Entertaining Without Kitchen Captivity: Summer hosting often involves guests present while you’re still preparing food — outdoor parties, casual backyard gatherings, impromptu dinner invitations accepted at 4pm for a 6pm dinner. The air fryer’s speed and minimal attention requirement means you can run cooking batches without disappearing into the kitchen for extended periods. Set the air fryer, go back to your guests, return when the timer sounds. The appliance manages itself in a way that oven cooking doesn’t. The Summer Food Inventory Aligns Perfectly with Air Fryer Strengths Summer’s characteristic foods — the things people actually want to eat when temperatures are high — happen to be exactly the foods that air fryers handle best. Proteins That Dominate Summer Eating: Chicken in every form — wings, thighs, breasts, tenders — is peak air fryer territory. The circulating hot air produces crispy skin and juicy interiors that rival deep frying for texture without the oil management. Shrimp in 6-8 minutes. Salmon fillets in 10-12 minutes. Fish tacos built from air-fried fish. Chicken sandwiches with a genuinely crispy exterior. These are summer’s most common protein preparations, and they’re all in the air fryer’s strongest territory. Summer Vegetables: The air fryer produces roasted vegetables with better caramelization and texture than oven roasting