baking

How to Measure Ingredients Accurately: A Guide to Perfect Cooking and Baking

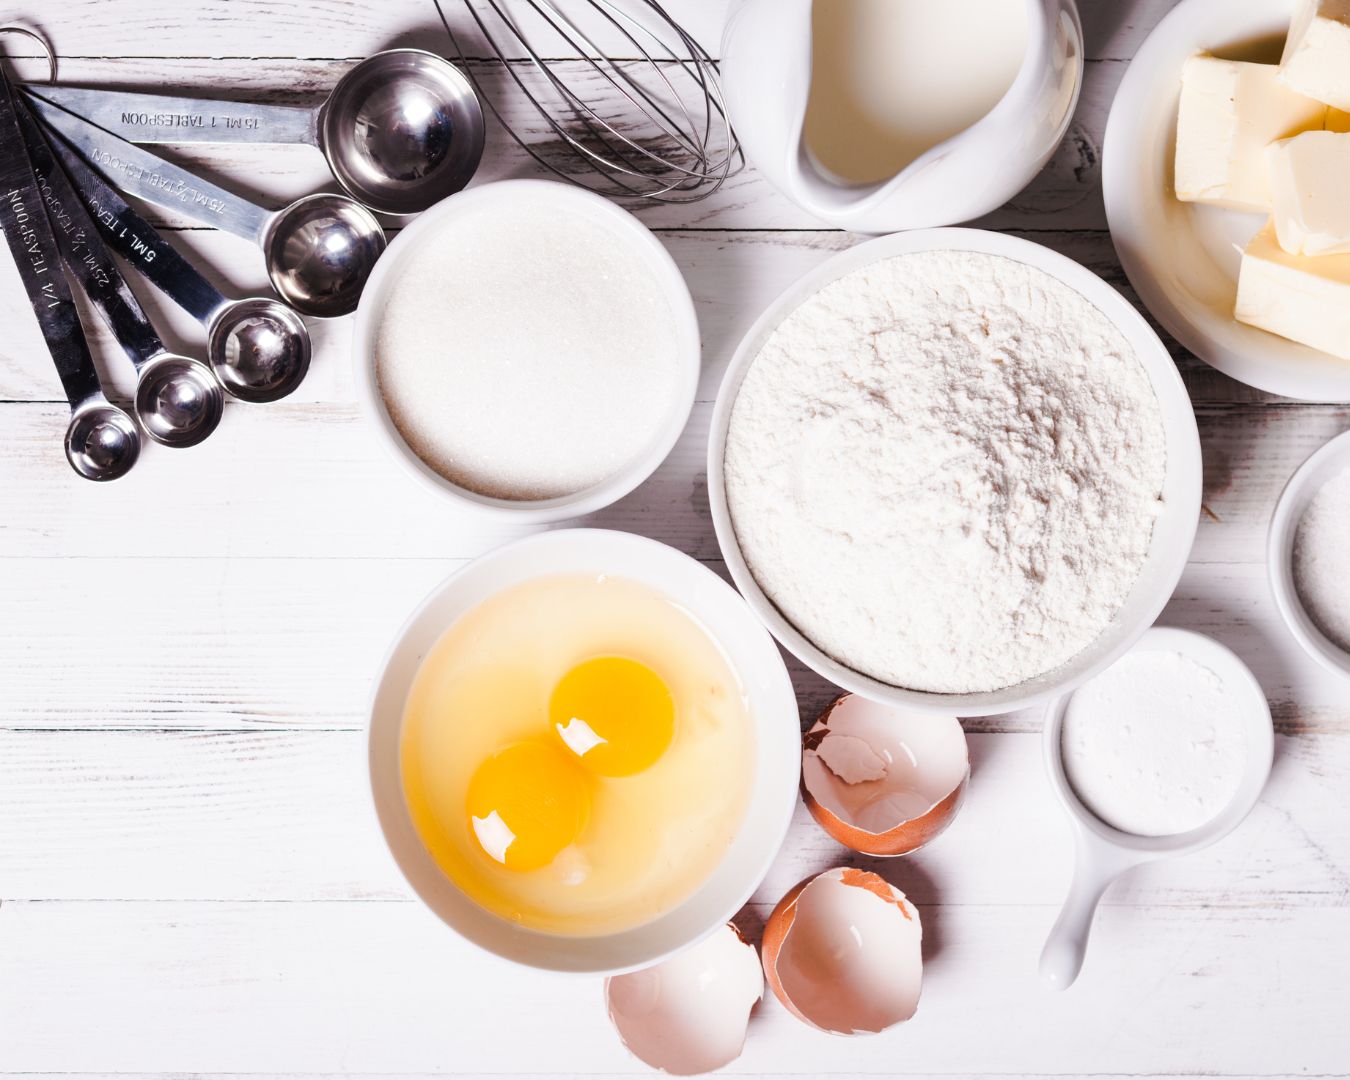
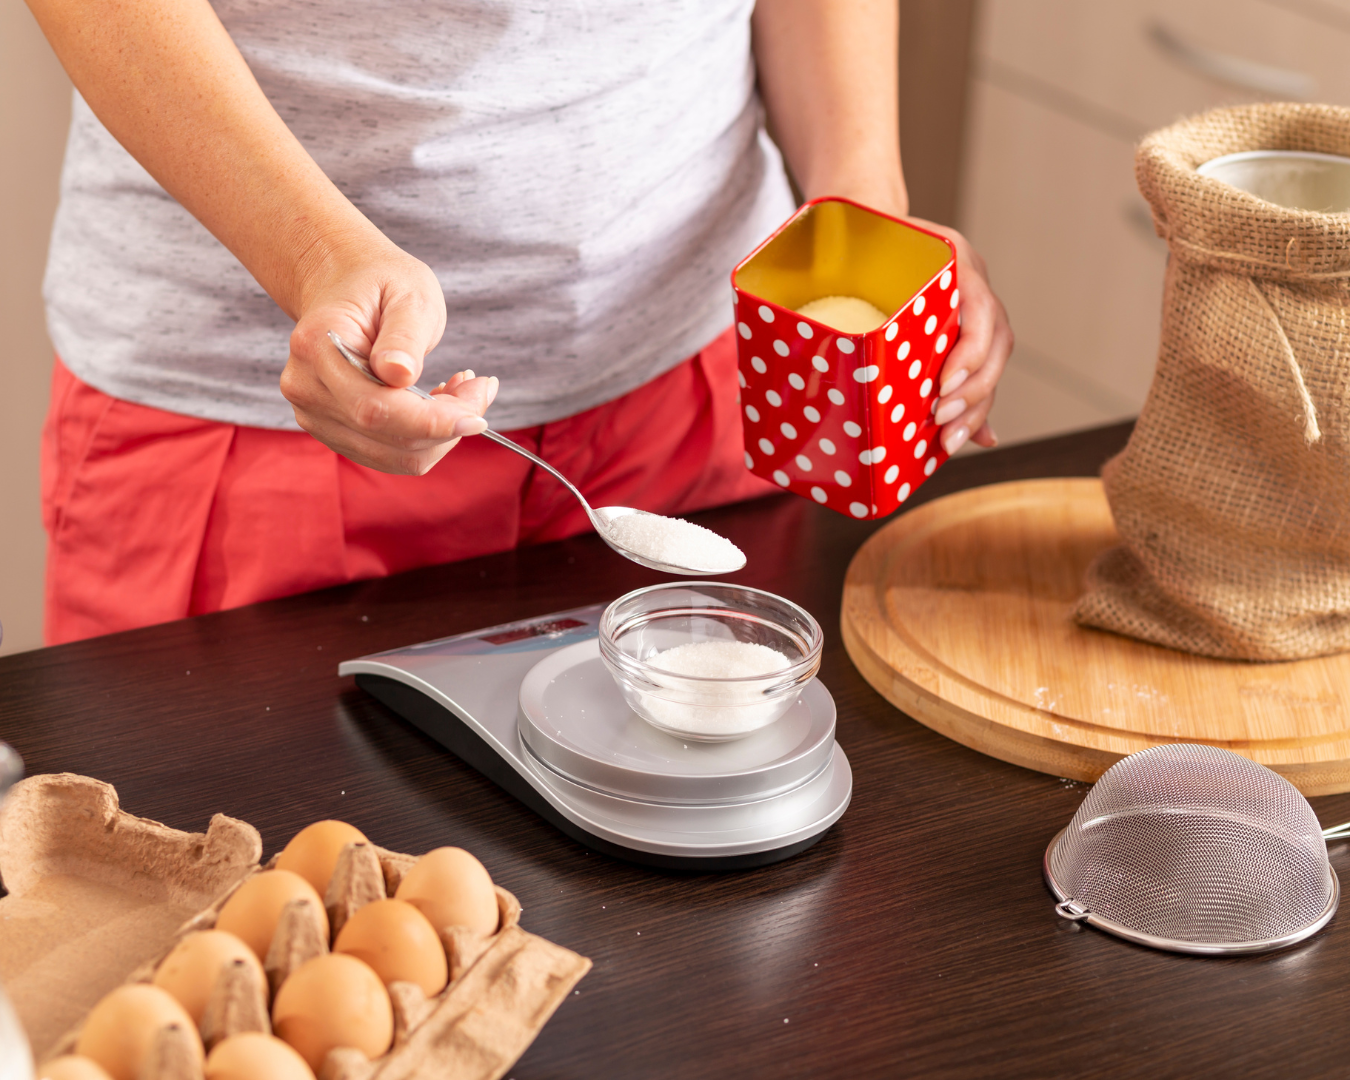
Accurate measurement of ingredients is crucial for successful cooking and baking. Whether you’re whipping up a savory dish or baking a delicate dessert, precise measurements can make the difference between a perfectly executed recipe and a culinary disappointment. In this blog post, we’ll guide you through the best practices for measuring ingredients accurately to ensure your dishes turn out just right every time. Why Accurate Measurement Matters Measuring Dry Ingredients Measuring Liquid Ingredients Measuring Sticky or Thick Ingredients Measuring Small Quantities Tips for Accurate Measurement Measuring ingredients accurately is fundamental to successful cooking and baking. By using the correct tools and techniques, you can ensure that your recipes turn out as intended, with consistent results every time. Whether you’re preparing a savory dish or baking a sweet treat, precision in measurement will lead to delicious outcomes and culinary success.

Exploring the World of Baking and Decorating Desserts Together as a Family

Baking and decorating desserts is a delightful way to bring the family together, creating cherished memories and delicious treats. The kitchen transforms into a space of creativity, teamwork, and learning, where everyone, from the youngest to the oldest, can contribute and have fun. Here’s how you can explore the world of baking and decorating desserts as a family, fostering a sense of togetherness and joy. Why Bake Together as a Family? Getting Started Fun and Easy Dessert Ideas Decorating Tips and Techniques Making It Educational Capturing the Moments Baking and decorating desserts together as a family is a wonderful way to bond, learn, and create delicious treats. It’s a joyful and fulfilling activity that brings out the best in everyone, from the youngest to the oldest. So, roll up your sleeves, preheat the oven, and embark on a sweet adventure with your loved ones.

How to Set Up a Home Cooking Station for Baking: Essential Tips for a Smooth Baking Experience

Setting up a dedicated home cooking station for baking can transform your kitchen into a haven of culinary creativity. Whether you’re a seasoned baker or just starting out, organizing your space efficiently can make the baking process more enjoyable and less stressful. Here’s a step-by-step guide to creating an ideal baking station in your home kitchen. Choose the Right Location Organize Essential Tools Equip Your Baking Station Stock Baking Ingredients Implement Efficient Storage Solutions Set Up a Cleaning Station Personalize Your Space Safety and Accessibility A well-organized home cooking station for baking not only enhances your efficiency but also makes the baking process more enjoyable. By thoughtfully arranging your tools, ingredients, and equipment, you create a functional workspace that supports creativity and precision. Whether you’re whipping up a batch of cookies or baking a decadent cake, a dedicated baking station ensures you have everything you need at your fingertips, making your time in the kitchen as pleasant and productive as possible.

The Science of Baking and Pastry Making: Understanding the Fundamentals

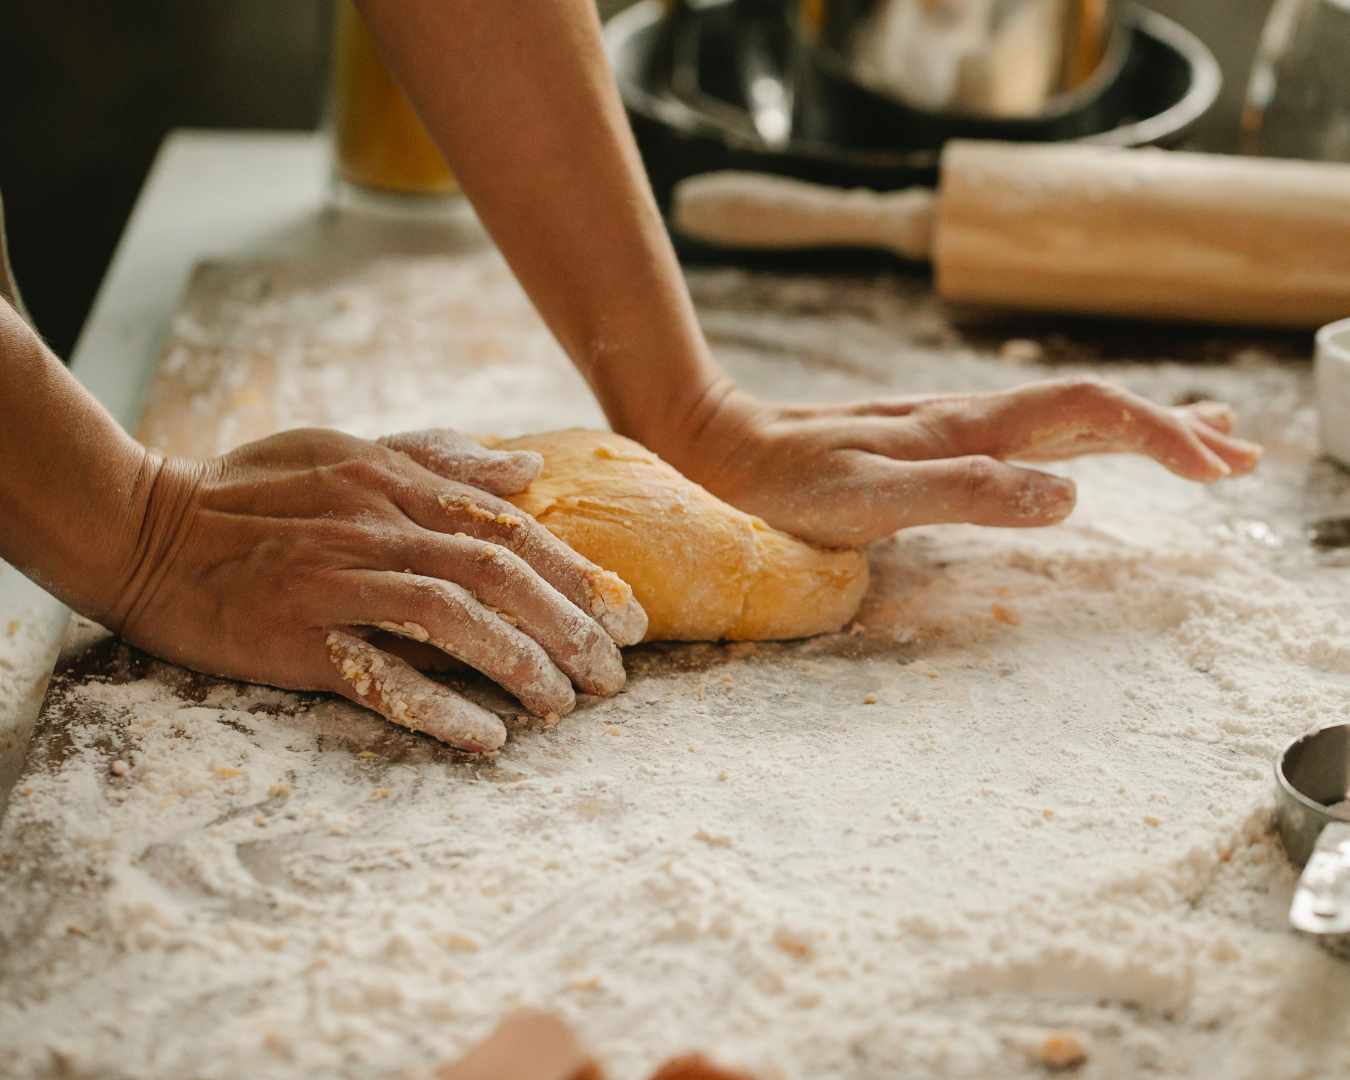
Baking and pastry making are as much about science as they are about artistry. While the creativity of crafting beautiful and delicious treats is essential, understanding the science behind these processes can elevate your skills and ensure consistent, successful results. This blog post delves into the fundamental science of baking and pastry making, helping you grasp the key principles that drive these culinary arts. The Role of Ingredients Flour: Flour provides the structure for baked goods. Its proteins, primarily glutenin and gliadin, combine with water to form gluten, which gives dough its elasticity and strength. Different types of flour have varying protein content, affecting the texture of the final product. For instance, bread flour has higher protein content compared to cake flour, which results in a chewier texture in bread and a lighter, softer crumb in cakes. Sugars: Sugars are not just for sweetness; they play multiple roles in baking. They help with the browning process through caramelization and Maillard reaction, contribute to the texture by affecting moisture and tenderness, and enhance flavor. Different sugars, like granulated, brown, and powdered, impact the final product in distinct ways. Fats: Fats, such as butter, oil, or shortening, provide richness and moisture to baked goods. They interfere with gluten formation, creating a tender and flaky texture. Fats also help with flavor development and contribute to the overall mouthfeel. Leavening Agents: Baking powder, baking soda, and yeast are leavening agents that cause doughs and batters to rise. Baking soda and baking powder create gas through chemical reactions, while yeast ferments and produces gas, which makes dough expand. Proper use and understanding of these agents are crucial for achieving the desired texture and rise in baked goods. Liquids: Liquids, including water, milk, and eggs, are essential for hydrating flour, dissolving sugars, and activating leavening agents. They also affect the consistency of batters and doughs and contribute to the final texture and flavor of baked products. Mixing and Kneading Mixing: The method of mixing affects the texture of the final product. Over-mixing can develop too much gluten, leading to tough baked goods, while under-mixing can result in uneven distribution of ingredients. Different recipes require different mixing techniques, such as creaming, folding, or stirring, to achieve the desired consistency. Kneading: In bread making, kneading develops gluten, which gives bread its structure and chewiness. Proper kneading is crucial for achieving the right texture, as insufficient kneading can lead to dense bread, while excessive kneading can make it tough. Temperature and Time Oven Temperature: Accurate oven temperature is vital for even baking. Too high a temperature can cause products to brown too quickly on the outside while remaining raw inside, while too low a temperature can result in undercooked goods with poor texture. Using an oven thermometer can help ensure precise temperatures. Baking Time: Baking times vary depending on the recipe, oven, and size of the baked goods. Following the recommended baking time is important, but it’s also essential to monitor the baking process and make adjustments as needed. The Maillard Reaction and Caramelization Maillard Reaction: This complex chemical reaction between amino acids and reducing sugars occurs during baking and contributes to the browning and flavor development in baked goods. It’s responsible for the golden crust of bread and the rich flavors in cookies and cakes. Caramelization: Caramelization is the process of sugar breaking down and turning brown when exposed to heat. It adds depth of flavor and color to pastries and confections, such as caramel sauce and roasted nuts. Pastry Science Laminate Doughs: In pastry making, laminated doughs like croissant and puff pastry rely on creating layers of dough and fat. The process of folding and rolling creates thin layers of fat and dough that puff up when baked, resulting in a flaky texture. Temperature Control: Temperature is critical in pastry making. For example, keeping dough cold ensures that fats remain solid, leading to a flaky texture in pastries. Similarly, precise temperature control in chocolate tempering is essential for achieving a smooth and glossy finish. Understanding the science behind baking and pastry making can greatly enhance your culinary skills, leading to more consistent and successful results. By grasping the roles of different ingredients, the effects of mixing and kneading, and the importance of temperature and time, you can apply these principles to create delightful baked goods and pastries every time.

Cooking and Baking with Berries: Sweet and Savory Delights in the Kitchen

Berries are nature’s candy—bursting with flavor, vibrant in color, and packed with nutrients. Whether you’re using strawberries, blueberries, raspberries, or blackberries, these versatile fruits can elevate both sweet and savory dishes. Here’s how to make the most of berries in your cooking and baking. Berry Basics: Selecting and Storing To get the best results in your kitchen, start by choosing ripe, fresh berries. Look for firm, plump berries without blemishes. Berries are delicate, so handle them with care and store them in the refrigerator. If you can’t use them immediately, freeze them on a baking sheet before transferring them to a storage bag for later use. Baking with Berries Berries add a burst of flavor and moisture to baked goods. From muffins and cakes to pies and tarts, they can be the star ingredient or a complementary addition. Cooking with Berries in Savory Dishes Berries aren’t just for desserts. Their natural sweetness and acidity can enhance savory dishes, adding a unique twist to your meals. Making Berry Preserves and Jams Preserving berries as jams or jellies is a fantastic way to enjoy their flavor year-round. Homemade berry preserves are perfect for spreading on toast, topping desserts, or even stirring into yogurt. Infusing Beverages with Berries Berries can also be used to create refreshing drinks and cocktails. Their vibrant colors and natural sweetness make them a popular choice for both alcoholic and non-alcoholic beverages. Berry Desserts Beyond the Oven Not all berry desserts require baking. You can make quick and easy berry-based desserts with minimal effort. Berries bring a burst of flavor, color, and nutrition to both sweet and savory dishes. Whether you’re baking them into cakes, adding them to salads, or preserving them as jam, there’s no limit to the culinary possibilities berries offer. Next time you’re in the kitchen, reach for a handful of berries and let your creativity shine!

Air Fryer Baking: Tips for Perfect Cakes, Muffins, and More

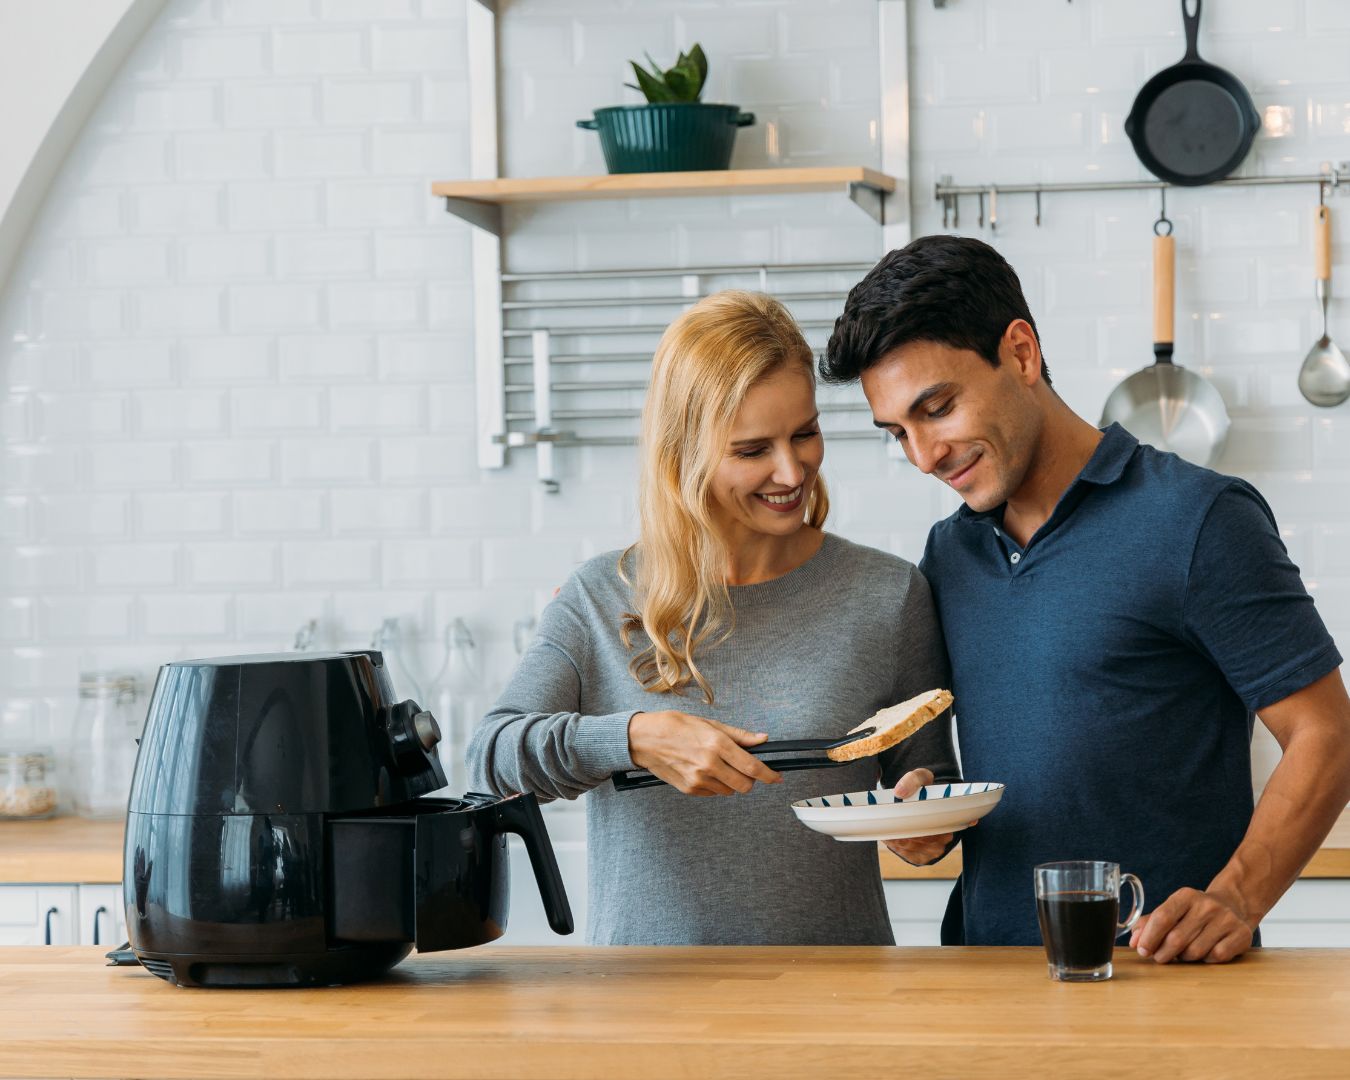
The air fryer has quickly become a kitchen staple, praised for its ability to cook foods quickly with less oil. But did you know that your air fryer can also be a fantastic tool for baking? From cakes to muffins and more, air fryer baking is a convenient way to enjoy your favorite treats with less hassle. Here’s how to make the most of your air fryer for perfect baked goods every time. Choosing the Right Bakeware Not all bakeware is suitable for air fryer baking. When selecting pans or molds, make sure they fit comfortably in your air fryer basket with room for air to circulate around them. Silicone molds, small cake pans, and ramekins are excellent options. Look for materials that can withstand high temperatures and avoid anything too large or tall. Adjusting Baking Time and Temperature Air fryers cook more quickly than conventional ovens, so it’s essential to adjust your baking times and temperatures. As a general rule, reduce the temperature by 25°F (about 15°C) from what your recipe calls for in a conventional oven. Keep a close eye on your baked goods, as they may cook 20-30% faster in the air fryer. Use of Parchment Paper Parchment paper can be your best friend when baking in an air fryer. It helps prevent sticking and makes cleanup a breeze. However, make sure to use perforated parchment paper or poke holes in the paper yourself to allow proper air circulation. Don’t Overcrowd the Basket Just like frying, baking in an air fryer requires good air circulation. Avoid overcrowding the basket, as this can lead to uneven cooking. If you need to bake in batches, take the time to do so for the best results. Preheating the Air Fryer Preheating your air fryer can help ensure even baking. Most air fryers only need a few minutes to reach the desired temperature. Preheating is especially important for recipes like cakes and muffins, where consistent temperature is key to a good rise. Testing for Doneness Since air fryer baking times can vary, always test for doneness before considering your treats finished. For cakes and muffins, insert a toothpick into the center—if it comes out clean or with a few crumbs, your baked goods are ready. If the top browns too quickly, you can tent it with a piece of aluminum foil. Experiment with Recipes Not all recipes will translate perfectly to the air fryer, so don’t be afraid to experiment. Start with small batches and adjust as needed. Consider converting your favorite oven-baked recipes by adjusting the temperature and keeping a close eye on cooking times. Understanding Airflow The magic of air fryer cooking is all about airflow. Make sure your baked goods are arranged to allow hot air to circulate evenly. This might mean placing cakes or muffins slightly off-center in the basket or rotating them during baking for even cooking. Grease the Bakeware Even with non-stick bakeware, it’s a good idea to lightly grease the surface to ensure your cakes and muffins release easily. This is especially important in an air fryer, where the circulating air can dry out the surface of your baked goods, making them more prone to sticking. Cooling and Storing Once your treats are baked to perfection, allow them to cool in the bakeware for a few minutes before transferring them to a cooling rack. This helps set the structure and prevents them from breaking apart. Store leftovers in an airtight container to keep them fresh. Baking in an air fryer opens up a world of possibilities for creating delicious treats with ease. By adjusting your baking techniques and being mindful of your air fryer’s unique characteristics, you can achieve perfect cakes, muffins, and more. So go ahead, dust off your favorite recipes, and give air fryer baking a try!

Using Your Microwave for Baking: Tips and Tricks for Success

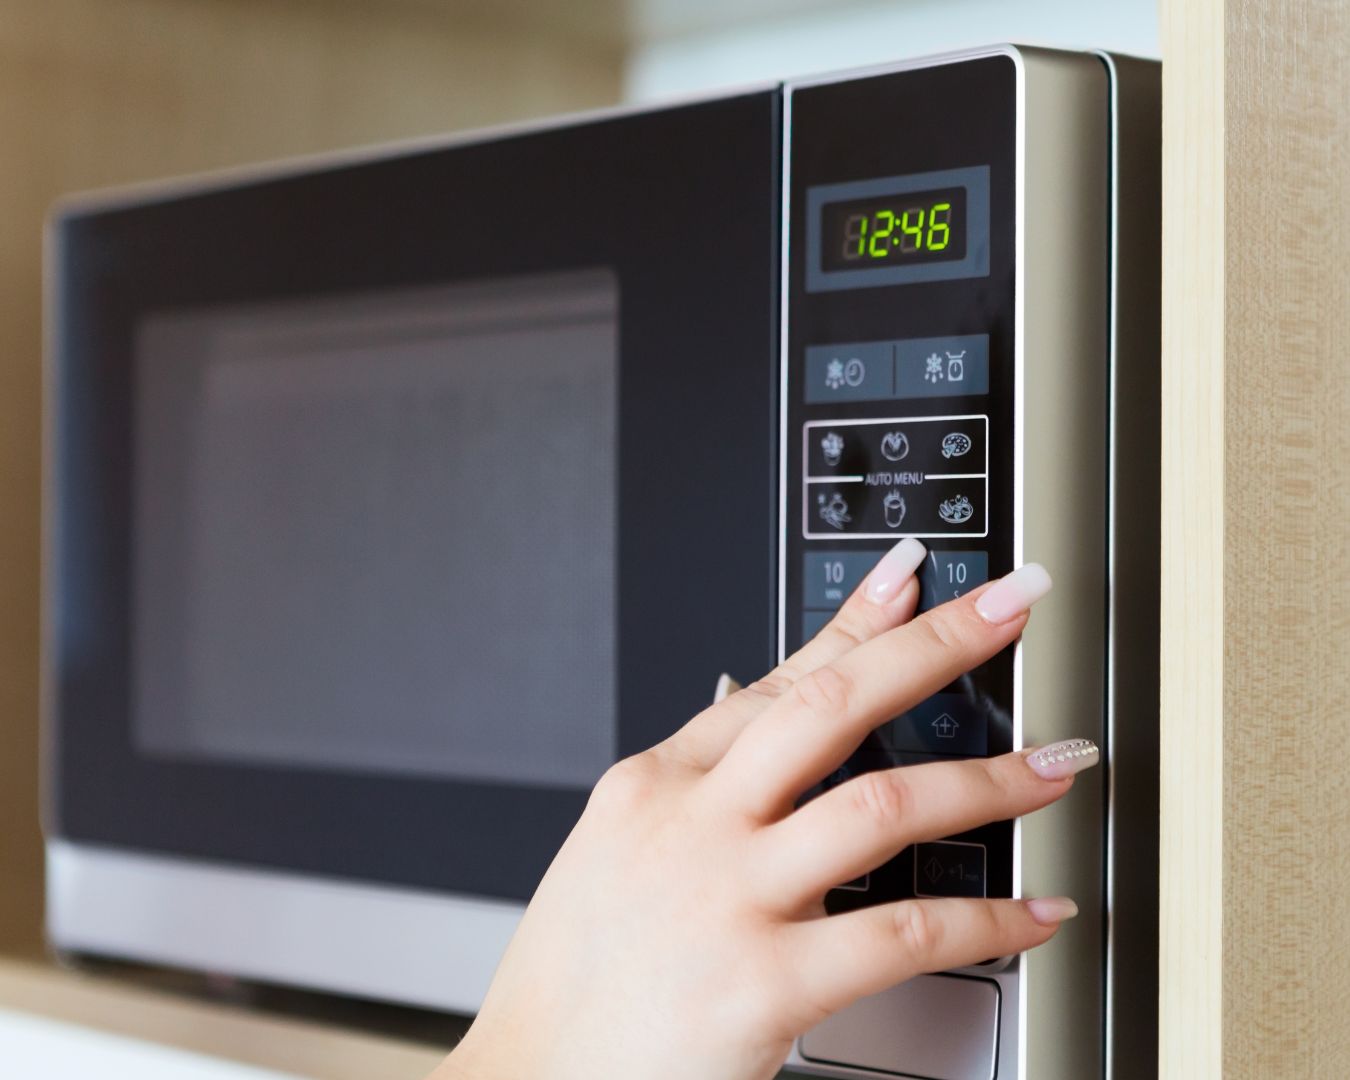
Microwaves are typically known for reheating leftovers or quickly cooking simple meals, but did you know they can also be used for baking? While a microwave won’t completely replace a traditional oven, it can be a handy alternative for small batches, quick desserts, or when your main oven is occupied. Here’s how to make the most of your microwave for baking, along with some tips and tricks to ensure success. Choose Microwave-Safe Bakeware The first step to successful microwave baking is choosing the right bakeware. Use only microwave-safe containers, such as glass, ceramic, or silicone, to avoid any mishaps. Avoid metal pans or dishes with metallic trims, as they can cause sparks or damage your microwave. Also, consider using round containers rather than square or rectangular ones, as they promote more even cooking. Understand Power Levels Microwaves typically operate at different power levels, which can be adjusted depending on what you’re baking. Lower power levels mimic the slow, steady heat of an oven and are ideal for baking. For instance, if your microwave’s maximum power is 1000 watts, you might want to bake at 50% power (500 watts) to avoid overcooking the outside while the inside remains undercooked. Use Small Portions and Batches Microwaves work best for smaller portions, so keep this in mind when baking. Large cakes or loaves may not cook evenly, leading to dry or rubbery textures. Stick to individual servings or small batches, like mug cakes, brownies, or mini cookies, for the best results. Additionally, since microwaves cook food quickly, small portions ensure even baking throughout. Rotate and Monitor Microwaves can have hot spots, so it’s crucial to rotate your dish halfway through baking to ensure even cooking. If your microwave doesn’t have a turntable, manually rotate the dish every minute or so. Also, keep an eye on your baked goods and check for doneness frequently, as microwaves can cook faster than you might expect. Add Moisture Microwave baking can sometimes dry out baked goods, especially if cooked for too long. To combat this, consider adding a small cup of water in the microwave alongside your dish. The steam from the water will help keep your baked goods moist. Alternatively, use ingredients like yogurt, applesauce, or even a bit of extra butter or oil in your recipes to maintain moisture. Experiment with Timing Microwave baking times can vary significantly from those in a conventional oven, so be prepared to experiment. Start by setting a shorter cook time and increase it gradually until you achieve the desired result. It’s better to undercook slightly and add extra time than to overcook and ruin your dish. Use Pre-Packaged Microwave Baking Mixes For beginners, pre-packaged microwave baking mixes can be a great way to get started. These mixes are specifically designed for microwaves and come with precise instructions, making it easier to achieve a successful bake. Once you’re comfortable, you can start experimenting with your own recipes. Allow for Carryover Cooking Microwave-baked goods often continue to cook slightly after being removed from the microwave due to residual heat. To avoid overcooking, let your baked goods rest for a minute or two after removing them from the microwave. This rest time allows the heat to distribute evenly, ensuring a better texture. Know When to Use the Microwave While the microwave is convenient, it’s not suitable for all types of baking. Delicate pastries, flaky pie crusts, and recipes requiring a crispy or browned exterior are better suited to a traditional oven. However, for quick cakes, puddings, and other simple treats, the microwave can be a lifesaver. Baking in a microwave can be a convenient and efficient way to prepare small, quick treats. With the right techniques and a bit of experimentation, you can achieve delicious results that rival those from a conventional oven. Whether you’re whipping up a quick dessert or trying out a new recipe, these tips and tricks will help you make the most of your microwave for baking success.

Cooking and Baking with Seeds in the Kitchen: A Guide to Flavor and Nutrition

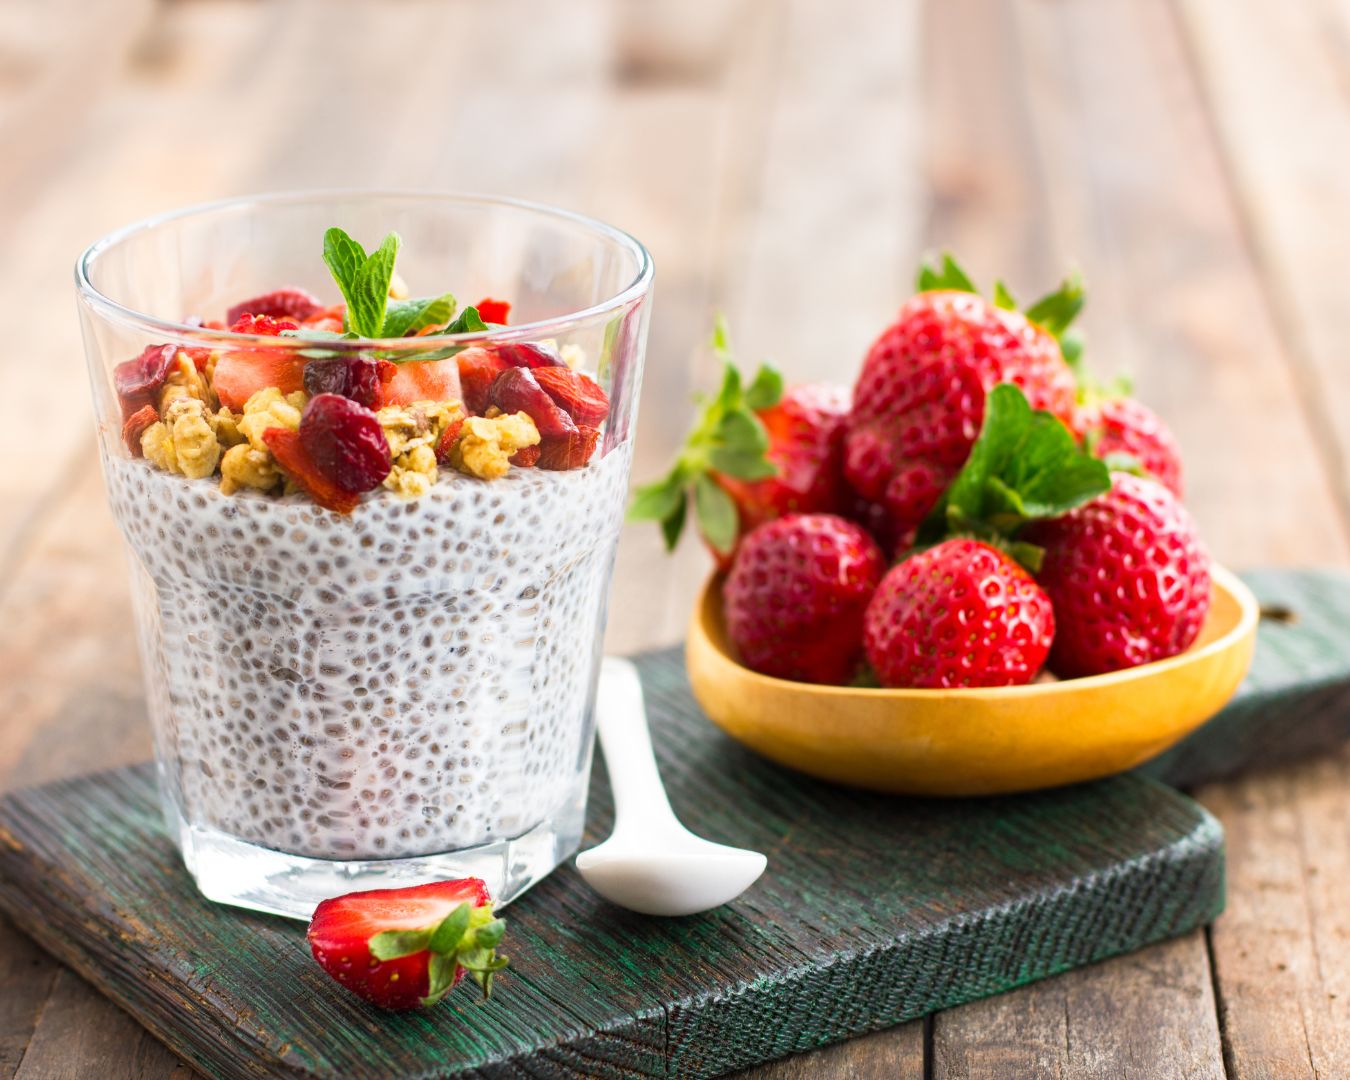
Seeds are a small but mighty ingredient in the kitchen. Packed with nutrients, flavor, and texture, they can elevate your cooking and baking in a variety of ways. Whether you’re sprinkling them on a salad or mixing them into your bread dough, seeds are versatile and easy to incorporate into your recipes. In this blog post, we’ll explore different types of seeds, their nutritional benefits, and creative ways to use them in the kitchen. Common Types of Seeds and Their Nutritional Benefits Cooking with Seeds: Adding Flavor and Texture Seeds can be used in various ways to enhance your cooking. Here are some ideas: Baking with Seeds: Nutritional Boosts for Your Favorite Treats Incorporating seeds into your baking is an easy way to boost the nutritional value of your recipes without sacrificing flavor. Here’s how you can use seeds in baked goods: Homemade Seed Butters and Milks Making your own seed butters and milks at home is simple and rewarding. Here’s how you can use seeds in homemade butters and plant-based milk alternatives: Tips for Cooking and Baking with Seeds Cooking and baking with seeds is a fantastic way to add flavor, texture, and nutrition to your meals. From chia seeds in puddings to sesame seeds on bread, the possibilities are endless. By incorporating seeds into your kitchen routine, you can enhance the health benefits of your favorite dishes while exploring new and exciting recipes. So the next time you’re cooking or baking, don’t forget to reach for the seeds—they might just become your new favorite ingredient!

How to Properly Clean and Care for Silicone Baking Mats

Silicone baking mats are a kitchen staple for many home bakers and cooks. They’re durable, non-stick, and make cleanup a breeze, but to ensure they last and perform optimally, it’s essential to clean and care for them properly. In this blog post, we’ll guide you through the best practices for maintaining your silicone baking mats so they continue to be a reliable tool in your kitchen. Why Silicone Baking Mats Are a Great Choice Silicone baking mats offer several advantages: Cleaning Silicone Baking Mats Proper cleaning is crucial to maintaining the performance and longevity of your silicone baking mats. Here’s how to do it: Routine Cleaning Deep Cleaning Storing Silicone Baking Mats Proper storage helps maintain the shape and functionality of your silicone mats: Common Mistakes to Avoid To ensure the longevity of your silicone baking mats, avoid these common mistakes: Troubleshooting Common Issues If you encounter problems with your silicone baking mats, here’s how to address them: Silicone baking mats are a fantastic addition to any kitchen, offering convenience, versatility, and durability. By following proper cleaning and care techniques, you can ensure your mats remain in top condition, providing you with excellent performance and easy cleanup for many baking adventures to come. Remember to treat your silicone mats with care, and they’ll continue to be a reliable tool in your kitchen for years to come.

Christmas in the Kitchen: A Celebration of Flavor and Festivity

The holiday season is upon us, and there’s no better place to embrace the Christmas spirit than in the heart of the home: the kitchen. Whether you’re baking cookies with loved ones, preparing a grand feast, or crafting edible gifts, the kitchen is where cherished holiday memories come to life. Let’s dive into ways to make your kitchen the coziest, most festive spot this Christmas. Deck the Halls (and the Counters) Transform your kitchen into a winter wonderland with holiday decor: Bake the Season Bright Christmas baking is a tradition that fills the home with the irresistible aroma of cinnamon, nutmeg, and vanilla. Try these ideas: Create a Festive Feast The Christmas meal is a highlight of the season. Here are some tips to make it memorable: Savor the Moments with Edible Gifts Homemade treats make thoughtful and personal Christmas gifts: These gifts are not only delicious but also a joy to prepare and share. Warm Drinks for Cold Nights What’s Christmas without a cozy beverage? Consider these options: Involve the Whole Family Make the kitchen a gathering place this Christmas: These moments of togetherness are what make the holidays truly special. Clean-Up Made Merry While cooking and baking bring joy, the clean-up can be daunting. Turn it into a festive activity: Reflect on the Year As you prepare your holiday meals, take a moment to reflect on the year gone by. The kitchen is more than a place for cooking; it’s a space for connection, laughter, and love. Use this time to count your blessings and create new traditions that will carry through the years. This Christmas, let your kitchen become a hub of holiday cheer: The magic of the season starts here. Merry Christmas, and may your kitchen be filled with joy, love, and delicious memories!