dinner ideas

Tips for Mastering the Art of Soups and Stews at Home

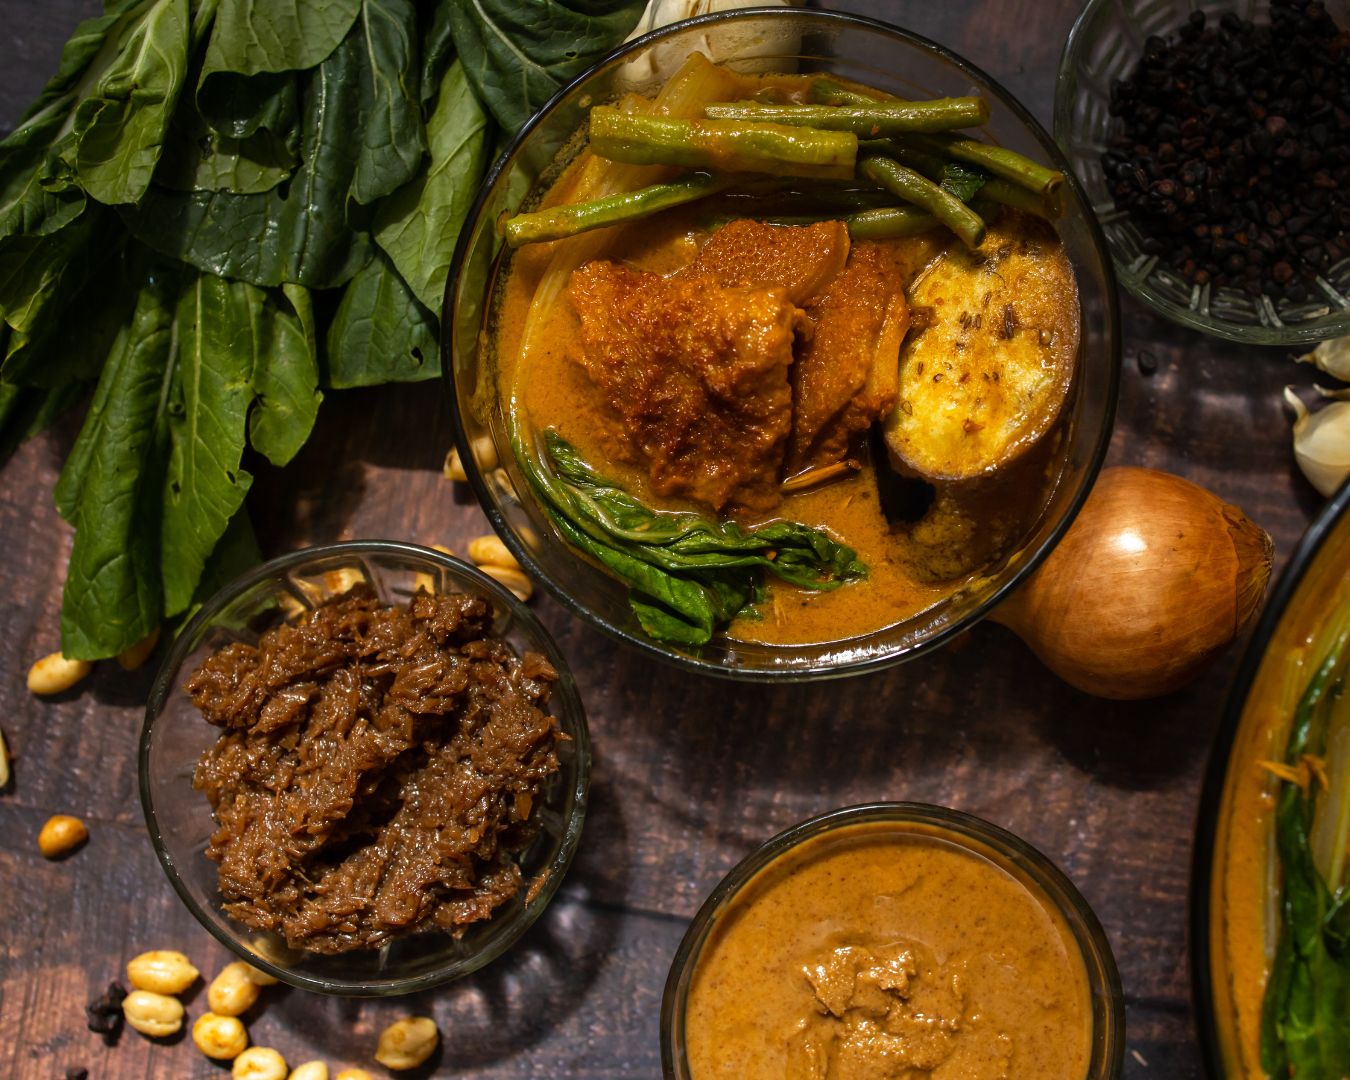
Soups and stews are the ultimate comfort foods—warm, hearty, and nourishing. Whether you’re simmering a pot of chicken noodle soup or crafting a rich beef stew, mastering these dishes is a rewarding skill. With the right techniques, you can elevate your homemade soups and stews to restaurant-quality meals. Here are some tips to help you perfect the art of making soups and stews at home. Build a Flavorful Base The foundation of any great soup or stew is its base. Whether it’s a broth, stock, or a combination of sautéed vegetables, taking the time to build a flavorful base is crucial. Layer Your Flavors To achieve a complex and well-rounded flavor profile, layer your ingredients and seasonings gradually. Cook Low and Slow Soups and stews benefit from slow, gentle cooking. This allows the ingredients to meld together and the flavors to deepen. Balance the Flavors A well-balanced soup or stew should have the right combination of flavors—salty, sweet, sour, and umami. Use the Right Equipment The tools you use can make a big difference in the outcome of your soup or stew. Don’t Forget the Garnishes Garnishes can add texture, color, and an extra layer of flavor to your soups and stews. Store and Reheat Properly Soups and stews often taste better the next day, but proper storage and reheating are key. Mastering the art of soups and stews is all about patience, attention to detail, and understanding the balance of flavors. By following these tips, you’ll be able to create delicious, comforting bowls of soup and hearty stews that will warm your soul and impress your family and friends. So grab your favorite pot, gather your ingredients, and start simmering your way to culinary success!

How to Clean Kitchen Appliances with Baking Soda and Vinegar

Keeping your kitchen appliances clean is essential for maintaining a healthy, efficient, and well-functioning kitchen. While there are many commercial cleaning products available, you don’t need harsh chemicals to get the job done. Baking soda and vinegar, two common household items, are powerful natural cleaners that can tackle grease, grime, and stains on a variety of kitchen appliances. In this blog post, we’ll explore how to use baking soda and vinegar to clean some of the most commonly used kitchen appliances. Why Use Baking Soda and Vinegar? Together, baking soda and vinegar form a dynamic cleaning duo that’s safe, eco-friendly, and cost-effective. Cleaning Your Kitchen Appliances 1. Oven Ingredients: Procedure: 2. Microwave Ingredients: Procedure: 3. Refrigerator Ingredients: Procedure: 4. Dishwasher Ingredients: Procedure: 5. Coffee Maker Ingredients: Procedure: Baking soda and vinegar are powerful, natural cleaning agents that can effectively clean and maintain your kitchen appliances. By using these eco-friendly ingredients, you can keep your appliances in top shape without relying on harsh chemicals. Regular cleaning not only prolongs the life of your appliances but also ensures that your kitchen stays hygienic and pleasant. Give these tips a try and enjoy a cleaner, more efficient kitchen!

Using Griddles on Cooktops: Tips for Perfect Pancakes and More

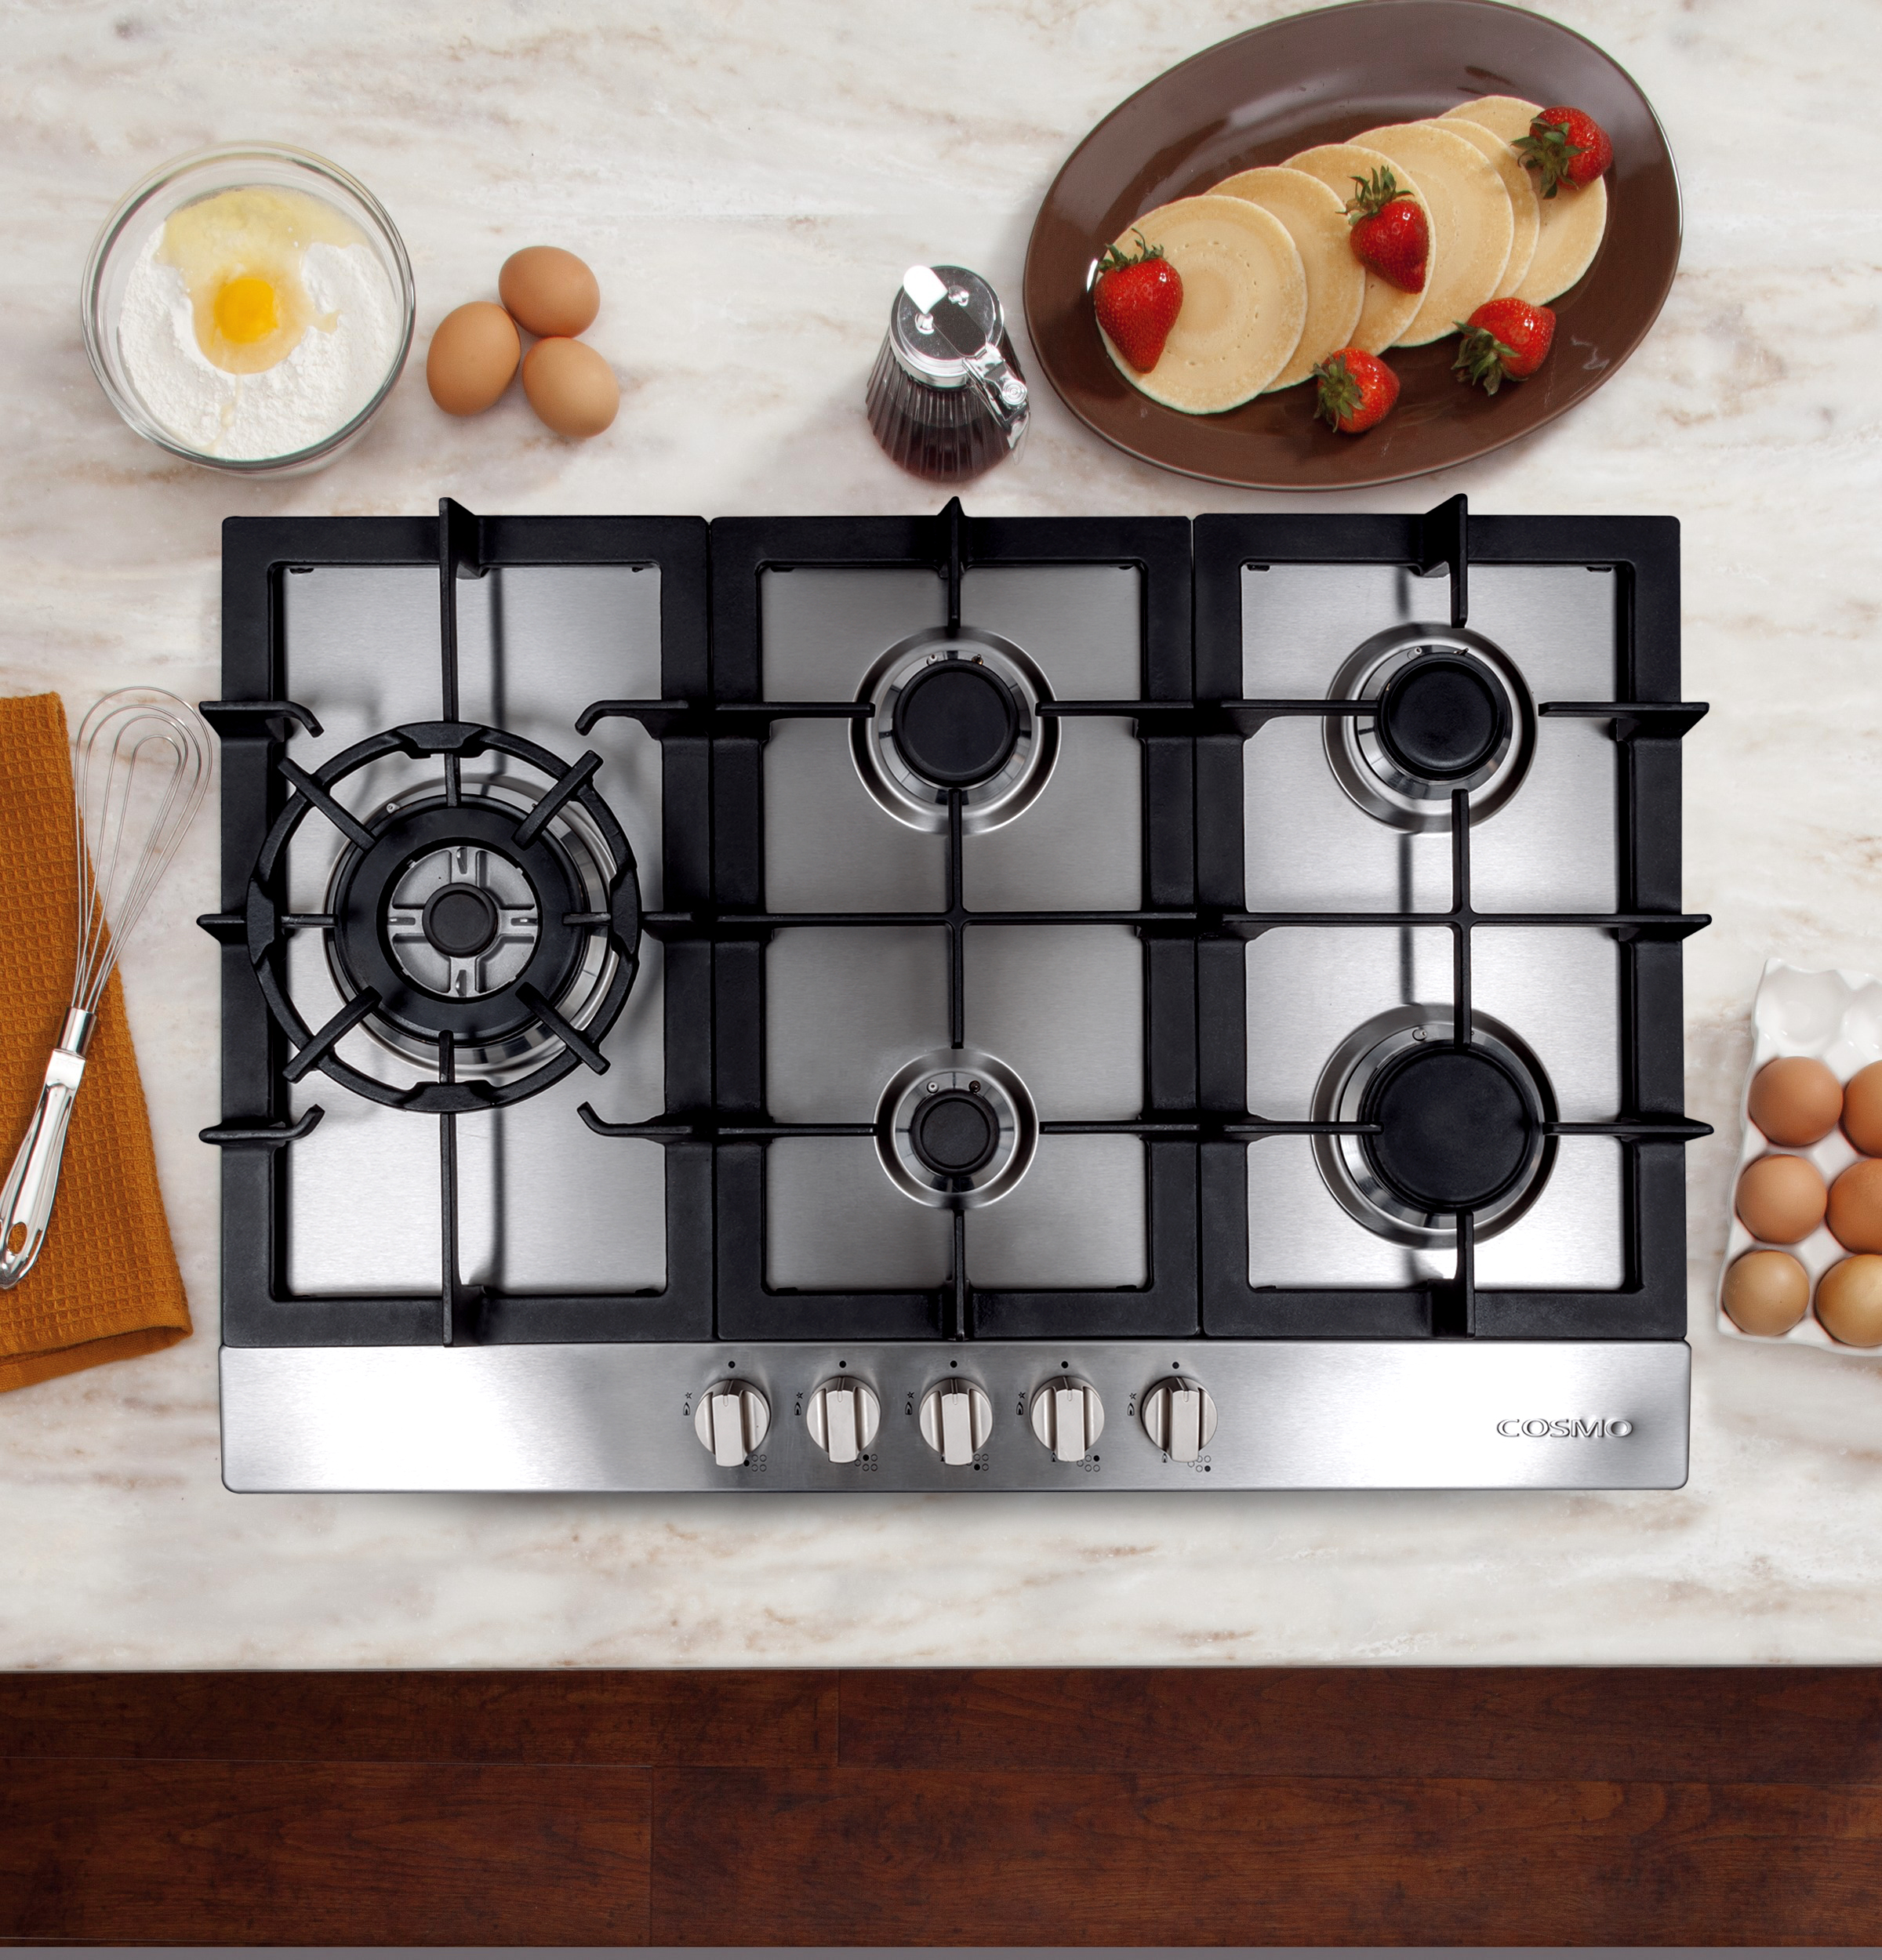
A griddle is a versatile kitchen tool that can transform your cooktop into a flat, expansive cooking surface perfect for making pancakes, grilling sandwiches, searing meats, and so much more. Whether you’re cooking for a crowd or just want to master the art of perfectly cooked pancakes, using a griddle can elevate your culinary skills. In this blog post, we’ll explore how to use a griddle on your cooktop and share tips for making perfect pancakes and other delicious dishes. Why Use a Griddle on Your Cooktop? Griddles offer several advantages: Getting Started: How to Use a Griddle on Your Cooktop Step 1: Choose the Right Griddle Step 2: Preheat the Griddle Tips for Perfect Pancakes Making perfect pancakes is an art, and a griddle can help you achieve consistently fluffy, golden-brown results. Here are some tips: 1. Use a Batter Dispenser 2. Control the Heat 3. Flip at the Right Time 4. Don’t Overcrowd the Griddle 5. Keep Pancakes Warm More Griddle Cooking Tips While pancakes are a breakfast favorite, griddles can be used for so much more. Here are some additional tips for making the most of your griddle: 1. Perfectly Crispy Bacon 2. Grilled Sandwiches 3. Searing Meats and Vegetables 4. Breakfast Spread Cleaning and Maintaining Your Griddle To keep your griddle in top condition, follow these cleaning and maintenance tips: 1. Clean After Each Use 2. Seasoning (For Cast Iron) 3. Avoid Abrasive Cleaners Using a griddle on your cooktop opens up a world of culinary possibilities, from perfectly cooked pancakes to savory seared meats. By following these tips and techniques, you can make the most of your griddle and enjoy delicious meals with ease. Whether you’re cooking breakfast for the family or grilling up a quick dinner, a griddle is an invaluable tool that brings versatility and convenience to your kitchen. So, fire up your griddle and start cooking!

Tips for Reducing Sodium and Sugar in Home-Cooked Meals

Incorporating healthy habits into your cooking can have a significant impact on your overall well-being. Two common dietary concerns are excessive sodium and sugar intake, which can contribute to various health issues like high blood pressure, heart disease, and diabetes. Fortunately, reducing sodium and sugar in your home-cooked meals doesn’t mean sacrificing flavor. Here are some practical tips to help you create delicious, healthier dishes. Use Fresh Herbs and Spices One of the best ways to reduce sodium is by enhancing the flavor of your meals with fresh herbs and spices. Basil, cilantro, parsley, rosemary, thyme, and oregano can add depth and aroma to your dishes without the need for extra salt. Spices like cumin, paprika, turmeric, and ginger can also elevate the flavor profile of your food, making it more enjoyable and satisfying. Tip: Experiment with different herb and spice combinations to find what you like best. For example, a mix of garlic, rosemary, and lemon zest can make a roasted chicken dish pop with flavor. Opt for Low-Sodium Alternatives When shopping, choose low-sodium or no-salt-added versions of common ingredients like canned beans, tomatoes, broths, and sauces. These products are widely available and can make a big difference in your sodium intake. Tip: If you can’t find low-sodium options, rinse canned foods like beans and vegetables under cold water to remove some of the added salt. Cook from Scratch Preparing meals from scratch allows you to control the amount of sodium and sugar that goes into your food. Processed and pre-packaged foods are often loaded with hidden salts and sugars. By making your own soups, sauces, and dressings, you can avoid these additives and tailor the flavors to your taste. Tip: Homemade tomato sauce, for example, can be seasoned with garlic, onion, and herbs instead of relying on store-bought versions that may contain high levels of sodium and sugar. Reduce Sugar Gradually If you’re trying to cut back on sugar, do it gradually so your taste buds have time to adjust. Start by reducing the amount of sugar called for in recipes by one-quarter to one-third. In many cases, you won’t even notice the difference. Tip: In baking, you can often replace some of the sugar with natural sweeteners like applesauce, mashed bananas, or pureed dates. These alternatives add sweetness along with additional nutrients and fiber. Be Mindful of Sauces and Condiments Sauces, dressings, and condiments can be sneaky sources of sodium and sugar. Ketchup, barbecue sauce, soy sauce, and salad dressings often contain high levels of both. Consider making your own versions at home, where you can control the ingredients. Tip: For a low-sodium, low-sugar alternative to soy sauce, try using coconut aminos or make a simple dressing with olive oil, vinegar, mustard, and herbs. Increase the Use of Vegetables Vegetables are naturally low in sodium and sugar and can add bulk, flavor, and nutrients to your meals. Incorporate more vegetables into your dishes, such as stir-fries, soups, and casseroles, to reduce the need for added salt or sugar. Tip: Use vegetables like carrots, bell peppers, and onions to naturally sweeten dishes. Roasting vegetables can also bring out their natural sweetness, eliminating the need for additional sugars. Watch Portion Sizes Sometimes, reducing sodium and sugar can be as simple as watching your portion sizes. Consuming smaller portions naturally limits your intake of these ingredients, even if you don’t alter the recipe. Tip: Use smaller plates or bowls to help control portion sizes and avoid the temptation to overeat. Read Labels Carefully When buying packaged foods, always read the nutrition labels. Look for products with lower sodium and sugar content, and be aware of the various names sugar can go by, such as corn syrup, fructose, glucose, and sucrose. Tip: Choose foods labeled as “low sodium,” “no added sugar,” or “unsweetened.” Keep in mind that “reduced sodium” or “reduced sugar” products may still contain significant amounts. Use Citrus and Vinegar for Flavor Citrus fruits like lemons, limes, and oranges, as well as vinegars, can add brightness and acidity to your dishes, enhancing flavor without the need for extra salt or sugar. A squeeze of lemon or a splash of vinegar can transform a dish, making it taste fresh and vibrant. Tip: Try using balsamic vinegar or lemon juice in salad dressings or marinades to cut down on sugar while adding a tangy kick. Plan Your Meals Planning your meals in advance allows you to think about how much sodium and sugar are in each dish. This way, you can balance your diet throughout the week and ensure you’re not consuming too much of either. Tip: Incorporate a variety of meals with whole grains, lean proteins, and plenty of fruits and vegetables to keep your diet diverse and nutritionally balanced. Reducing sodium and sugar in your home-cooked meals doesn’t have to be a daunting task. With a few simple changes and mindful cooking practices, you can create flavorful, satisfying dishes that are better for your health. Start with these tips, and enjoy the benefits of a diet that’s lower in sodium and sugar without compromising on taste.

Using Your Microwave for Baking: Tips and Tricks for Success

Microwaves are typically known for reheating leftovers or quickly cooking simple meals, but did you know they can also be used for baking? While a microwave won’t completely replace a traditional oven, it can be a handy alternative for small batches, quick desserts, or when your main oven is occupied. Here’s how to make the most of your microwave for baking, along with some tips and tricks to ensure success. Choose Microwave-Safe Bakeware The first step to successful microwave baking is choosing the right bakeware. Use only microwave-safe containers, such as glass, ceramic, or silicone, to avoid any mishaps. Avoid metal pans or dishes with metallic trims, as they can cause sparks or damage your microwave. Also, consider using round containers rather than square or rectangular ones, as they promote more even cooking. Understand Power Levels Microwaves typically operate at different power levels, which can be adjusted depending on what you’re baking. Lower power levels mimic the slow, steady heat of an oven and are ideal for baking. For instance, if your microwave’s maximum power is 1000 watts, you might want to bake at 50% power (500 watts) to avoid overcooking the outside while the inside remains undercooked. Use Small Portions and Batches Microwaves work best for smaller portions, so keep this in mind when baking. Large cakes or loaves may not cook evenly, leading to dry or rubbery textures. Stick to individual servings or small batches, like mug cakes, brownies, or mini cookies, for the best results. Additionally, since microwaves cook food quickly, small portions ensure even baking throughout. Rotate and Monitor Microwaves can have hot spots, so it’s crucial to rotate your dish halfway through baking to ensure even cooking. If your microwave doesn’t have a turntable, manually rotate the dish every minute or so. Also, keep an eye on your baked goods and check for doneness frequently, as microwaves can cook faster than you might expect. Add Moisture Microwave baking can sometimes dry out baked goods, especially if cooked for too long. To combat this, consider adding a small cup of water in the microwave alongside your dish. The steam from the water will help keep your baked goods moist. Alternatively, use ingredients like yogurt, applesauce, or even a bit of extra butter or oil in your recipes to maintain moisture. Experiment with Timing Microwave baking times can vary significantly from those in a conventional oven, so be prepared to experiment. Start by setting a shorter cook time and increase it gradually until you achieve the desired result. It’s better to undercook slightly and add extra time than to overcook and ruin your dish. Use Pre-Packaged Microwave Baking Mixes For beginners, pre-packaged microwave baking mixes can be a great way to get started. These mixes are specifically designed for microwaves and come with precise instructions, making it easier to achieve a successful bake. Once you’re comfortable, you can start experimenting with your own recipes. Allow for Carryover Cooking Microwave-baked goods often continue to cook slightly after being removed from the microwave due to residual heat. To avoid overcooking, let your baked goods rest for a minute or two after removing them from the microwave. This rest time allows the heat to distribute evenly, ensuring a better texture. Know When to Use the Microwave While the microwave is convenient, it’s not suitable for all types of baking. Delicate pastries, flaky pie crusts, and recipes requiring a crispy or browned exterior are better suited to a traditional oven. However, for quick cakes, puddings, and other simple treats, the microwave can be a lifesaver. Baking in a microwave can be a convenient and efficient way to prepare small, quick treats. With the right techniques and a bit of experimentation, you can achieve delicious results that rival those from a conventional oven. Whether you’re whipping up a quick dessert or trying out a new recipe, these tips and tricks will help you make the most of your microwave for baking success.

How to Select and Store Eggs for Maximum Freshness

Eggs are a staple in many kitchens, valued for their versatility and nutritional benefits. Whether you’re baking, cooking, or enjoying them on their own, choosing the right eggs and storing them properly is crucial for maintaining their freshness and flavor. In this blog post, we’ll explore how to select the best eggs at the store and the best practices for storing them to ensure they stay fresh and safe to eat. How to Select the Best Eggs 1. Check the Carton Date: 2. Inspect the Eggs: 3. Consider the Egg Size and Grade: 4. Look for Specialty Eggs: How to Store Eggs for Maximum Freshness 1. Store Eggs in the Refrigerator: 2. Place Eggs on a Middle Shelf: 3. Store Eggs Pointy End Down: 4. Check for Freshness: 5. Use Older Eggs for Baking: 6. Don’t Wash Eggs Before Storing: Selecting and storing eggs properly ensures that they remain fresh, safe, and delicious for all your culinary needs. By following these simple tips, you can make the most of your egg purchases, whether you’re making breakfast, baking a cake, or whipping up a batch of homemade mayonnaise. Remember to always check for freshness and store eggs at the correct temperature to enjoy their full flavor and nutritional benefits.

How to Clean a Blender and Other Small Kitchen Appliances

Small kitchen appliances like blenders, coffee makers, and toasters are essential tools in our daily cooking routines. However, over time, they can accumulate food residue, grease, and stains, which not only affect their performance but also pose hygiene risks. Regular cleaning and maintenance are key to extending the life of these appliances and ensuring they function efficiently. In this blog post, we’ll guide you through the process of cleaning your blender and other common small kitchen appliances, so you can keep your kitchen tools in top shape. How to Clean a Blender Blenders are versatile appliances, used for everything from smoothies to soups. However, their design can make them tricky to clean properly. Here’s how to do it: 1. Disassemble the Blender: 2. Rinse Immediately After Use: 3. Use Warm Soapy Water: 4. Deep Clean the Components: 5. Clean the Base: 6. Reassemble and Store: How to Clean Other Small Kitchen Appliances 1. Coffee Maker: Coffee makers can accumulate mineral deposits and coffee oils, affecting the taste of your brew. Here’s how to clean it: 2. Toaster: Toasters collect crumbs and can become a fire hazard if not cleaned regularly. 3. Microwave: Microwaves can quickly become dirty from food splatters and spills. 4. Food Processor: Food processors can trap food particles in various parts, making them difficult to clean. Keeping your small kitchen appliances clean is essential for maintaining their performance and ensuring your kitchen remains a safe and hygienic space. By following these cleaning tips for your blender, coffee maker, toaster, microwave, and food processor, you can extend the life of your appliances and enjoy consistently great results in your cooking and food preparation. Make regular cleaning a part of your kitchen routine, and your appliances will thank you with years of reliable service.

Range Hood Height: Finding the Perfect Installation Height

When it comes to kitchen ventilation, the range hood is an essential appliance that plays a critical role in maintaining a clean, odor-free, and safe cooking environment. However, to achieve optimal performance, it’s important to install your range hood at the correct height above your cooktop. Installing it too high or too low can affect its efficiency, reducing its ability to remove smoke, steam, and cooking odors effectively. In this blog post, we’ll guide you through the key factors to consider when determining the perfect installation height for your range hood. Understanding the Basics Range hoods are designed to capture and vent out smoke, steam, and odors generated during cooking. The correct installation height ensures that the range hood can effectively capture these airborne particles without compromising its efficiency or your cooking experience. General Guidelines While the ideal height can vary depending on the type of range hood and your specific kitchen setup, there are general guidelines that can help you find the right height for your installation: Factors to Consider: Tips for a Seamless Installation: Finding the perfect installation height for your range hood is essential for ensuring optimal performance and maintaining a comfortable cooking environment. By considering factors such as cooktop type, ceiling height, and personal cooking habits, you can determine the ideal height that suits your kitchen’s needs. Whether you’re installing a new range hood or adjusting an existing one, following these guidelines will help you achieve the best results. Proper range hood installation not only enhances the efficiency of your kitchen ventilation but also adds to the overall aesthetic appeal of your kitchen. So take the time to measure, adjust, and install your range hood at the right height to enjoy a cleaner, safer, and more enjoyable cooking experience.

The Role of Burner Types: Sealed vs. Open Burners

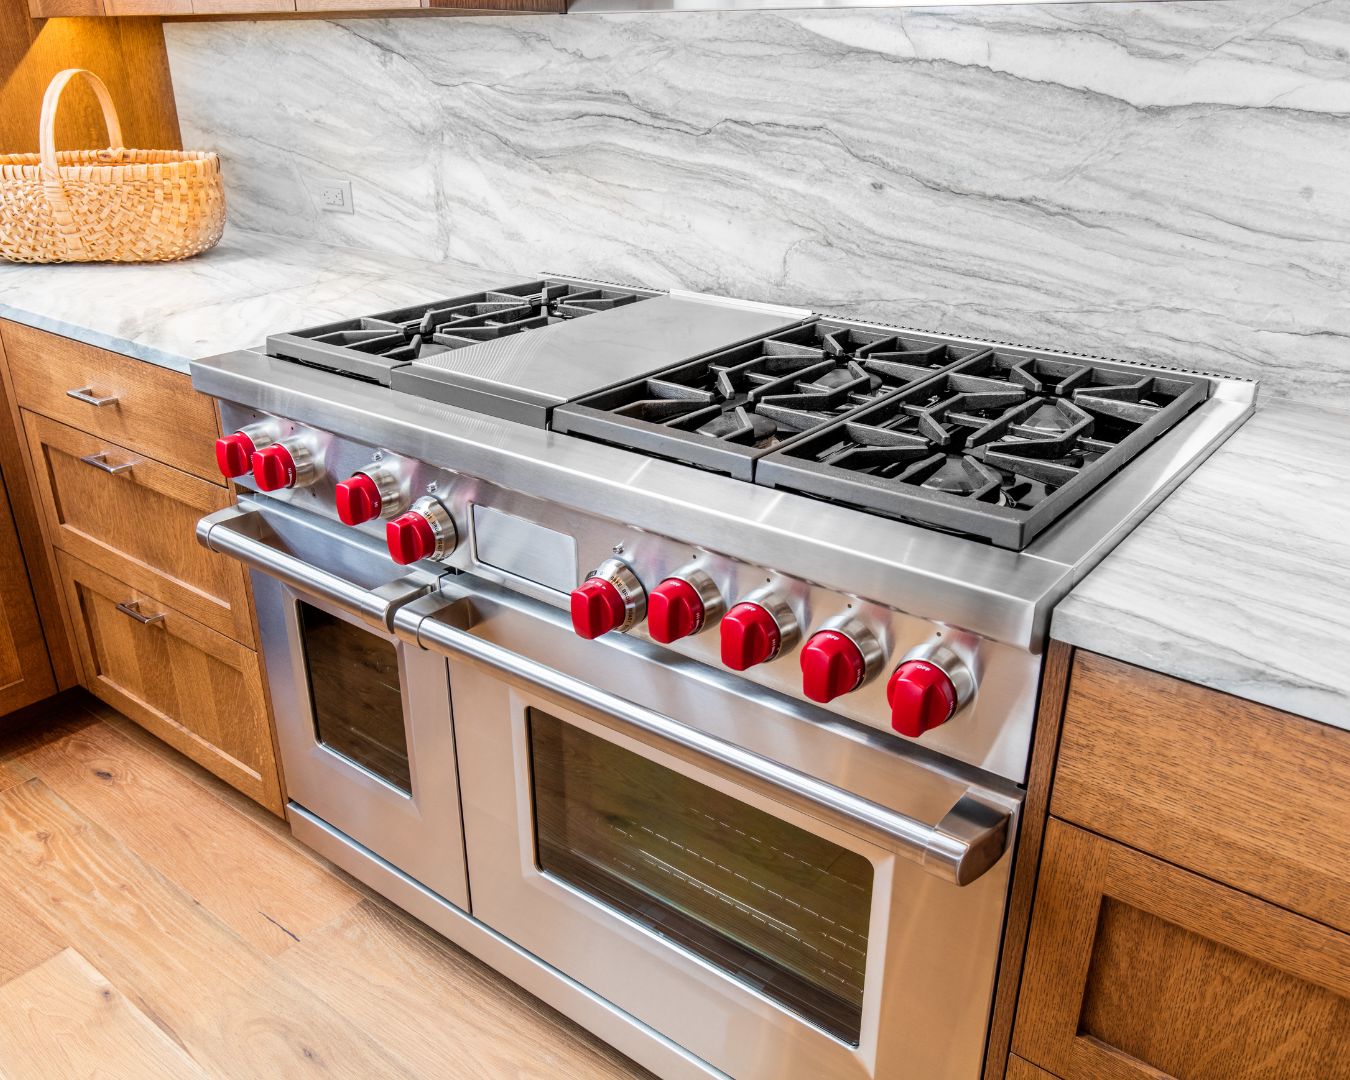
When it comes to choosing a cooktop, one of the most important decisions is selecting the right type of burner for your cooking needs. The two primary types of burners you’ll encounter are sealed burners and open burners. Each has its own set of advantages and drawbacks, making them suitable for different types of cooking styles and preferences. In this post, we’ll explore the key differences between sealed and open burners and help you determine which might be the best fit for your kitchen. Sealed Burners: Convenience and Cleanliness Sealed burners are designed with a cap that covers the burner, preventing spills and debris from entering the burner itself. This design makes them incredibly easy to clean, as any spills stay on the cooktop surface and can be wiped away with a damp cloth. The smooth, flat surface around the burner also allows for easier maneuvering of pots and pans. In addition to being easy to clean, sealed burners tend to distribute heat more evenly, making them ideal for simmering sauces or cooking delicate dishes that require precise temperature control. The sealed design also helps to contain heat within the burner, which can improve energy efficiency and reduce the risk of burns. Pros: Cons: Open Burners: Power and Performance Open burners, on the other hand, are designed with an exposed flame that allows for more direct contact with the cookware. This design provides a powerful and intense heat source, making open burners a favorite among professional chefs and serious home cooks who need high heat for tasks like searing, stir-frying, or boiling large quantities of water quickly. The open design also allows for better air circulation around the burner, which can result in more efficient combustion and faster cooking times. However, the exposed flame can be more challenging to clean, as spills and food particles can easily fall into the burner, requiring more frequent maintenance. Pros: Cons: Which Burner Type Is Right for You? The choice between sealed and open burners ultimately depends on your cooking style and kitchen habits. If you prioritize easy cleanup and often cook dishes that require low to medium heat, sealed burners may be the better option. They offer convenience and safety, making them ideal for everyday home cooking. On the other hand, if you’re a cooking enthusiast who enjoys experimenting with high-heat techniques and doesn’t mind a little extra cleaning, open burners might be the way to go. They provide the power and performance needed for more demanding cooking tasks, giving you greater control over your culinary creations. In conclusion, both sealed and open burners have their unique benefits, and understanding these differences can help you make an informed decision when choosing a cooktop. Whether you’re looking for ease of use or professional-grade performance, selecting the right burner type will enhance your cooking experience and allow you to create delicious meals with confidence.

How to Select, Store, and Prepare Peppers: A Complete Guide

Peppers are a versatile and flavorful ingredient that can add color, crunch, heat, and depth to a wide range of dishes. With their variety of flavors—from sweet and mild to fiery hot—peppers have become a kitchen staple worldwide. Whether you’re using bell peppers for stir-fries or adding some heat with chili peppers, knowing how to select, store, and prepare peppers will help you get the most out of these vibrant vegetables. Here’s a comprehensive guide to choosing the best peppers, keeping them fresh, and prepping them for your next culinary creation. Selecting the Right Peppers When shopping for peppers, it’s important to select the right type based on your recipe and flavor preference. Here’s a quick breakdown of the most common peppers: 1. Bell Peppers What to Look For: 2. Jalapeño Peppers What to Look For: 3. Poblano Peppers What to Look For: 4. Habanero Peppers What to Look For: 5. Chili Peppers (e.g., Serrano, Cayenne, Thai) What to Look For: How to Store Peppers Storing peppers properly will help extend their freshness and flavor. Here are some tips for keeping your peppers in prime condition. 1. Store Whole Peppers in the Refrigerator 2. Freeze Peppers for Long-Term Storage 3. Store Dried Peppers in a Cool, Dark Place How to Prepare Peppers 1. Washing and Seeding Peppers 2. Roasting Peppers Roasting peppers enhances their sweetness and gives them a smoky flavor. Here’s how to roast them: Roasted peppers are perfect for salsas, sauces, or stuffing. 3. Sautéing Peppers Sautéing peppers softens them and brings out their natural sweetness. This method is great for fajitas, stir-fries, or as a side dish. 4. Grilling Peppers Grilling peppers brings out their smokiness and enhances their natural flavors. Use grilled peppers in sandwiches, salads, or as a topping for meats. 5. Pickling Peppers Pickled peppers make a tangy and spicy addition to sandwiches, tacos, and salads. Cooking with Peppers: Recipe Ideas Peppers are a must-have ingredient in every kitchen, offering endless possibilities for flavor, color, and texture in your meals. From selecting the freshest peppers at the store to storing them for long-term use, this guide will help you make the most of this versatile vegetable. Whether you’re roasting bell peppers, grilling jalapeños, or pickling chili peppers, you’ll always have the perfect pepper for any dish!