Unlocking the Benefits of Healthy Fats: A Guide to Nutrient-Rich Choices
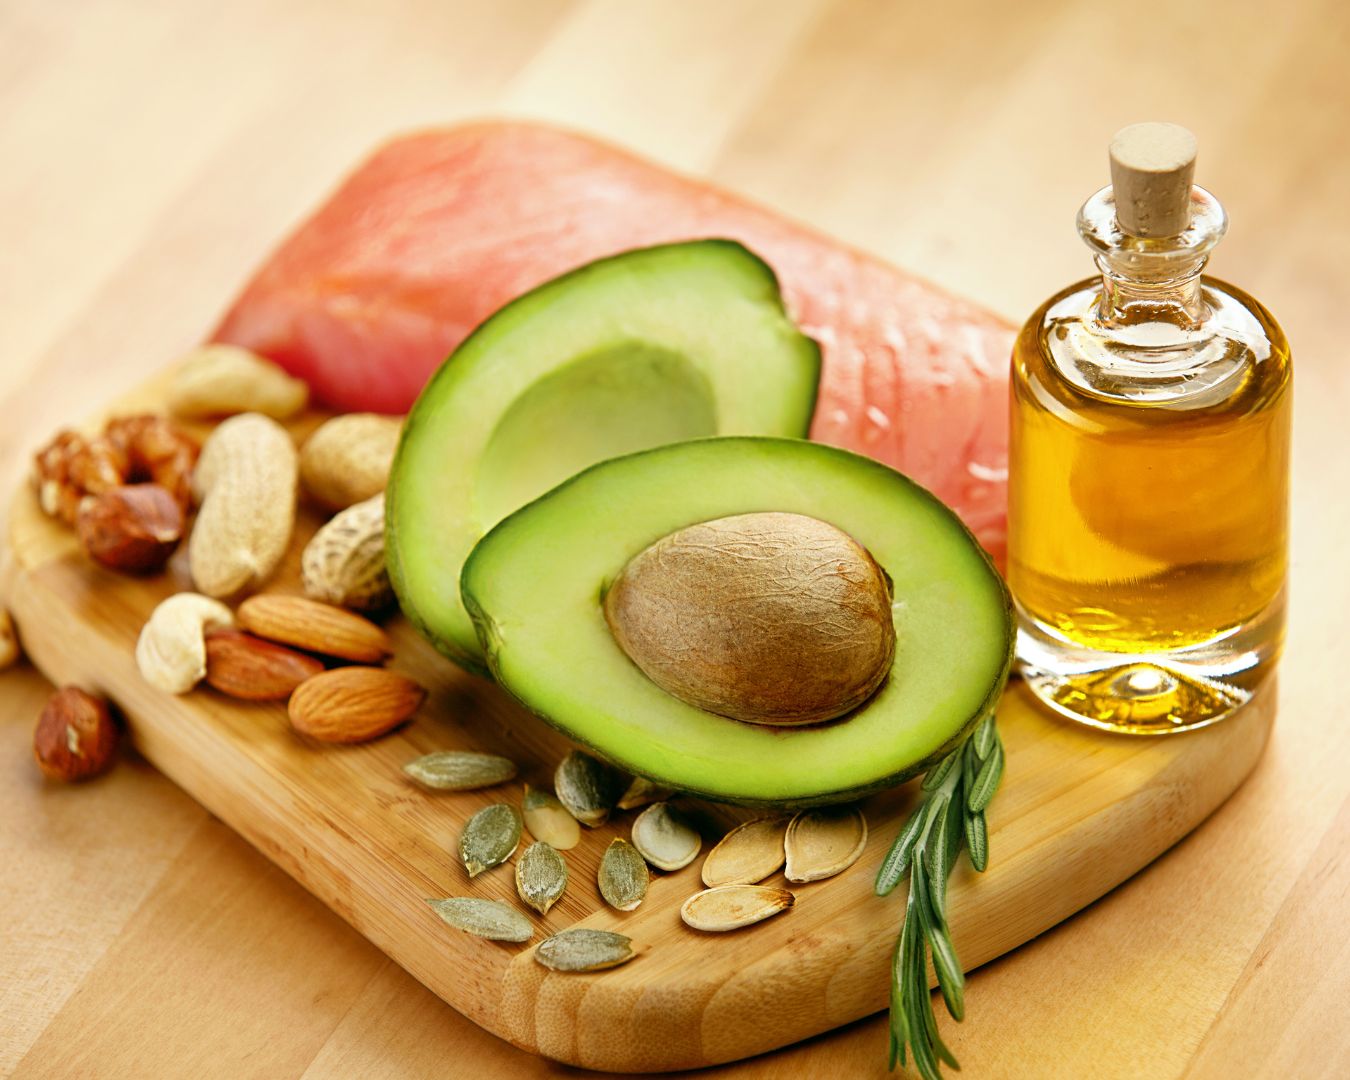
When it comes to maintaining a balanced diet, fats are often misunderstood. While many people avoid fats due to concerns about weight gain and health issues, it’s essential to recognize that not all fats are created equal. In fact, healthy fats are a crucial part of a nutritious diet, offering numerous benefits for overall well-being. Here’s a guide to understanding healthy fats and how to incorporate them into your diet for optimal health. What Are Healthy Fats? Healthy fats, also known as unsaturated fats, are beneficial for your health when consumed in moderation. They include monounsaturated and polyunsaturated fats, both of which play important roles in maintaining heart health, brain function, and overall wellness. Let’s explore these healthy fats in detail and discover their sources. 1. Monounsaturated Fats Monounsaturated fats are known for their ability to improve heart health by lowering bad cholesterol levels (LDL) and raising good cholesterol levels (HDL). They also provide essential nutrients and antioxidants. Sources of Monounsaturated Fats: 2. Polyunsaturated Fats Polyunsaturated fats are essential fats that the body cannot produce on its own. They include omega-3 and omega-6 fatty acids, both of which are crucial for maintaining health. Omega-3 Fatty Acids: Omega-6 Fatty Acids: 3. Saturated Fats (in Moderation) While traditionally viewed as less healthy, some saturated fats can be part of a balanced diet if consumed in moderation. They provide energy and support cell structure. Sources of Saturated Fats: 4. Unhealthy Fats to Limit Not all fats are beneficial. It’s important to limit or avoid unhealthy fats, including: Incorporating Healthy Fats into Your Diet Adding healthy fats to your diet can be both delicious and nutritious. Here are some tips for including them in your meals: Healthy fats are a vital component of a balanced diet and offer a range of benefits, from supporting heart health and brain function to aiding in weight management and skin care. By incorporating sources of healthy fats like avocados, olive oil, nuts, seeds, and fatty fish into your meals, you can enhance your overall well-being. Remember, moderation is key, and enjoying these fats as part of a varied diet will help you reap their full health benefits. Embrace the goodness of healthy fats and take a step towards a healthier, more vibrant you!