Different Cooking Methods for Root Vegetables: Roasting, Mashing, Frying, and More
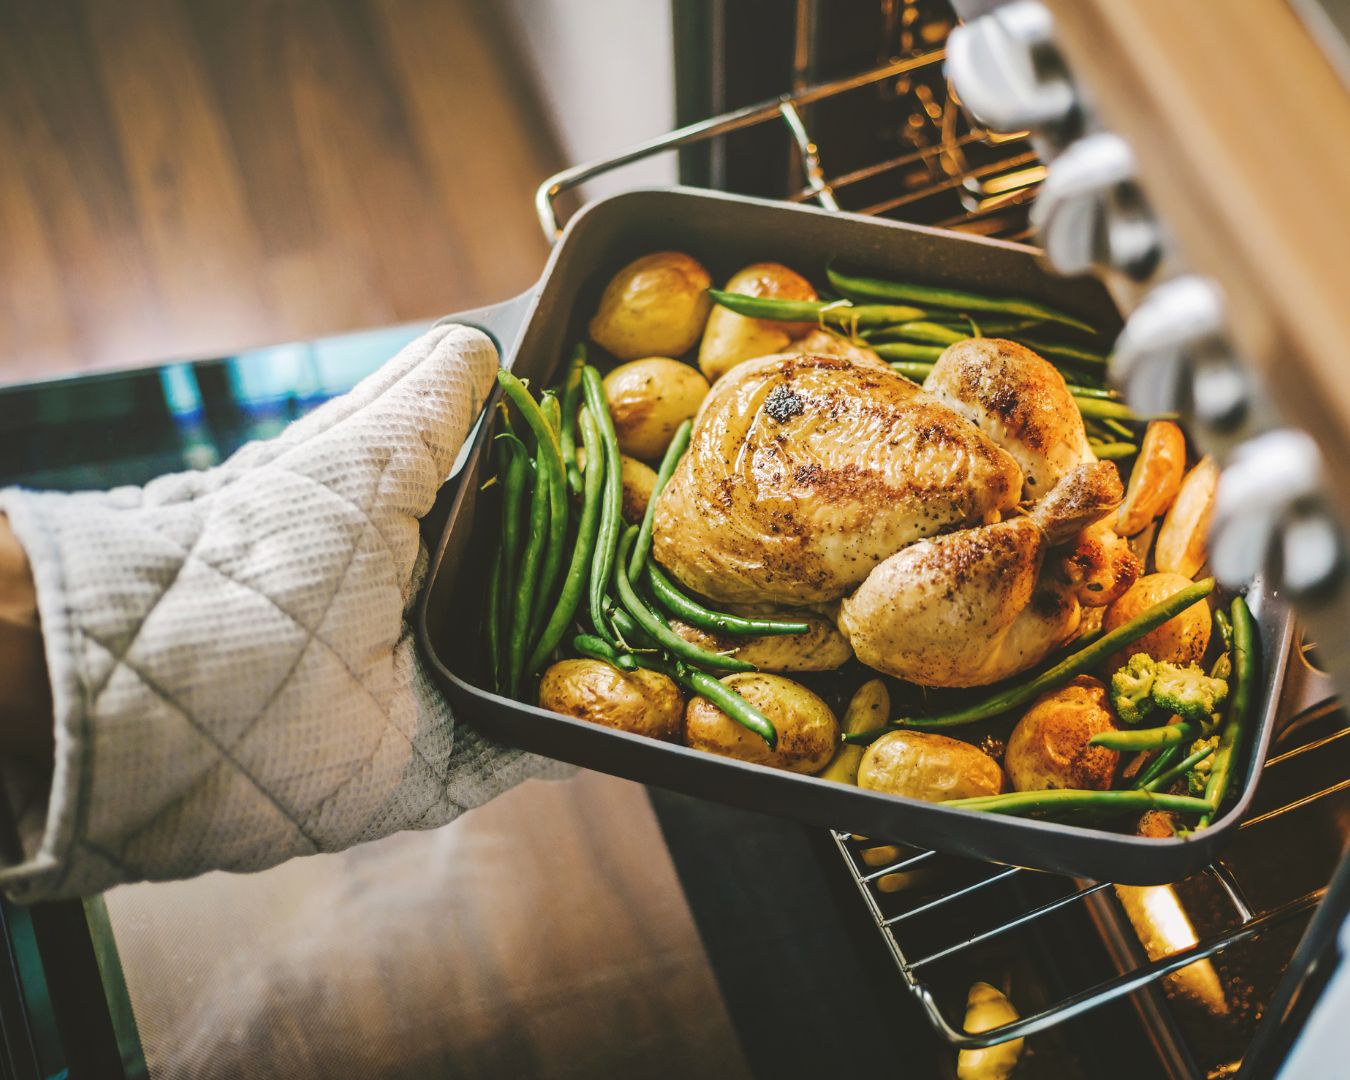
Root vegetables, such as potatoes, carrots, beets, and parsnips, are versatile and nutritious ingredients that can be prepared in a variety of ways. Their hearty texture and natural sweetness make them a staple in many cuisines around the world. In this blog post, we’ll explore different cooking methods for root vegetables, each bringing out unique flavors and textures. Whether you’re looking to roast, mash, fry, or try something new, there’s a method to suit every palate. Roasting: Enhancing Natural Sweetness Roasting is one of the most popular methods for cooking root vegetables. This technique involves cooking the vegetables in a hot oven, which caramelizes their natural sugars and enhances their flavors. Benefits: Roasting brings out the natural sweetness of root vegetables and gives them a crispy exterior with a tender inside. Mashing: Comfort in Every Bite Mashing root vegetables creates a creamy, comforting dish that’s a great alternative to traditional mashed potatoes. This method is perfect for creating smooth, buttery side dishes. Benefits: Mashing is a versatile method that allows you to create a variety of flavors and textures, from rustic and chunky to silky and smooth. Frying: Crispy and Satisfying Frying is a method that adds a crispy exterior to root vegetables, making them irresistibly delicious. Whether you’re frying in a pan or deep-frying, this technique creates a satisfying crunch. Benefits: Frying gives root vegetables a crispy texture that’s perfect for snacks or side dishes. Boiling: Simple and Nutritious Boiling is one of the simplest methods for cooking root vegetables. It’s quick, easy, and preserves the natural flavors of the vegetables. Benefits: Boiling is a straightforward method that retains the nutrients in root vegetables and prepares them for other dishes. Steaming: Retaining Nutrients and Flavor Steaming is a gentle cooking method that preserves the nutrients and natural flavors of root vegetables. It’s ideal for those who prefer a simple, healthy preparation. Benefits: Steaming preserves the color, texture, and nutritional value of root vegetables while keeping them tender. Grilling: Smoky and Charred Goodness Grilling root vegetables adds a smoky flavor and appealing charred edges, making them a perfect addition to summer barbecues or as a side dish. Benefits: Grilling imparts a unique, smoky flavor to root vegetables and adds a satisfying char that enhances their natural sweetness. Root vegetables are incredibly versatile, offering a range of textures and flavors depending on the cooking method you choose. Whether you prefer the sweetness brought out by roasting, the creamy comfort of mashing, the crispiness of frying, or the simplicity of boiling and steaming, there’s a method to suit every taste. Experiment with different techniques to find your favorite way to enjoy these nutritious and delicious vegetables.