kitchen

Boost Your Health by Easily Incorporating Superfoods into Your Diet

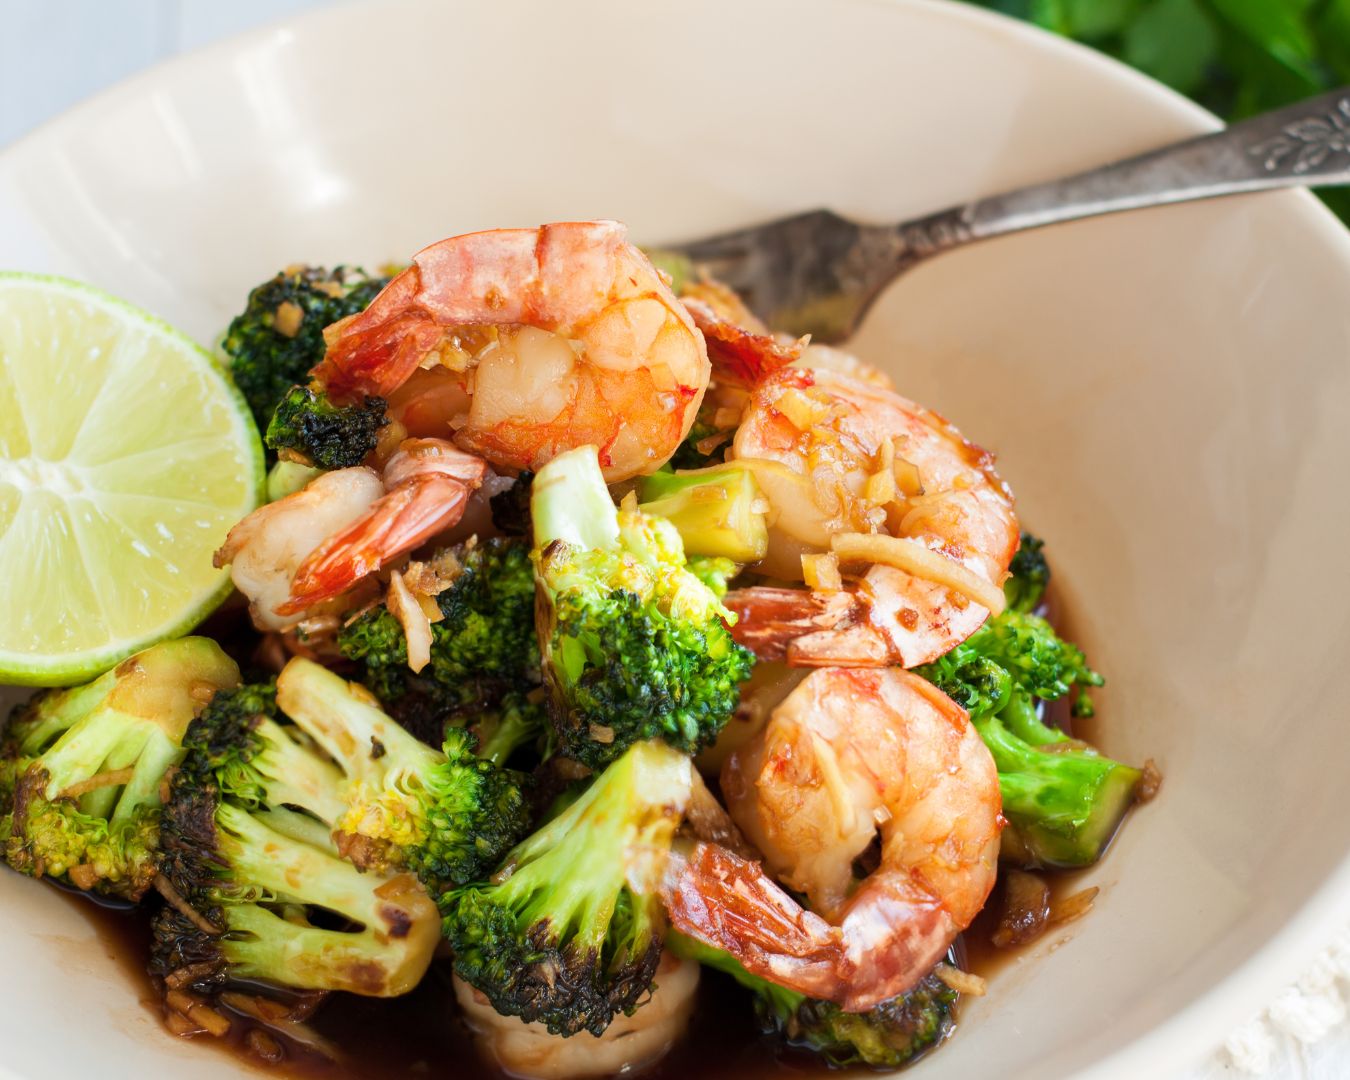
Superfoods are nutrient-dense foods packed with vitamins, minerals, and antioxidants that can significantly benefit your health. From leafy greens like kale to seeds like chia, these foods provide essential nutrients that can support your immune system, improve digestion, and enhance overall well-being. But how do you seamlessly add these powerful foods to your everyday diet? In this post, we’ll explore easy and delicious ways to incorporate superfoods into your meals without overwhelming your routine. Start Your Day with Superfoods at Breakfast Breakfast is a great opportunity to infuse your meal with superfoods, giving your body a healthy head start. Upgrade Your Snacks with Superfoods Snacks are an excellent way to sneak more superfoods into your diet. Supercharge Your Salads Salads are a natural home for superfoods and can be customized with a wide range of nutrient-dense ingredients. Power Up Your Lunch and Dinner Incorporating superfoods into your main meals is easier than you think with a few simple swaps. Supercharge Your Soups and Stews Soups and stews provide the perfect opportunity to incorporate superfoods without much effort. Drink Your Superfoods Superfoods don’t have to be limited to solid foods. Beverages can also be a great way to boost your nutrient intake. Incorporate Superfoods into Your Desserts Yes, even your desserts can be supercharged with nutrients without sacrificing flavor! Incorporating superfoods into your diet doesn’t have to be complicated. By making small, intentional changes, you can gradually increase the amount of nutrient-dense, health-boosting foods you consume. Whether it’s adding a handful of spinach to your smoothie or using quinoa as a base for your salad, these small adjustments can have a big impact on your overall health and well-being. So start experimenting with these simple ideas and give your meals a nutritional upgrade today!

How to Choose and Maintain Kitchen Towels for Different Cleaning Tasks

Kitchen towels are an essential tool for keeping your kitchen clean and efficient. However, not all kitchen towels are created equal, and selecting the right ones for different tasks—whether drying dishes, wiping counters, or handling hot pans—can make a significant difference. Maintaining them properly is also key to ensuring their longevity and keeping your kitchen hygienic. Here’s a comprehensive guide on how to choose the best kitchen towels for various tasks and tips for maintaining them. Choosing the Right Kitchen Towels for Different Tasks When selecting kitchen towels, consider the type of material and size best suited for each specific cleaning or cooking task. a) Cotton Towels for General Cleaning and Drying Cotton towels are soft, absorbent, and ideal for general kitchen tasks such as drying dishes, wiping countertops, and cleaning spills. b) Microfiber Towels for Detailed Cleaning Microfiber towels are excellent for tasks that require precision, like wiping down appliances or polishing glass surfaces. These towels trap dust and grime effectively without leaving streaks behind. c) Terry Cloth Towels for Absorbing Spills Terry cloth towels, with their looped texture, are ideal for soaking up large spills or wiping up messes in the kitchen. d) Flour Sack Towels for Baking and Proofing Flour sack towels are lightweight, thin, and made from soft cotton. These towels are great for tasks that require a delicate touch, like covering bread dough while it proofs or drying freshly washed fruits and vegetables. e) Lint-Free Towels for Glassware When drying glassware or crystal, you’ll want to avoid towels that leave lint behind. Linen or specially designed glass-drying towels are ideal for this task. Maintaining Your Kitchen Towels Once you’ve selected the right towels for your kitchen, proper maintenance will ensure they stay clean, fresh, and in good condition. a) Wash Kitchen Towels Regularly Kitchen towels, especially those used for drying hands or wiping surfaces, should be washed frequently to prevent the spread of bacteria and germs. Pro Tip: Wash towels separately from clothes, as kitchen towels can pick up grease and food particles that you don’t want transferring to your laundry. b) Avoid Cross-Contamination Assign specific towels for different tasks to avoid cross-contamination in the kitchen. Pro Tip: Keep your towels organized by hanging them in designated spots. This will prevent them from being used interchangeably and ensures that you always know which towel is meant for which task. c) Air Dry Towels Thoroughly Damp towels can become a breeding ground for bacteria and mold. After use, make sure to hang towels in a well-ventilated area so they can air dry completely between uses. Pro Tip: Consider purchasing quick-dry towels if you live in a humid environment or if you frequently use towels throughout the day. d) Treat Stains Promptly Kitchen towels are prone to stains from food, grease, and sauces. Treat stains as soon as possible to prevent them from setting. Pro Tip: If you do use bleach, limit it to white towels and only use it occasionally to prevent fiber breakdown. e) Replace Worn-Out Towels Even with proper care, kitchen towels will eventually wear out. Pay attention to signs of wear, such as fraying edges, thinning fabric, or a musty odor that won’t go away, even after washing. Pro Tip: Rotate your towels regularly, using all of them evenly to avoid wearing out just a few. This can extend the life of each towel. Choosing the right kitchen towels for specific tasks can make your kitchen cleaning routine more efficient and hygienic. Whether you need a durable terry cloth towel for absorbing spills or a lint-free towel for drying glassware, having the right towels on hand is essential. By maintaining them properly—washing regularly, air drying thoroughly, and treating stains—you’ll ensure they remain in top condition and serve you well in the kitchen. With a little care and organization, your kitchen towels will help keep your cooking space clean and efficient.

Choosing the Right Cookware for Your Cooktop

Choosing the right cookware for your cooktop is essential for cooking efficiently, extending the life of your appliances, and achieving the best results with your meals. Whether you have an induction, gas, or electric cooktop, selecting the right pots and pans can make all the difference in your cooking experience. In this guide, we’ll explore how to match your cookware to your cooktop, ensuring compatibility and optimal performance. Know Your Cooktop Type Before selecting cookware, it’s important to understand the type of cooktop you have, as different cooktops work best with specific materials. Choosing the Right Material Each material has its own benefits, and understanding the differences can help you make an informed choice based on your cooking style and cooktop type. Ensuring Size and Shape Compatibility The size and shape of your cookware should match the size of the burner or heating element for optimal heat distribution. Consider Weight and Ease of Handling Heavy cookware like cast iron can be a fantastic choice for certain dishes but may be harder to maneuver, especially when full. If you do a lot of lifting or stirring, consider lighter options like aluminum or stainless steel. Maintenance and Durability Some cookware materials require more care than others. Here’s what to consider: Induction Compatibility If you’re using an induction cooktop, your cookware must be compatible. A simple test is to see if a magnet sticks to the bottom of the cookware. If it does, it’s induction-ready. Popular induction-friendly materials include cast iron, magnetic stainless steel, and some forms of clad aluminum. Selecting the right cookware for your cooktop can elevate your cooking experience, prevent unnecessary damage to your appliances, and help you prepare delicious meals efficiently. Consider your cooktop type, the material of the cookware, and factors like maintenance and ease of use before making your choice. With the right cookware, your kitchen will be equipped for any culinary adventure!

Tips for Efficiently Using Your Kitchen Timer and Thermometer: Precision for Perfect Cooking

A kitchen timer and a thermometer are two of the most essential tools for any home cook or baker. They help ensure that your meals are cooked to perfection by providing precise control over cooking times and temperatures. However, using these tools efficiently can make all the difference between a deliciously moist roast and an overcooked one, or perfectly baked cookies versus burnt edges. Here are some tips to help you make the most out of your kitchen timer and thermometer for flawless results in the kitchen. Know When to Use a Timer and When to Use a Thermometer While both the timer and thermometer help with cooking accuracy, they serve different purposes, and knowing when to rely on each one is key. Pro Tip: For dishes like roasts, cakes, or custards, use both tools: the timer as a general guide and the thermometer to ensure the dish reaches the perfect internal temperature. Set Multiple Timers for Different Tasks When cooking multiple dishes at once, it’s easy to lose track of time and overcook or undercook an item. Using multiple timers can help you keep everything on track, ensuring all components of your meal are ready at the same time. Pro Tip: To prevent forgetting a timer, place a sticky note near the stove or oven with labels that remind you which timer belongs to which dish. Place the Thermometer Properly for Accurate Readings Using a thermometer correctly is crucial for ensuring accurate readings, especially with meat and poultry. Incorrect placement can lead to misleading results, which can result in undercooking or overcooking your dish. Pro Tip: Always clean your thermometer before and after each use to prevent cross-contamination, especially when working with raw meat. Use Rest Times Wisely Resting is crucial for meats and baked goods to finish cooking and settle after being removed from the heat. Your kitchen timer and thermometer can help you make the most of this process. Pro Tip: For meats, aim to remove them from the heat 5-10 degrees below your target internal temperature and let carryover cooking bring it up to the final desired temperature. Program Your Timer for Prep Steps Timers aren’t just for cooking—they’re also helpful during preparation. Many recipes require timed tasks, such as letting dough rise, marinating meat, or allowing batter to rest. Set your timer for each of these steps to ensure you’re not rushing through important prep tasks. Pro Tip: Use different sound alarms or labels to distinguish between prep timers and cooking timers. Stay Hands-On with Cooking Thermometers Digital and instant-read thermometers are fantastic tools, but they require active attention. You can’t just stick them in and leave them like a timer. Here’s how to get the most accurate readings: Pro Tip: Invest in a probe thermometer that stays in the meat while it cooks, giving you a real-time temperature reading without having to open the oven. Use Alarms for Thermometer Targets Some thermometers come with built-in alarms that alert you when your food reaches the desired temperature. This feature ensures that you don’t have to keep opening the oven or grill to check. Pro Tip: If your thermometer doesn’t have an alarm, set a separate timer as a reminder to check the temperature at regular intervals during cooking. Keep Batteries and Accuracy in Check A dead battery or an inaccurate reading can lead to cooking disasters. Regularly check your thermometer and timers to ensure they’re functioning correctly. Mastering the use of your kitchen timer and thermometer can elevate your cooking from good to great by ensuring precise timing and temperature control. Whether you’re baking cookies, roasting meats, or deep-frying, these tools help you cook with confidence, ensuring your food is cooked safely and to perfection. By following these tips, you’ll avoid overcooked meals and undercooked disasters, making your time in the kitchen more efficient and enjoyable.

Safety Features in Modern Cooktops: Enhancing Kitchen Safety

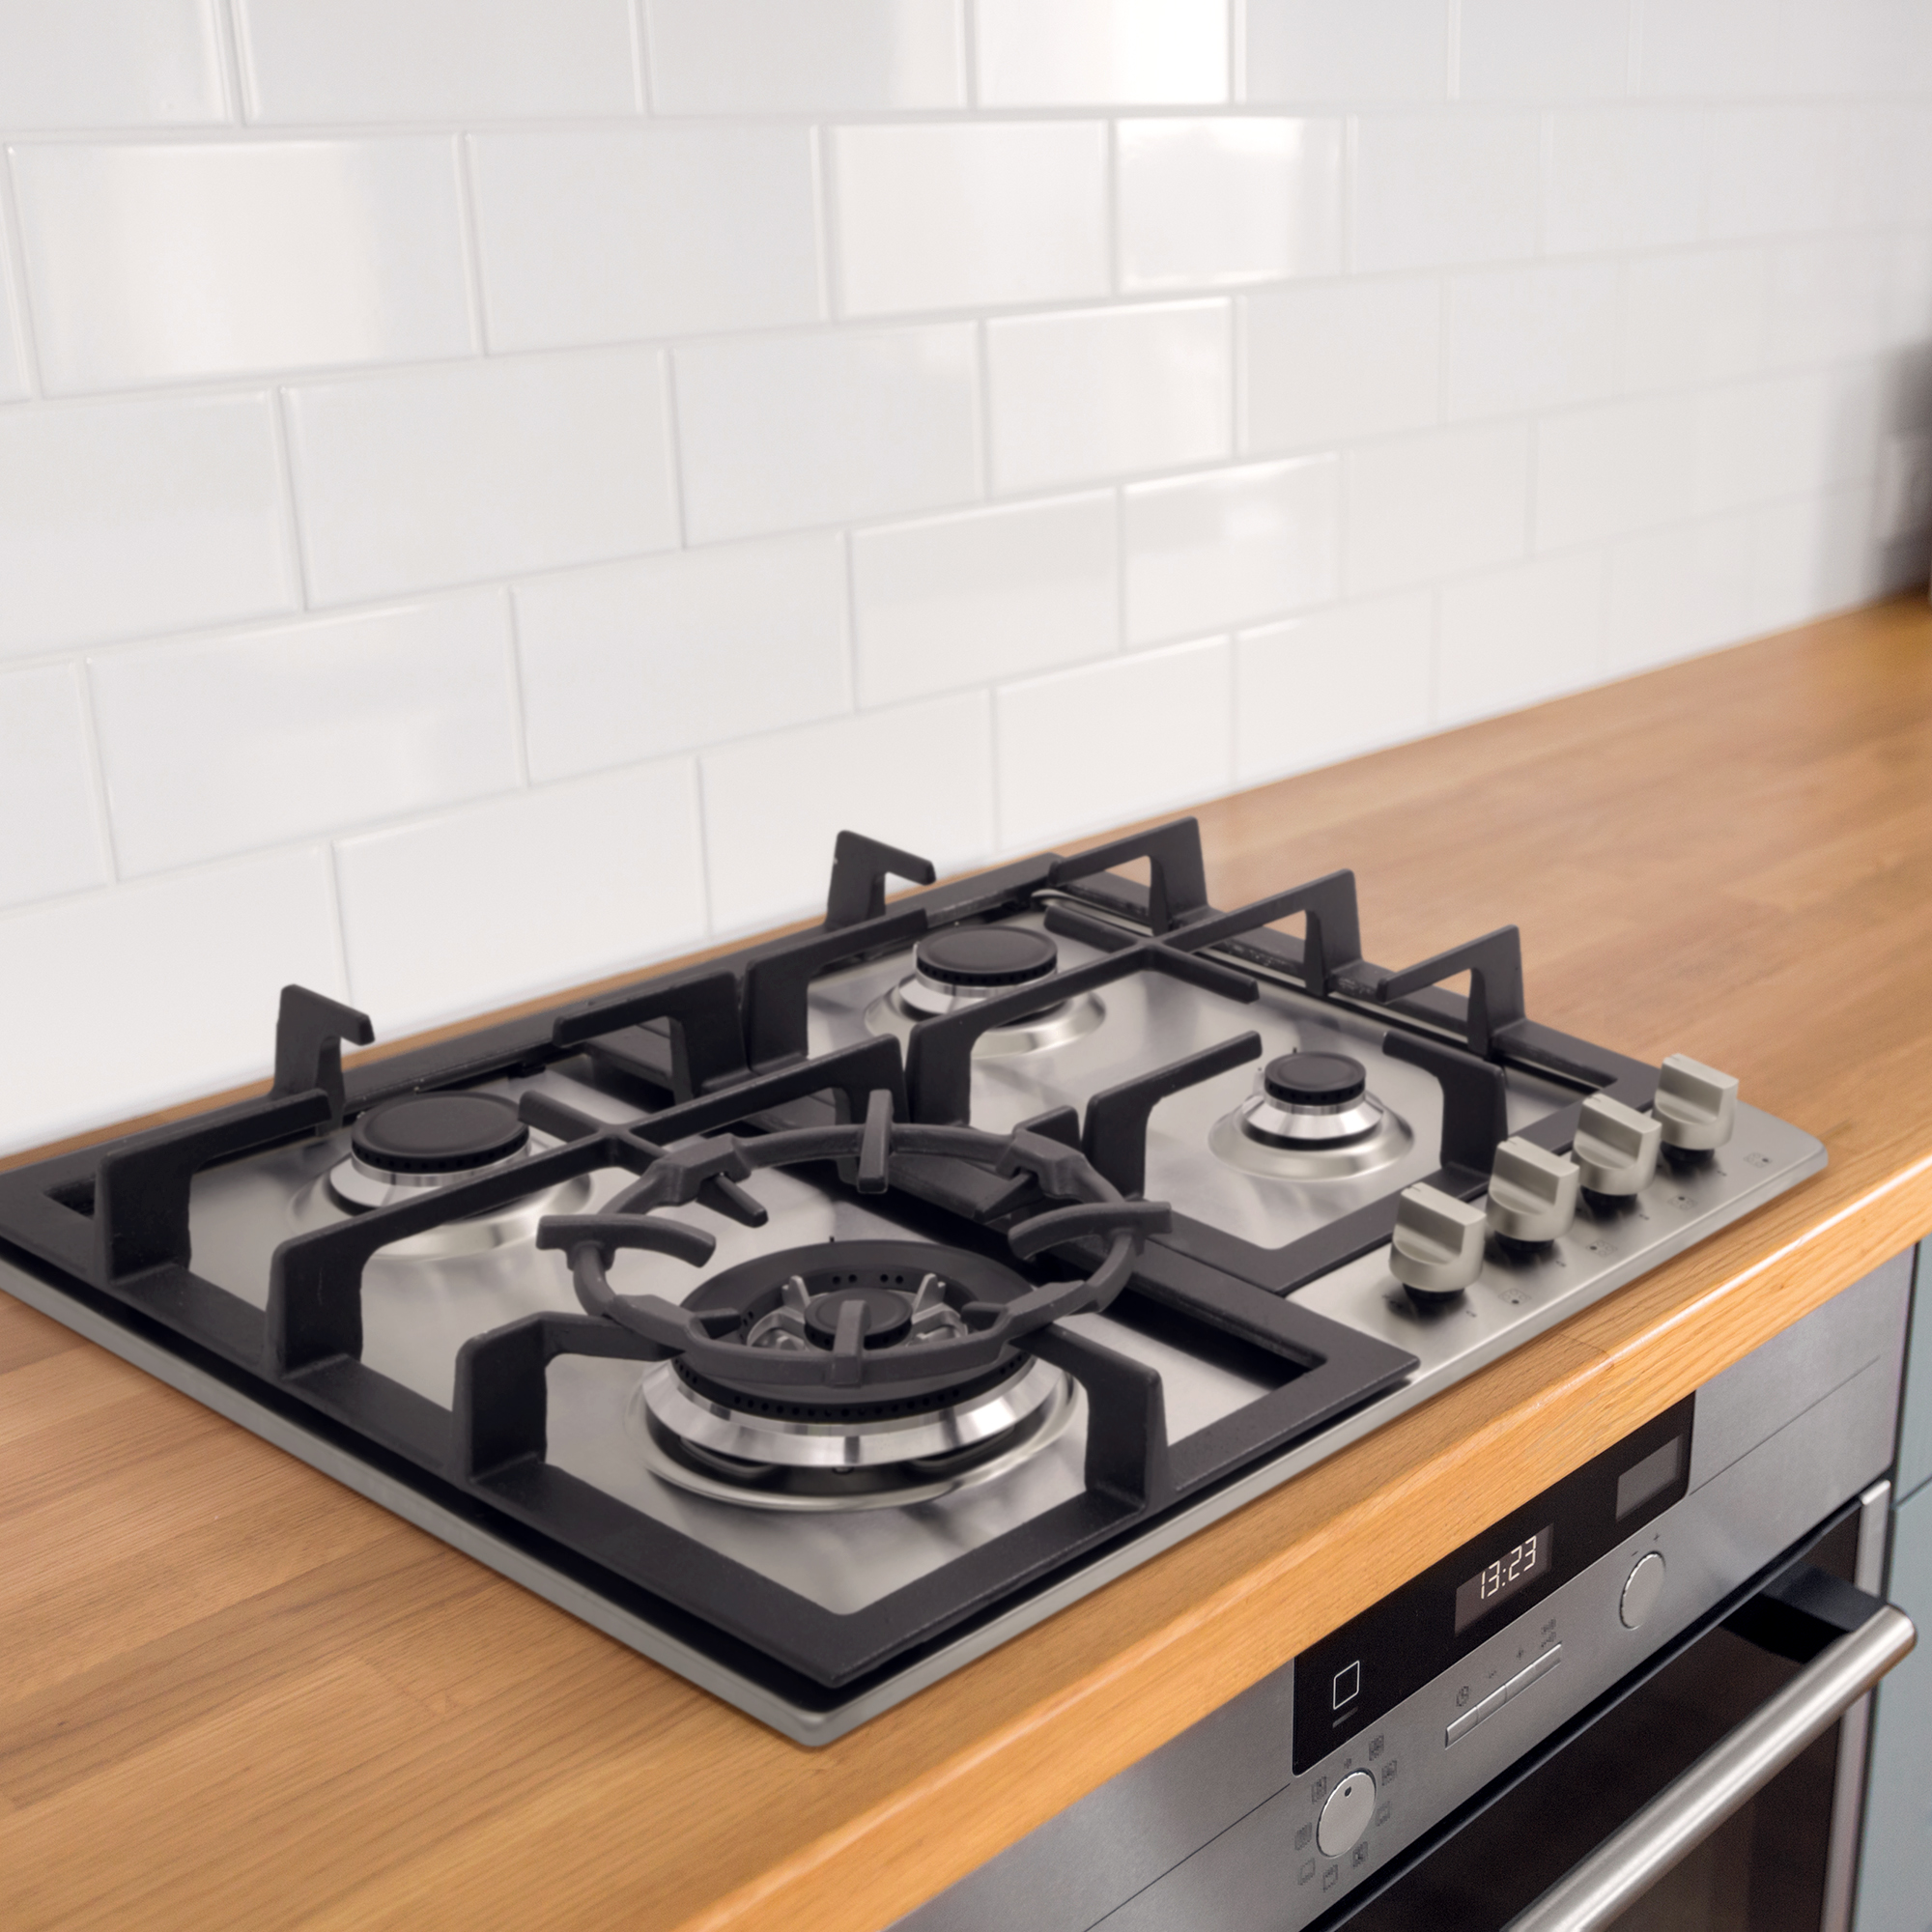
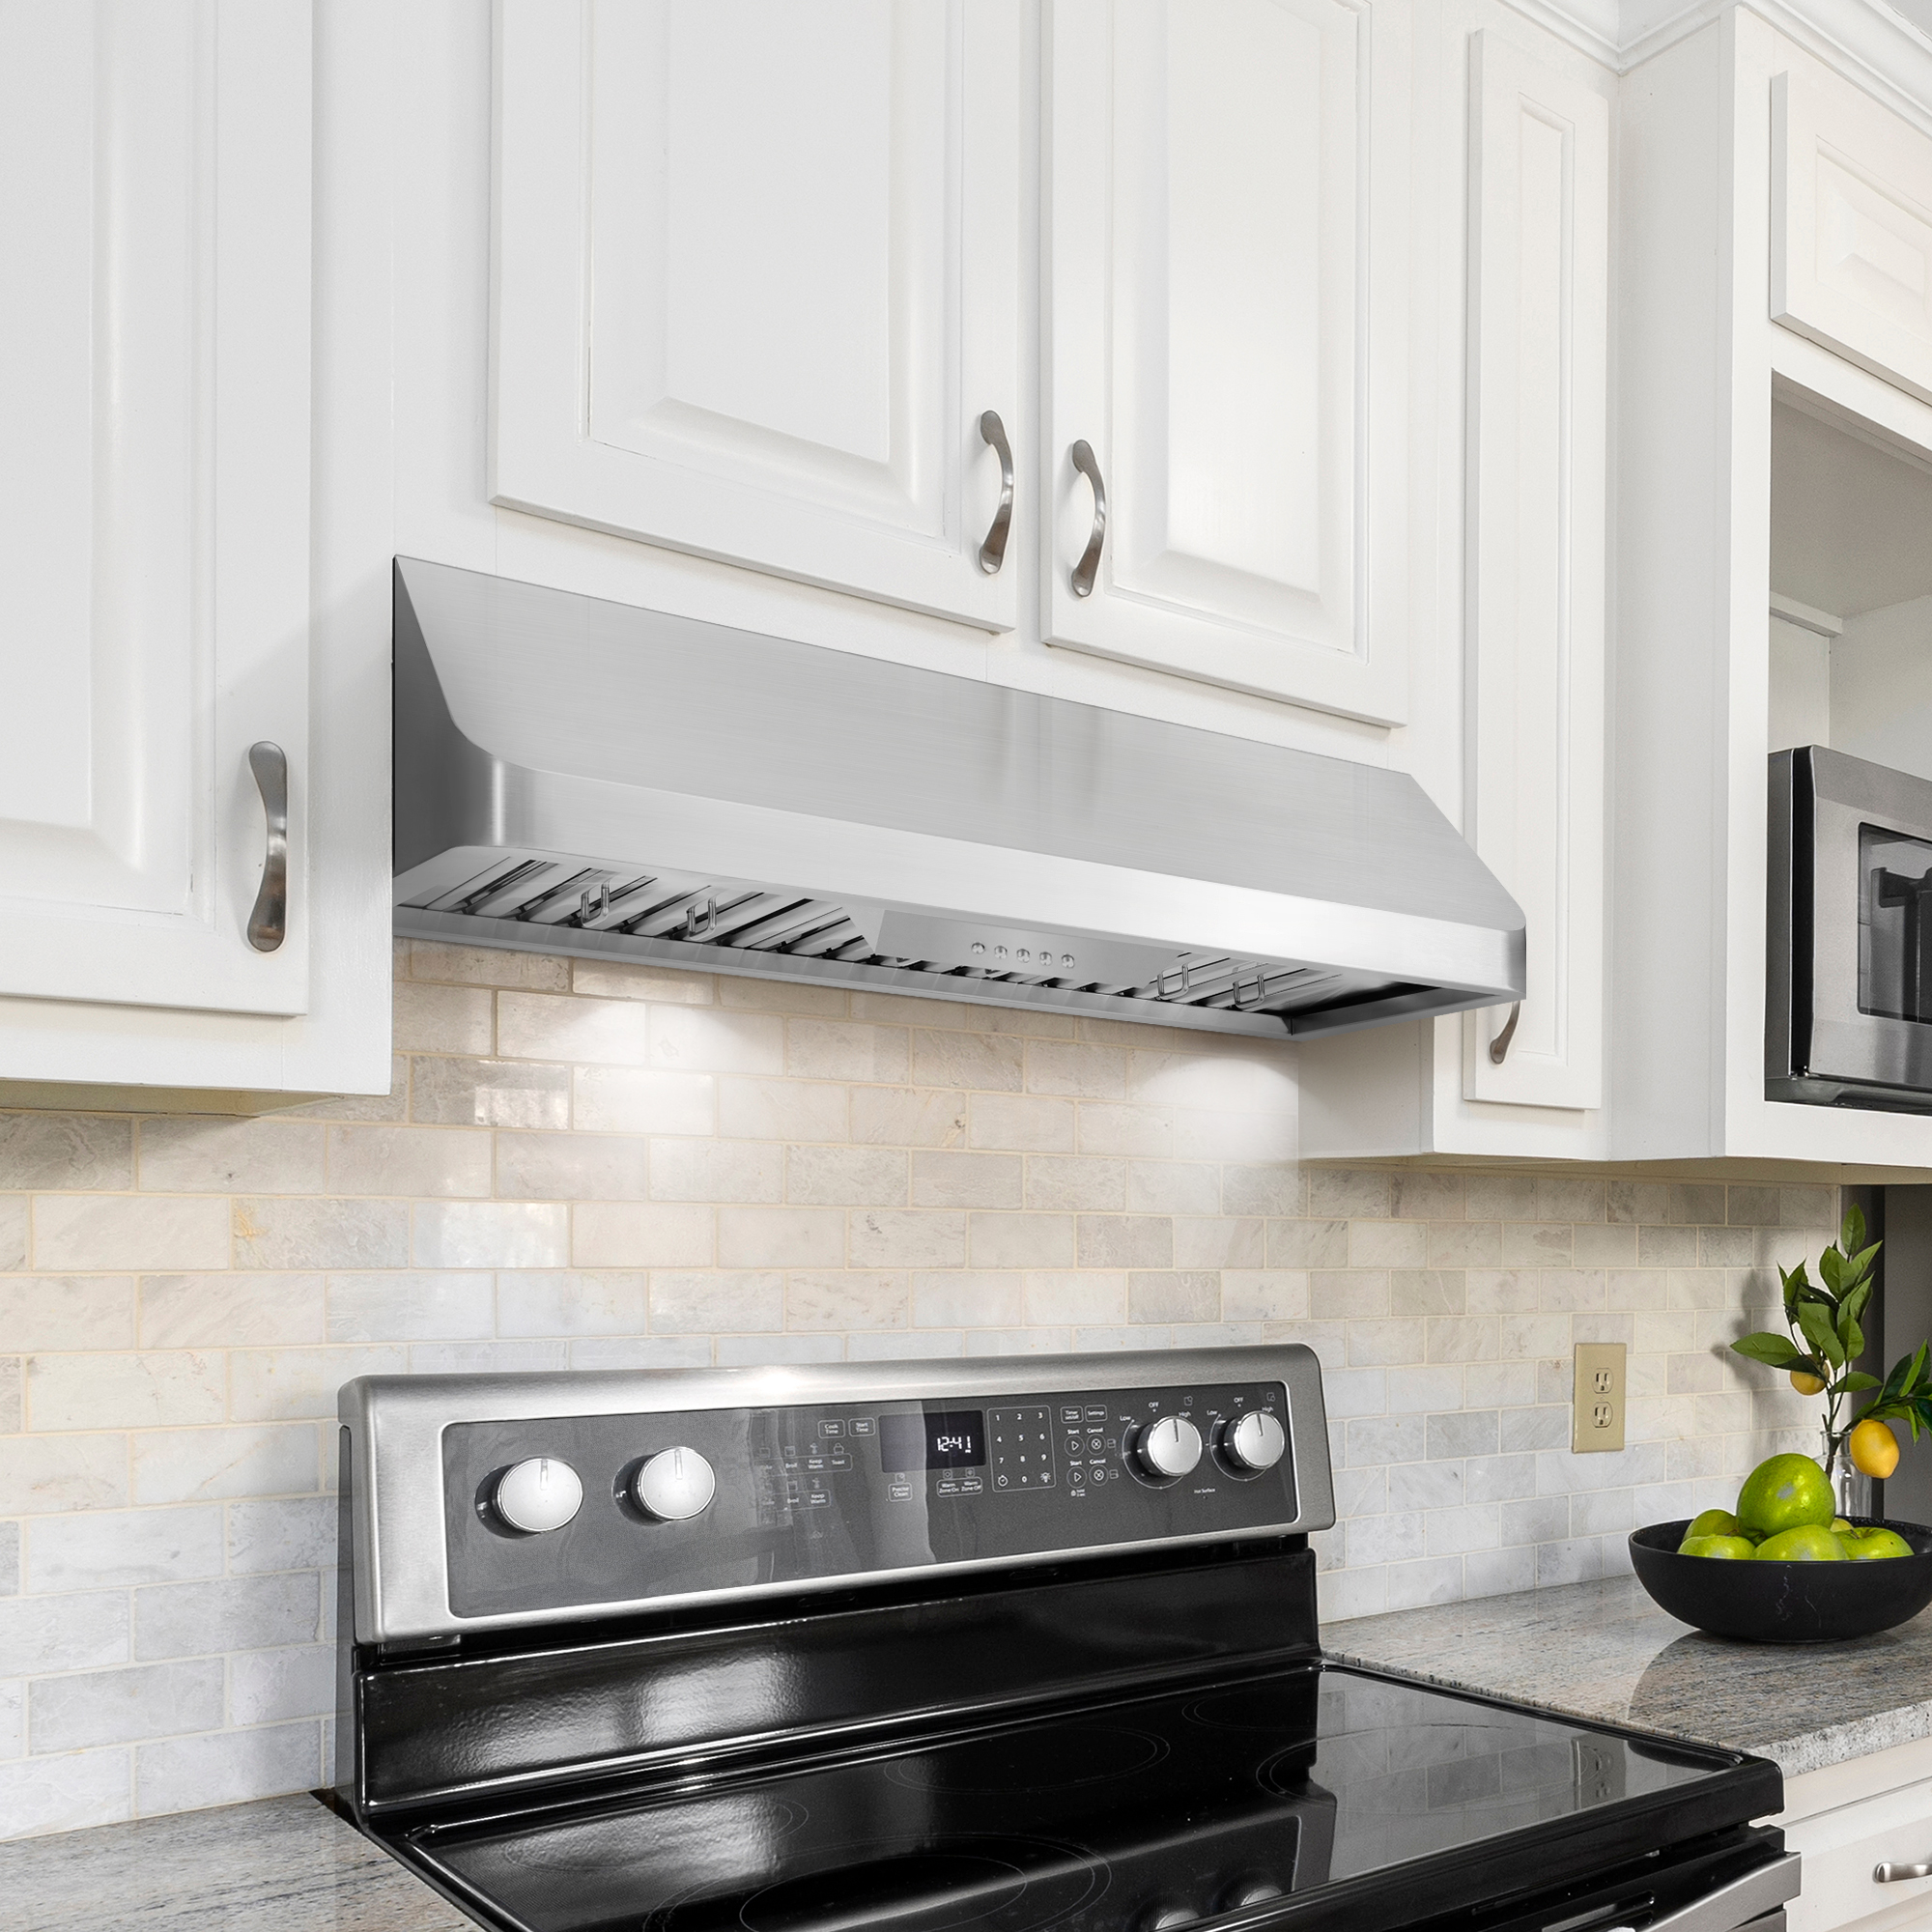
The modern kitchen is not only a space of creativity but also a place where safety is paramount. As cooking technology has advanced, so too have the safety features integrated into cooktops. Today’s cooktops are designed with a variety of mechanisms to ensure that you can enjoy the culinary experience with peace of mind. Let’s explore some of the essential safety features in modern cooktops that are helping make kitchens safer than ever before. Auto Shut-Off Feature One of the most valuable safety features in modern cooktops is the auto shut-off mechanism. This feature automatically turns off the cooktop after a certain period of inactivity or if the temperature exceeds a safe threshold. This reduces the risk of fires or overheating, particularly if you accidentally leave a burner on or forget that something is cooking. Induction and electric cooktops often come with this feature, giving you extra reassurance in the kitchen. Child Lock For families with young children, the child lock feature is a lifesaver. This safety function prevents kids from accidentally turning on the cooktop or adjusting the settings. Most modern cooktops, particularly those with digital controls, come equipped with a child lock option. By pressing a sequence of buttons, you can lock the controls so that they are non-responsive until unlocked. This feature helps to avoid potential burn injuries or accidents when curious little hands are around. Residual Heat Indicators Cooktops can retain heat long after you’ve turned them off, and this residual heat poses a burn hazard if touched unknowingly. Modern cooktops, especially ceramic and induction types, are equipped with residual heat indicators. These lights remain on as long as the surface is still too hot to touch, offering a visual cue to stay away until it’s safe. Once the cooktop cools down to a safe temperature, the indicator light will turn off. Pan Detection in Induction Cooktops Induction cooktops have transformed kitchen safety by incorporating intelligent pan detection. This technology ensures that heat is only generated when a suitable pan is placed on the cooking zone. If there’s no pan, or if the pan is removed, the cooktop won’t generate heat. This feature significantly reduces the risk of accidental burns or fires, making induction cooktops one of the safest options available. Overheat Protection Overheat protection is another critical safety feature in many modern cooktops. This function monitors the temperature of the cooking surface and will automatically turn off the heat if it detects that the temperature is getting too high. Overheating can happen when pots are left unattended or when the cooktop is used at high temperatures for extended periods. This feature helps to prevent damage to the appliance and minimizes the risk of kitchen fires. Flame Failure Device (FFD) for Gas Cooktops For those who prefer the traditional feel of gas cooktops, safety hasn’t been left behind. Modern gas cooktops often come equipped with a Flame Failure Device (FFD). This feature automatically cuts off the gas supply if the flame is extinguished, preventing dangerous gas leaks. Whether due to a draft, spill, or the flame simply going out, the FFD ensures that gas is not released into the kitchen, thus significantly reducing the risk of explosions or fires. Temperature Limiters Temperature limiters are another excellent feature in modern electric and induction cooktops. These devices prevent the cooktop from reaching temperatures that could cause damage to the cooktop or pose a fire risk. The limiter controls the maximum heat output, ensuring that the surface doesn’t overheat, which is especially useful for reducing the risk of overheating non-stick cookware or other delicate kitchen tools. Timer Functions Many modern cooktops come with integrated timer functions, allowing you to set a cooking time for each burner or cooking zone. Once the set time has elapsed, the cooktop will automatically turn off. This feature is particularly useful for multitasking in the kitchen, as it prevents food from overcooking or burning while ensuring that the cooktop is not left on longer than needed. As the heart of the home, the kitchen should be a safe space for everyone. Modern cooktops are designed with a multitude of safety features that enhance both convenience and security. Whether you’re using an induction, electric, or gas cooktop, these safety advancements allow you to focus on cooking delicious meals while minimizing risks. From auto shut-off functions to child locks, these innovations ensure that your kitchen is equipped with the tools to protect you and your family, creating a safer, smarter cooking environment. By investing in a cooktop with advanced safety features, you’re not only upgrading your kitchen’s functionality but also safeguarding your home.

How to Cook for Gluten-Free Diets at Home: A Comprehensive Guide

Cooking for a gluten-free diet at home can seem challenging, especially if you’re used to incorporating wheat, barley, and rye into your meals. However, with a bit of knowledge and creativity, you can create delicious and satisfying gluten-free meals that everyone can enjoy. Whether you’re cooking for yourself or a loved one with gluten sensitivity or celiac disease, here’s a comprehensive guide to help you navigate the world of gluten-free cooking at home. 1. Understanding Gluten and Its Sources Gluten is a protein found in wheat, barley, and rye. It acts as a binding agent, giving bread and other baked goods their structure. For those with celiac disease or gluten intolerance, consuming gluten can lead to serious health issues. Here’s a list of common foods that contain gluten: 2. Stocking Your Gluten-Free Pantry The first step to cooking gluten-free meals is to ensure your pantry is stocked with gluten-free alternatives. Here are some essential items to include: 3. Reading Labels and Choosing Safe Products When shopping for gluten-free ingredients, it’s crucial to read labels carefully. Look for products that are certified gluten-free, as these undergo strict testing to ensure they contain no gluten. Be aware of cross-contamination, which can occur when gluten-free foods come into contact with gluten-containing items. 4. Cooking Techniques for Gluten-Free Meals Here are some cooking techniques to keep in mind when preparing gluten-free meals: 5. Creating Delicious Gluten-Free Meals With the right ingredients and techniques, you can create a variety of gluten-free meals. Here are some ideas to get you started: 6. Dessert Options Just because you’re cooking gluten-free doesn’t mean you have to skip dessert! Here are some gluten-free sweet treats: 7. Staying Informed and Getting Creative The world of gluten-free cooking is constantly evolving, with new products and recipes emerging regularly. Join gluten-free cooking groups, follow blogs, and attend cooking classes to learn new techniques and find inspiration. Cooking for a gluten-free diet at home doesn’t have to be daunting. With the right ingredients, techniques, and creativity, you can prepare delicious, satisfying meals that cater to gluten-free needs. By embracing the variety of gluten-free foods available and experimenting in the kitchen, you can make healthy and tasty meals that everyone can enjoy—gluten-free or not!

How to Pick the Best Kitchen Sink and Faucet

Sinks and faucets are essential to any kitchen. Recent trends may influence your decision for your next upgrade, but it’s important to choose a sink that will work well for your needs and withstand years of use. Material Options. Sinks come in many different materials such as stainless steel, enamel-coated cast iron, and solid surfaces. If you tend to throw dishes into your sink, then stainless steel may be better for you, due to its tougher construction. Stainless steel is also an attractive choice when paired with solid surface counters like granite or engineered stone because of its undermount capability. Solid surface sinks are easier to clean due to their smoother area but can be chipped or damaged with hot pots and pans. Number of Sinks. Double-bowl sinks are the most common kitchen feature, but may not be necessary if you don’t wash as many dishes. Dishes may not always be hand washed when dishwashers are available, so the extra space isn’t always needed. Larger pots and pans may fit better in one large oversized sink bowl. The need for space differs from household to household, so recognize your needs when deciding on a sink construction. Faucets. There are many faucets to choose from on the market. Most use cartridge, ball or ceramic disc valves. These valves prevent water from leaking and control the water pressure.  A ceramic disk valve and solid brass base materials will be the most durable. A faucet with a spray arm is useful for filling pots with water or cleaning the sink afterwards. Other features to consider are garbage disposals or hot water dispensers. It’s best to avoid brass finishes as these faucets aren’t as suitable for high use areas like a kitchen. Instead opt for materials like chrome, polished nickel, brushed nickel or pewter. Sources: HGTV

3 Ways to Cook the Perfect Turkey

Cooking turkeys can be a daunting task. Instead of resorting to an old recipe, try something new this year if you’re up for the challenge, here are three different ways you can cook that perfect turkey. Smoke It Smoking turkey takes about the same amount of time as cooking it traditionally in an oven, however it requires more attention. You’ll need to truss your turkey to make it easier to flip in the smoker for an even cook. Cotton butcher’s twine is a must. You’ll need to have a slow and mellow fire. Be sure to keep your coals glowing and add some hardwood chunks for a unique flavor. Keep an eye on the turkey throughout the day and measure its temperature. Avoid a dry, hot smoker as this will make the turkey’s skin crack. Have a silicone brush on hand to keep the turkey basted. Grill It A gas grill can be ideal for cooking turkey with the right tools. You’ll need a roast rack to hold up your turkey upside down and away from the grill as it starts to cook. The breast will take the longest so start with the breast side facing the burners. After an hour or two you can flip it over directly on to the grate. Add some smokey flavor with a smoke box as gas doesn’t naturally do this. Keep track of the temperature of your turkey. Use a dual probe thermometer as the breast will take longer to cook. Fry It One of the quickest ways to cook a turkey is frying it. You can cook an average sized turkey in about an hour, making it a much more attractive method. It’s best to brine your turkey beforehand to maintain moisture in the turkey as frying can dry it out. Safety is key when it comes to frying a turkey. Be sure you have a thermometer to keep track of the oil’s temperature. Use proper equipment when lowering and lifting the turkey in the oil, such as heat resistant gloves. Turn off your fryer prior to lifting it out of the fryer and check the turkey’s temperature once it’s out. It’s only safe to fry a turkey outdoors and with the proper fryer. Keep flammable items away from the area. How are you going to cook your turkey this year? Let us know over on our Facebook and Instagram, or in the comments below. Have a happy and safe Thanksgiving this year! Sources: HGTV

Kitchen Design Mistakes to Avoid

Kitchen design can be daunting. It’s best to learn the biggest mistakes people often make before designing your own. Check out these tips below! Inconsistent Layout The placement of appliances and cabinets is crucial. Good organization goes a long way. First decide, what kind of kitchen works for you? Are you somebody who entertains in the kitchen? Maybe you’ll need an island with extra seats. You could need extra counter space if you love to bake and cook for all your ingredients. Putting all your appliances in one counter may not be the most aesthetically pleasing idea. These questions will help map out your space more effectively. Cabinets and the Color Choices You Make Cabinets can be one of the most expensive items in your kitchen. When deciding on your cabinets it’s important to keep two things in mind–versatility and durability. You won’t be replacing your cabinets all the time and these decisions can carry a hefty cost. Look for solid wood construction cabinets that are at least ½ inch thick with well finished surfaces. Pay attention to any imperfection such as wood knots or bad sanding. Countertops Marble counters may look beautiful at first, but these surfaces easily stain from certain drinks and dyes. Other acidic ingredients such as vinegar or lemons can actually erode marble quickly, making it less practical in a kitchen. Affordable and durable counters such as quartz or granite are safer choices for kitchen counters. Empty Spaces Above Cabinets Having a large empty space between cabinets and the ceiling leads to kitchens feeling empty and dust buildup. These spaces are hard to reach and clean. Consider placing a soffit here. A soffit is a decorative architectural feature that can fill up these areas in an appealing way. Thinking over how you can improve your kitchen with these tips? Show us over on our Facebook and Instagram and be sure to tag us! Source: Insider

Taking Care of Your Stainless Steel Appliances

Stainless steel is one of the sleekest modern finishes any appliance can have. As a matter of fact, it’s the most popular among dishwashers, ranges, and refrigerators sales. But as you may soon learn, stainless steel attracts fingerprints, smudges and streaks. There are many stainless steel cleaners on the market to bring the shine back to your appliances. But we’ve compiled some tricks if you’re looking for other cost saving alternatives. It’s always a good idea to refer to your product’s user manual on any cleaning recommendations. Always avoid scouring powders, steel wool, bleach, or ammonia as these can damage your appliance’s finish. Dish Soap. You can actually mix a mild soap detergent and warm water to help clean your stainless steel. Use a microfiber cloth and rub the solution into any marks, going with the grain of the stainless steel. Rinse with cold water and dry immediately with a clean cloth after. Mineral Oil. Apply a light coating of mineral oil and buff with a cloth to avoid any tacky buildup. Steer clear of any food-based oils such as vegetable or olive oil. These kinds of oils can turn rancid. Glass Cleaner. Spray a soft, dry cloth with a glass cleaner that is ammonia and vinegar-free to buff out any pesky fingerprints that may persist. Wipe the surface clean after. Baking Soda. Create a paste of baking soda and warm water, then apply to a soft cloth or sponge. Always remember to go with the grain of your appliance. Wipe with a clean wet cloth and dry with a towel. For any remaining scratches or stains you can utilize a stainless steel cleaner to the area. Sources: Good HouseKeeping , Consumer Reports Looking to learn more? Follow us on our Facebook and Instagram.