Boost Efficiency with Your Cooktop: Tips for Faster Cooking
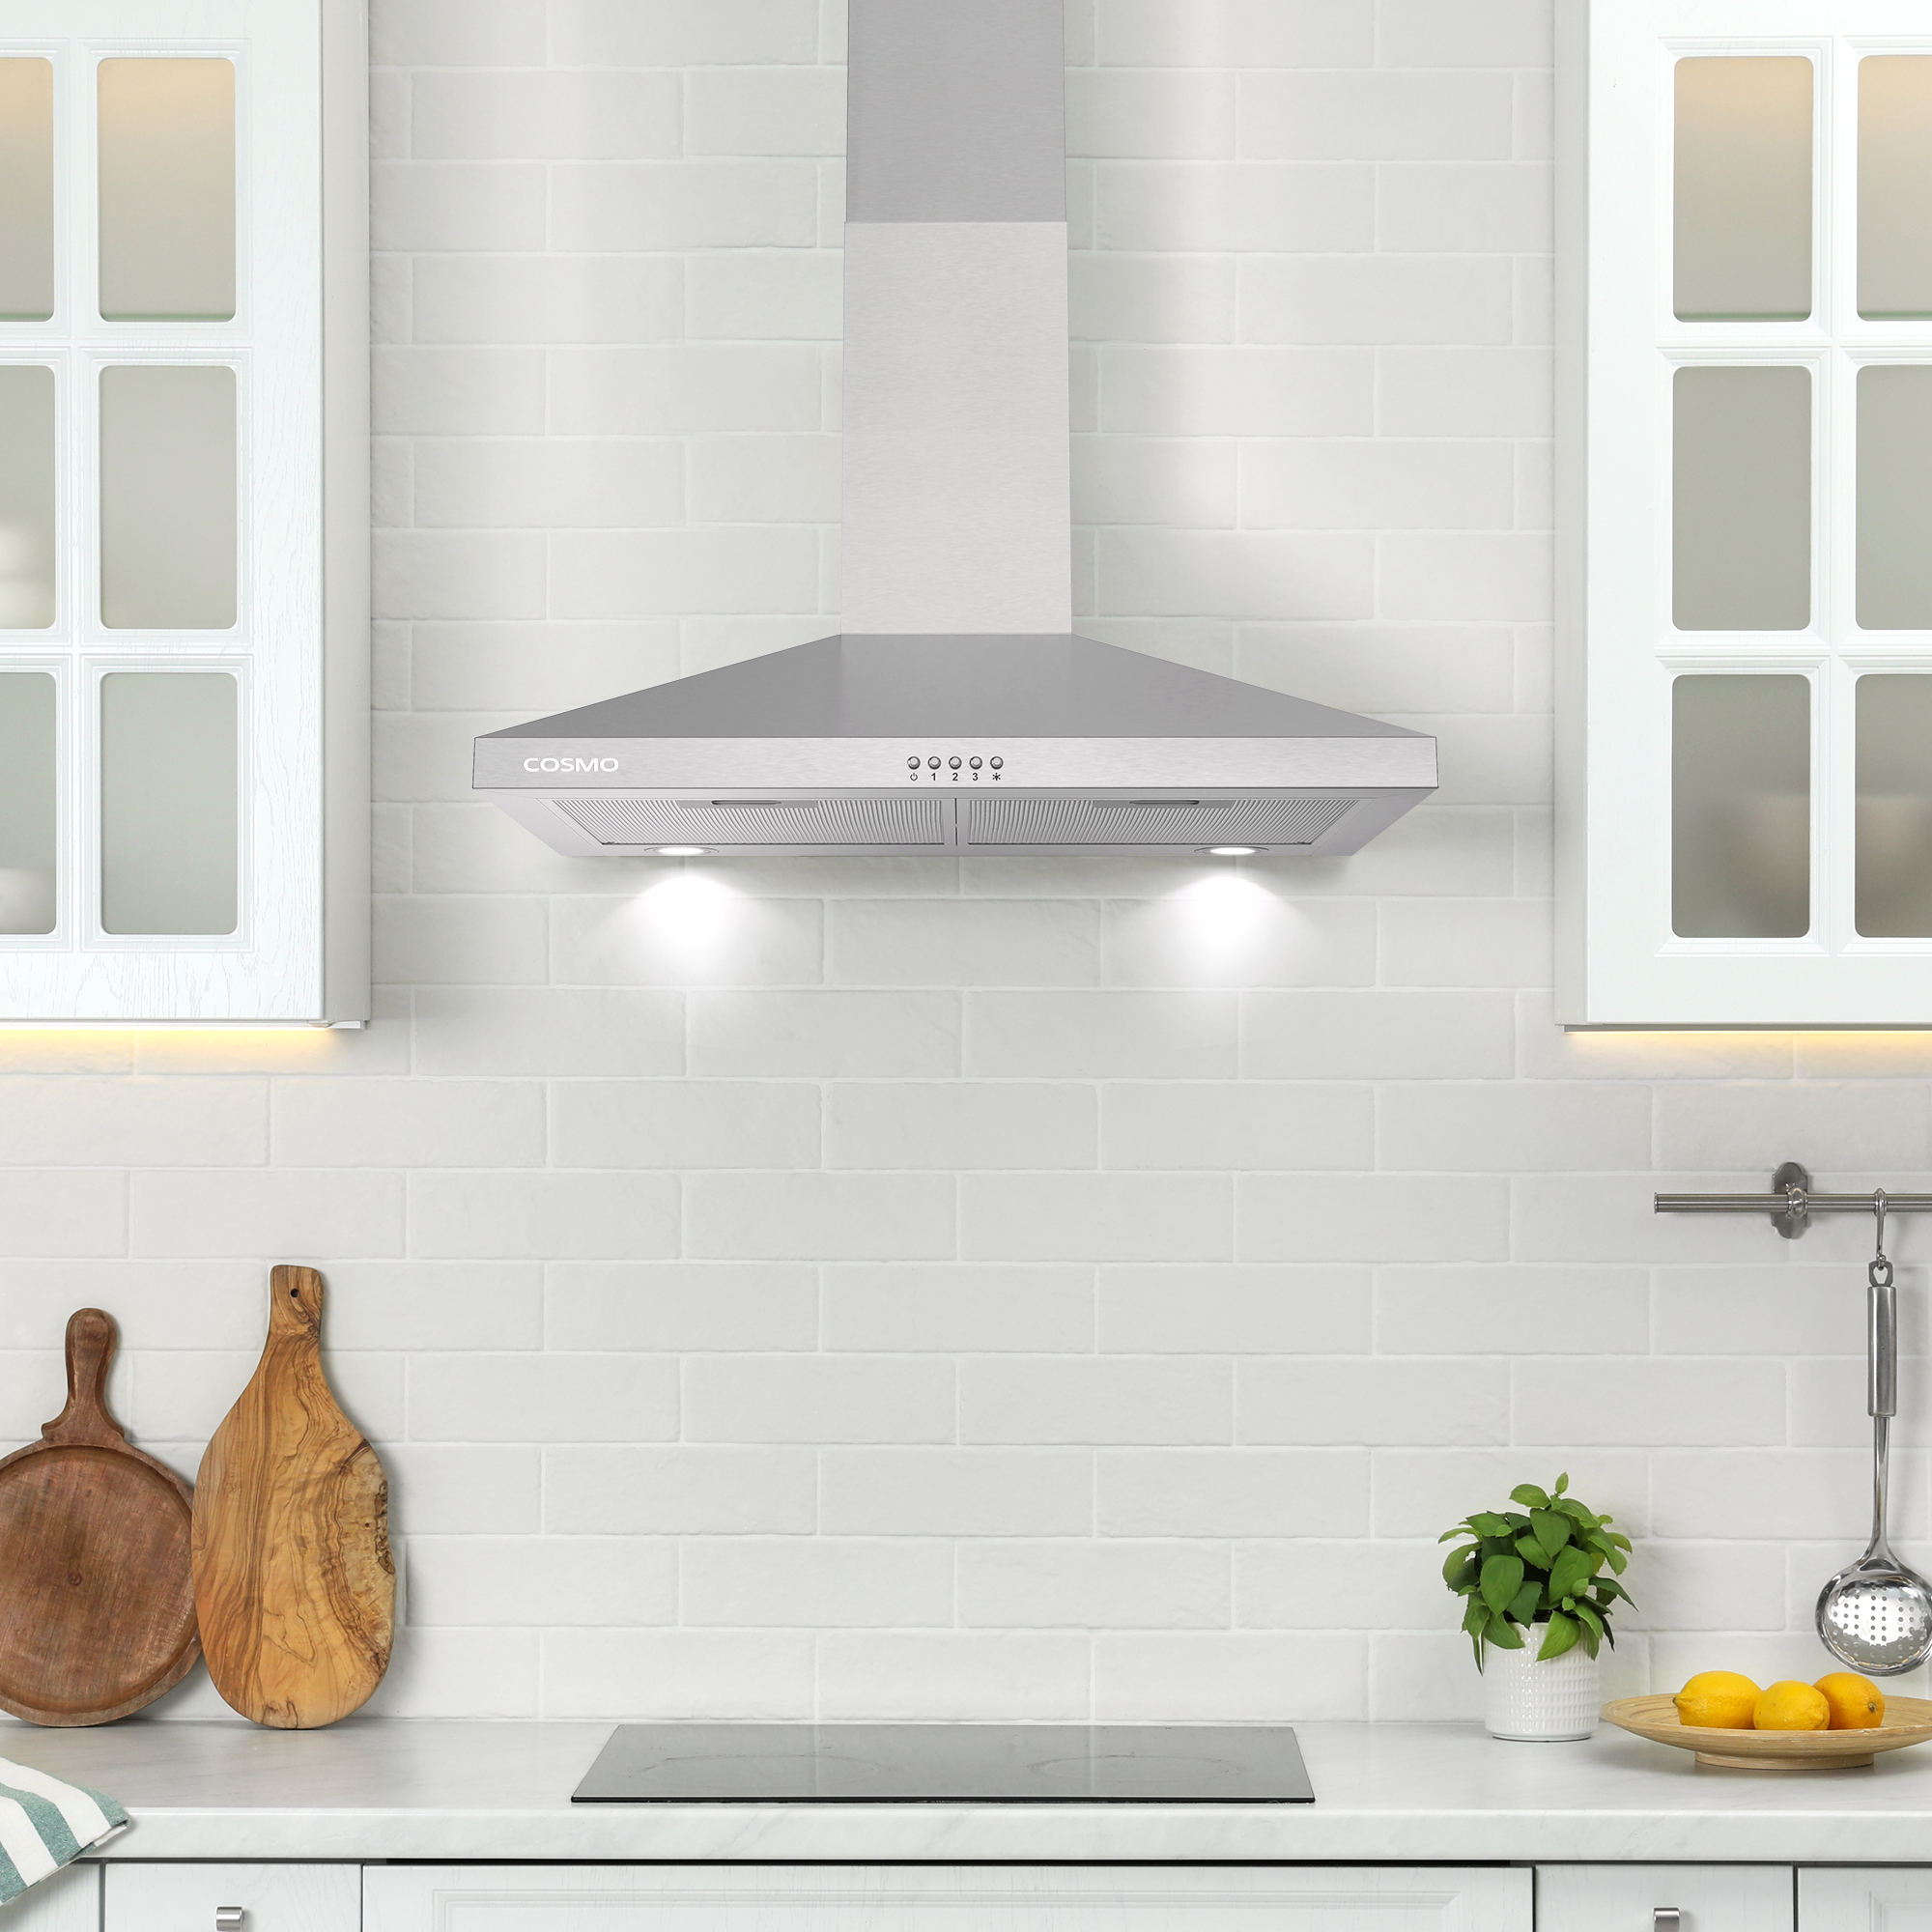
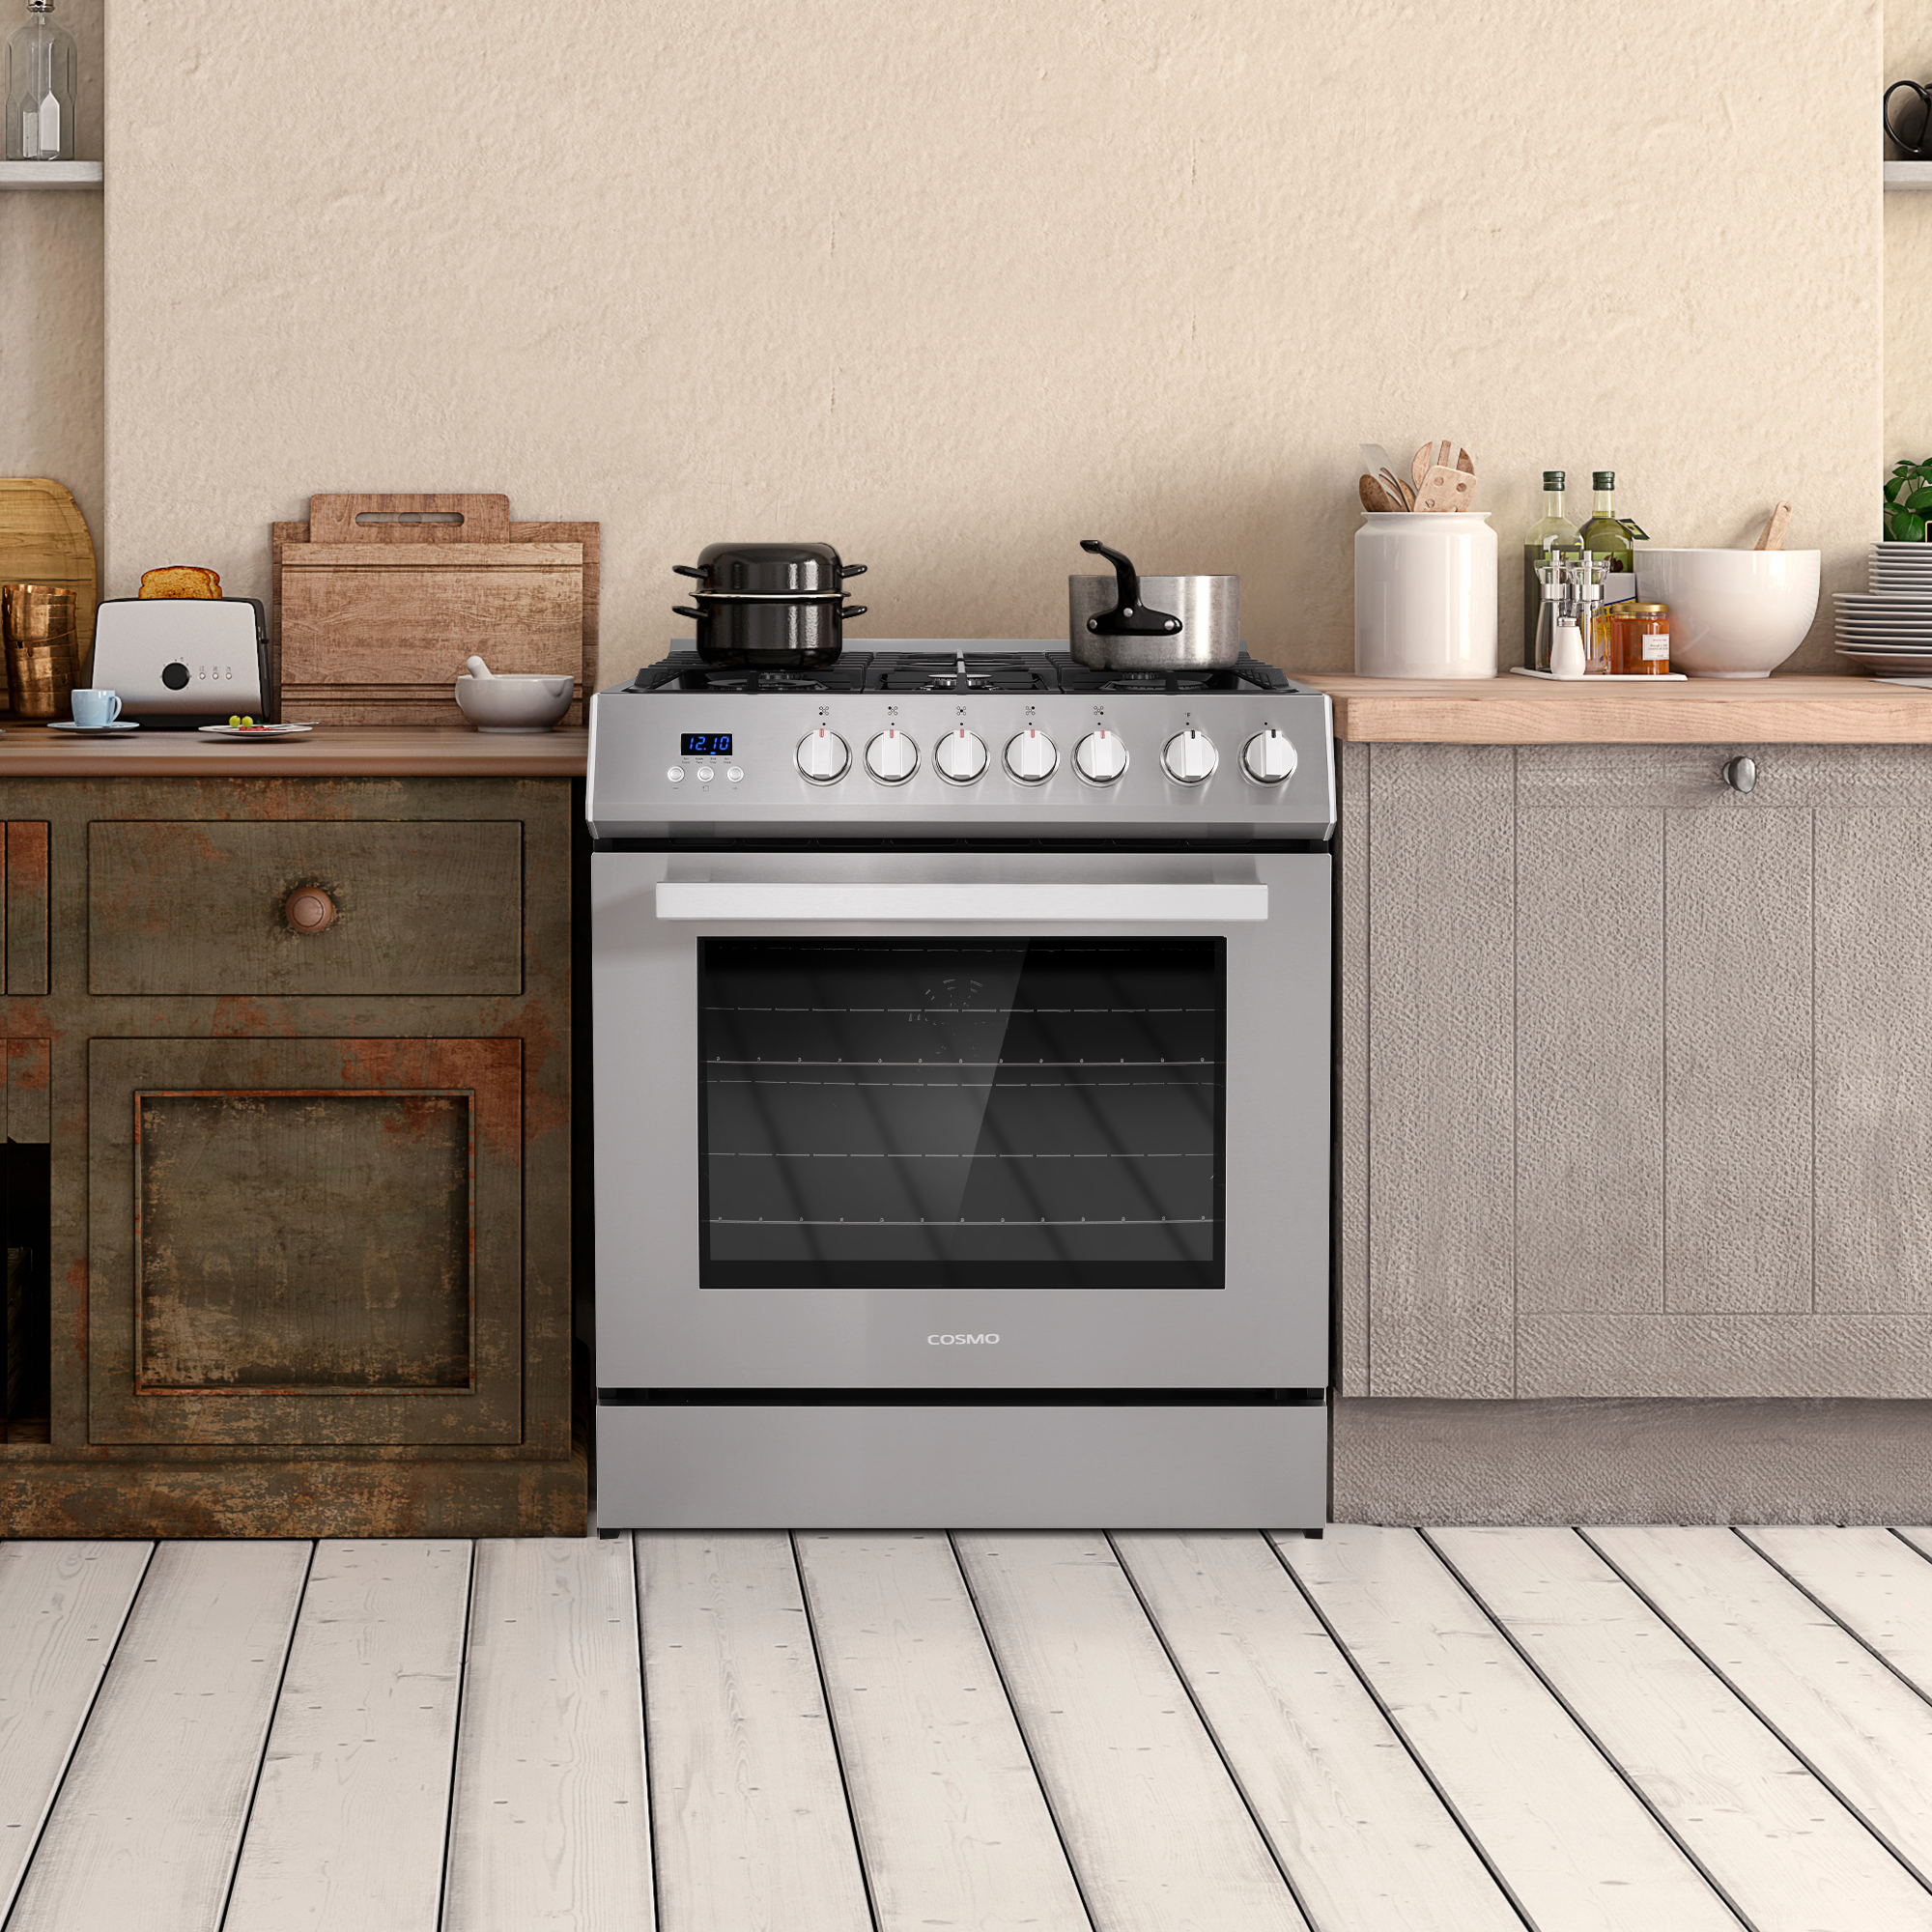
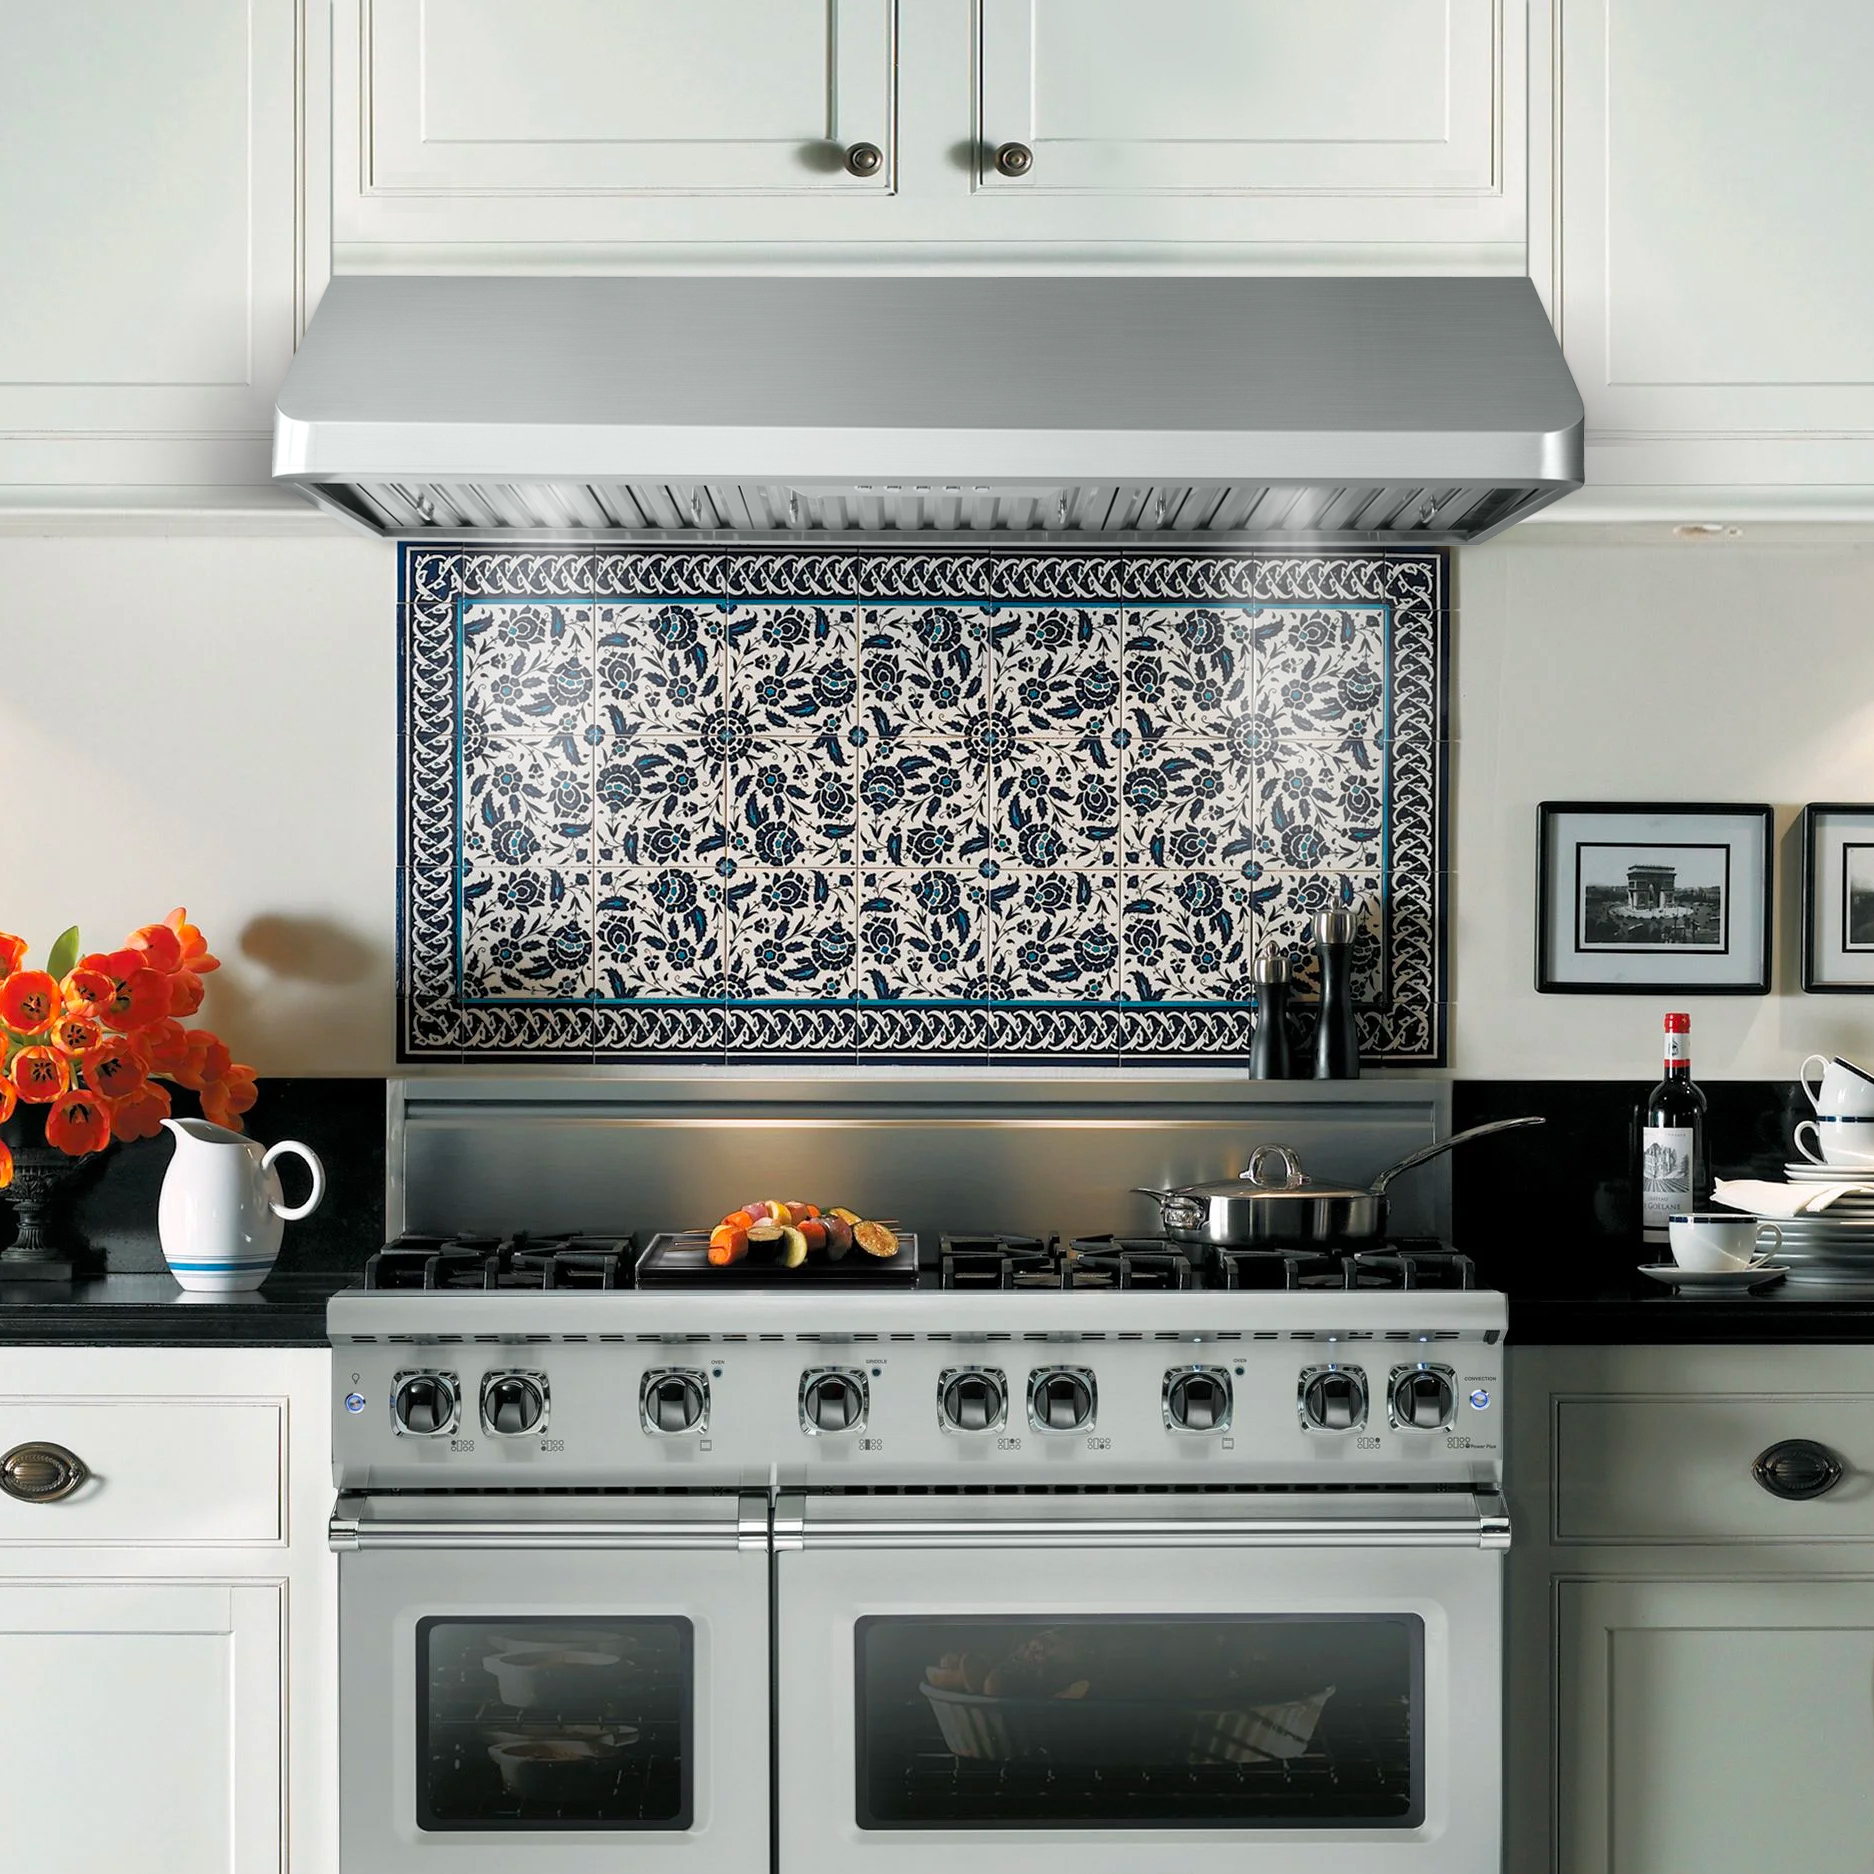
When it comes to meal preparation, efficiency in the kitchen can save you time and enhance your cooking experience. Whether you’re using a gas, electric, or induction cooktop, employing the right techniques can help you achieve faster cooking times without sacrificing quality. Here’s how you can boost efficiency with your cooktop: Use the Right Cookware The type of cookware you use can significantly impact cooking times. Opt for pots and pans that match the size of your burners or heating elements. For induction cooktops, use magnetic cookware that heats quickly and evenly. Ensure your cookware has flat, smooth bottoms to make full contact with the cooktop, which improves heat transfer and speeds up cooking. Preheat Your Cookware Just like you preheat your oven, preheating your pots and pans can help cook your food more quickly. Heat your pan before adding ingredients to reduce the overall cooking time. For example, preheating a pan before searing meat helps achieve a better crust and faster browning. Cook with Lids On Using lids on your pots and pans can help retain heat and moisture, reducing cooking times. This is especially effective for simmering or steaming dishes. Lids trap heat and steam, which accelerates the cooking process and helps cook food more evenly. Optimize Burner Use Maximize efficiency by using the appropriate burner size for your cookware. Large burners are ideal for bigger pots and pans, while smaller burners are better for smaller pots. Using the right-sized burner ensures even heat distribution and speeds up cooking times. Manage Heat Settings Adjusting heat settings can prevent energy waste and improve cooking efficiency. Start with high heat to bring your food to a boil or sear quickly, then reduce to medium or low heat for simmering or slow cooking. This method helps maintain the right cooking temperature without overworking your cooktop. Cook in Batches If you’re preparing large quantities, cook in batches rather than overcrowding your pots or pans. Overcrowding can lower the temperature and extend cooking times. Cooking in smaller batches allows for better heat distribution and faster results. Keep Your Cooktop Clean A clean cooktop is more efficient. Residue and spills can affect heat distribution and cooking performance. Regularly clean your cooktop to ensure optimal heat transfer and avoid interference with your cooking. Use the Cooktop’s Features Many modern cooktops come with features designed to enhance efficiency. For instance, induction cooktops often have power boost settings for rapid heating. Familiarize yourself with your cooktop’s features and use them to your advantage. Boosting efficiency with your cooktop not only speeds up cooking but also enhances the overall kitchen experience. By choosing the right cookware, preheating, managing heat settings, and utilizing your cooktop’s features, you can achieve faster cooking times and better results. Enjoy your time in the kitchen with these practical tips and make meal preparation a breeze!