The COS-30ESWC Single Wall Oven: Professional Baking Results in Your Home Kitchen
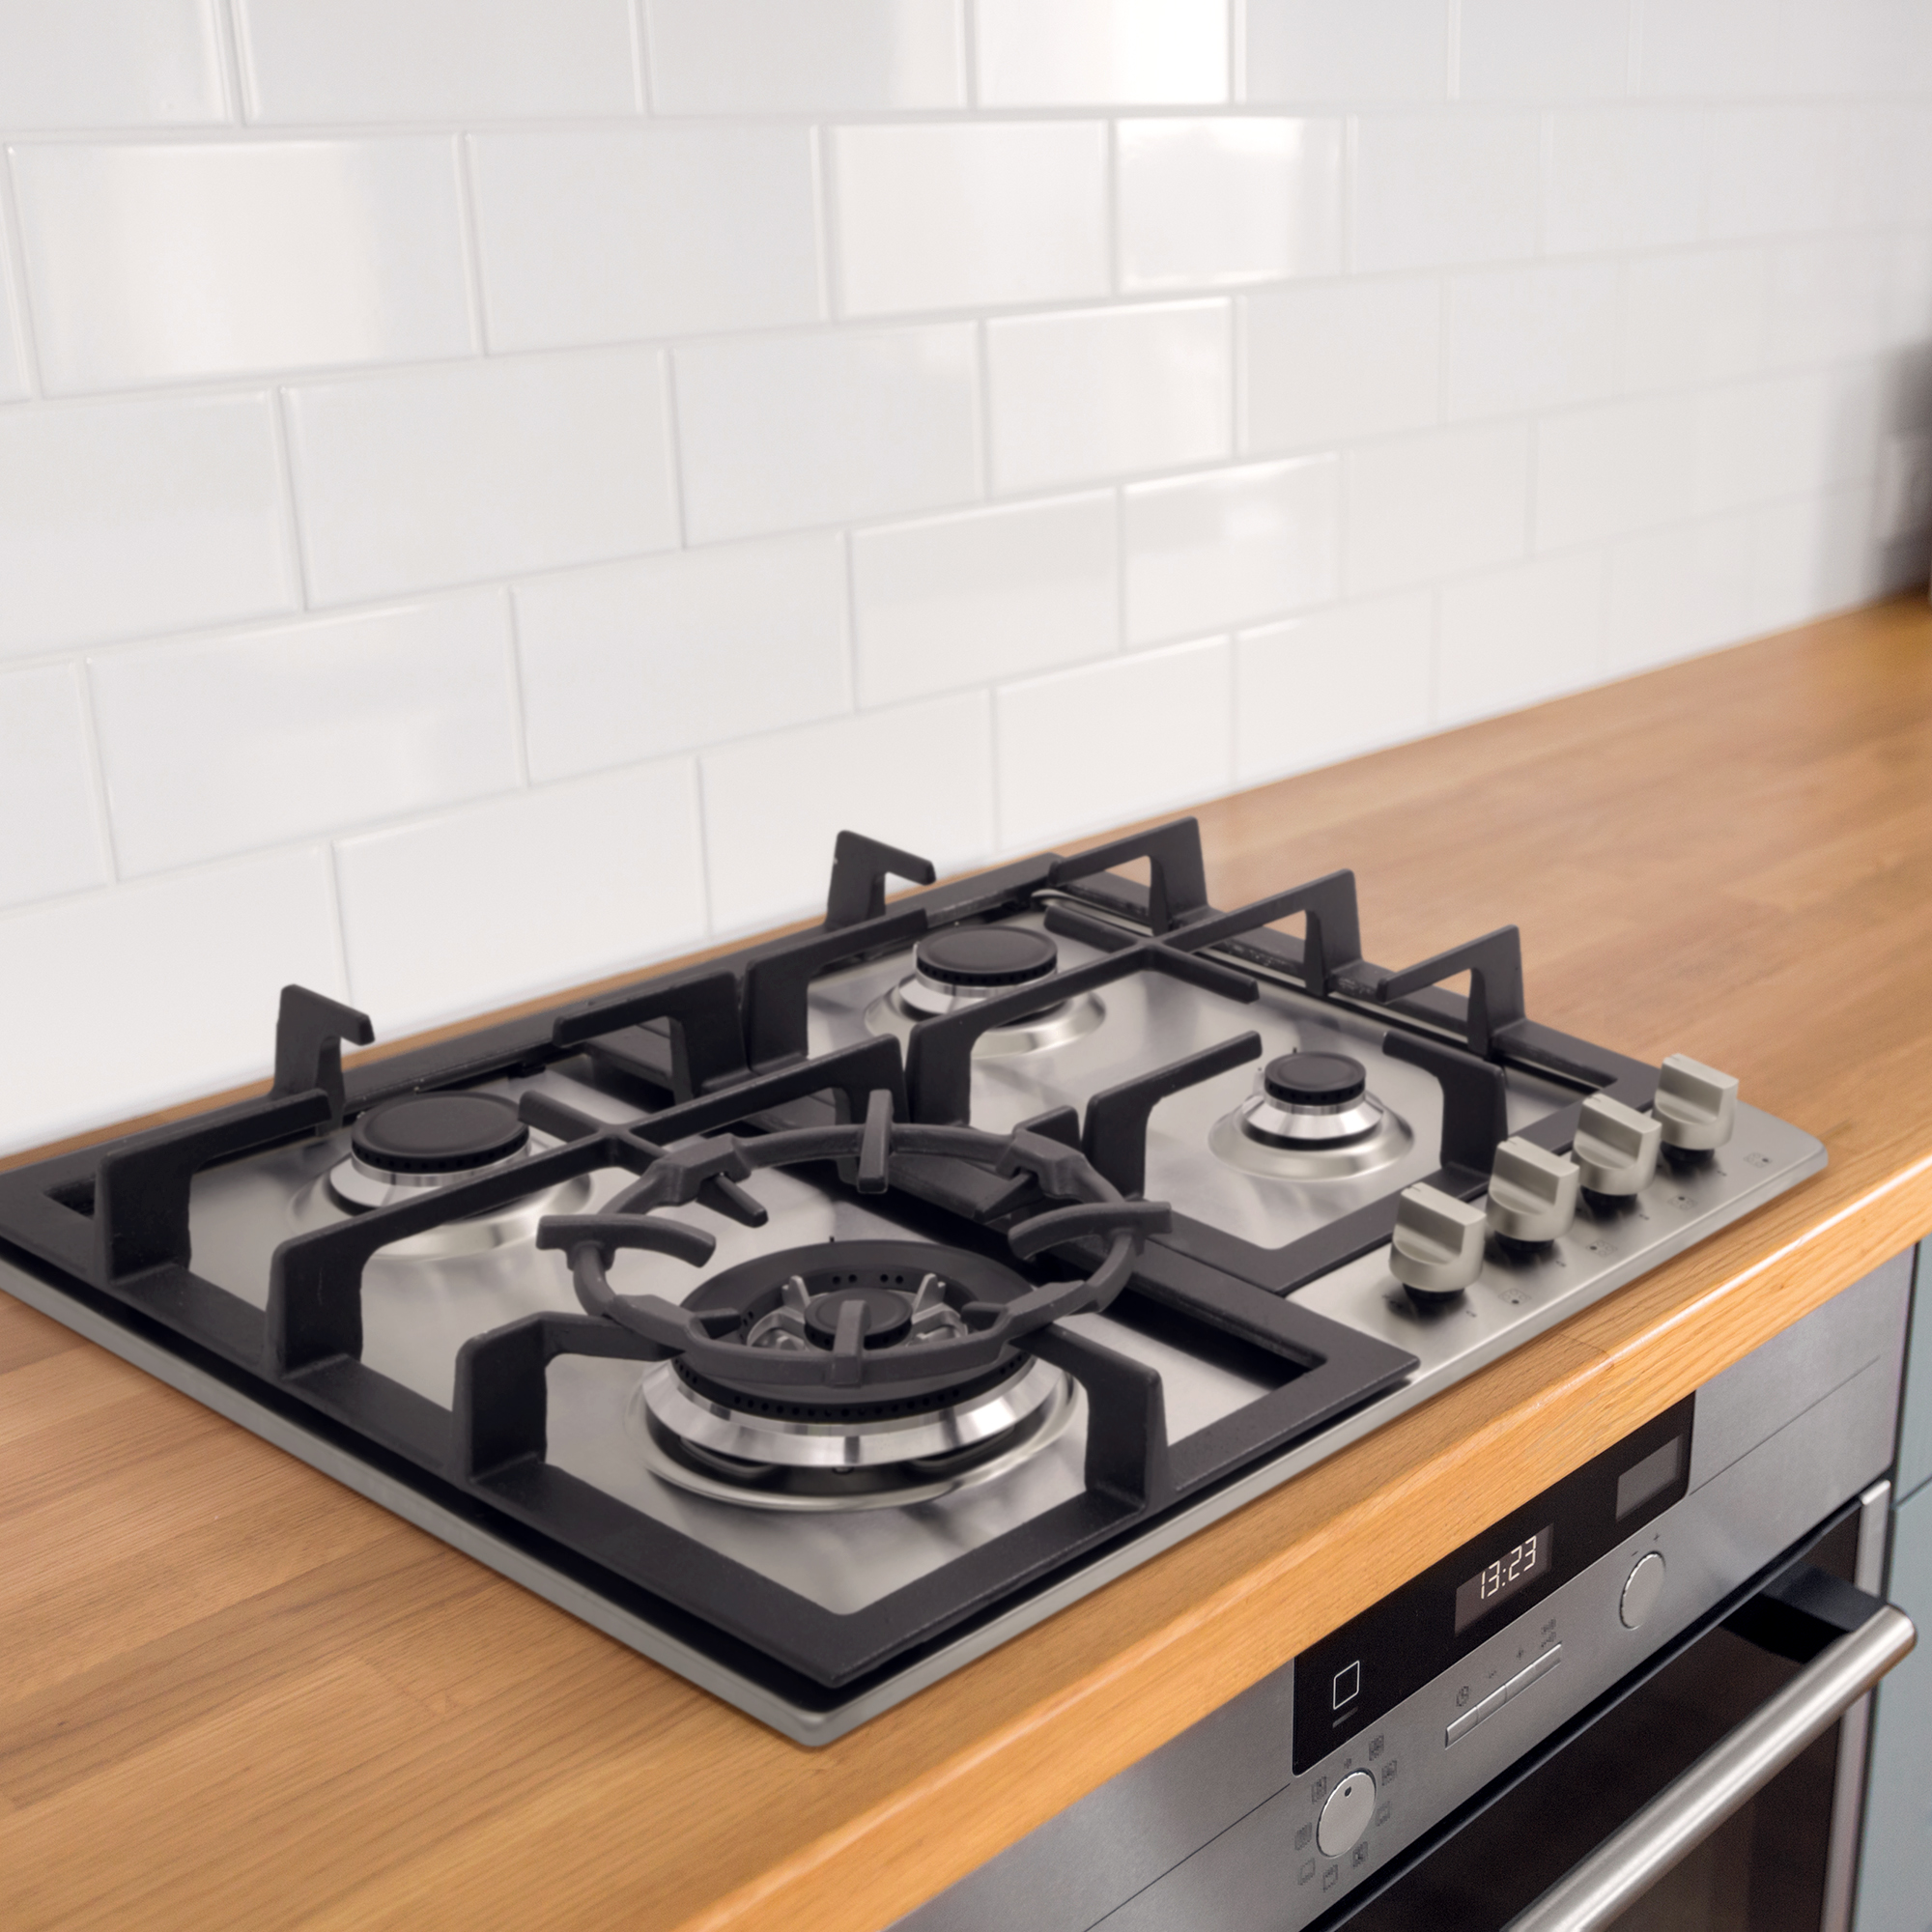
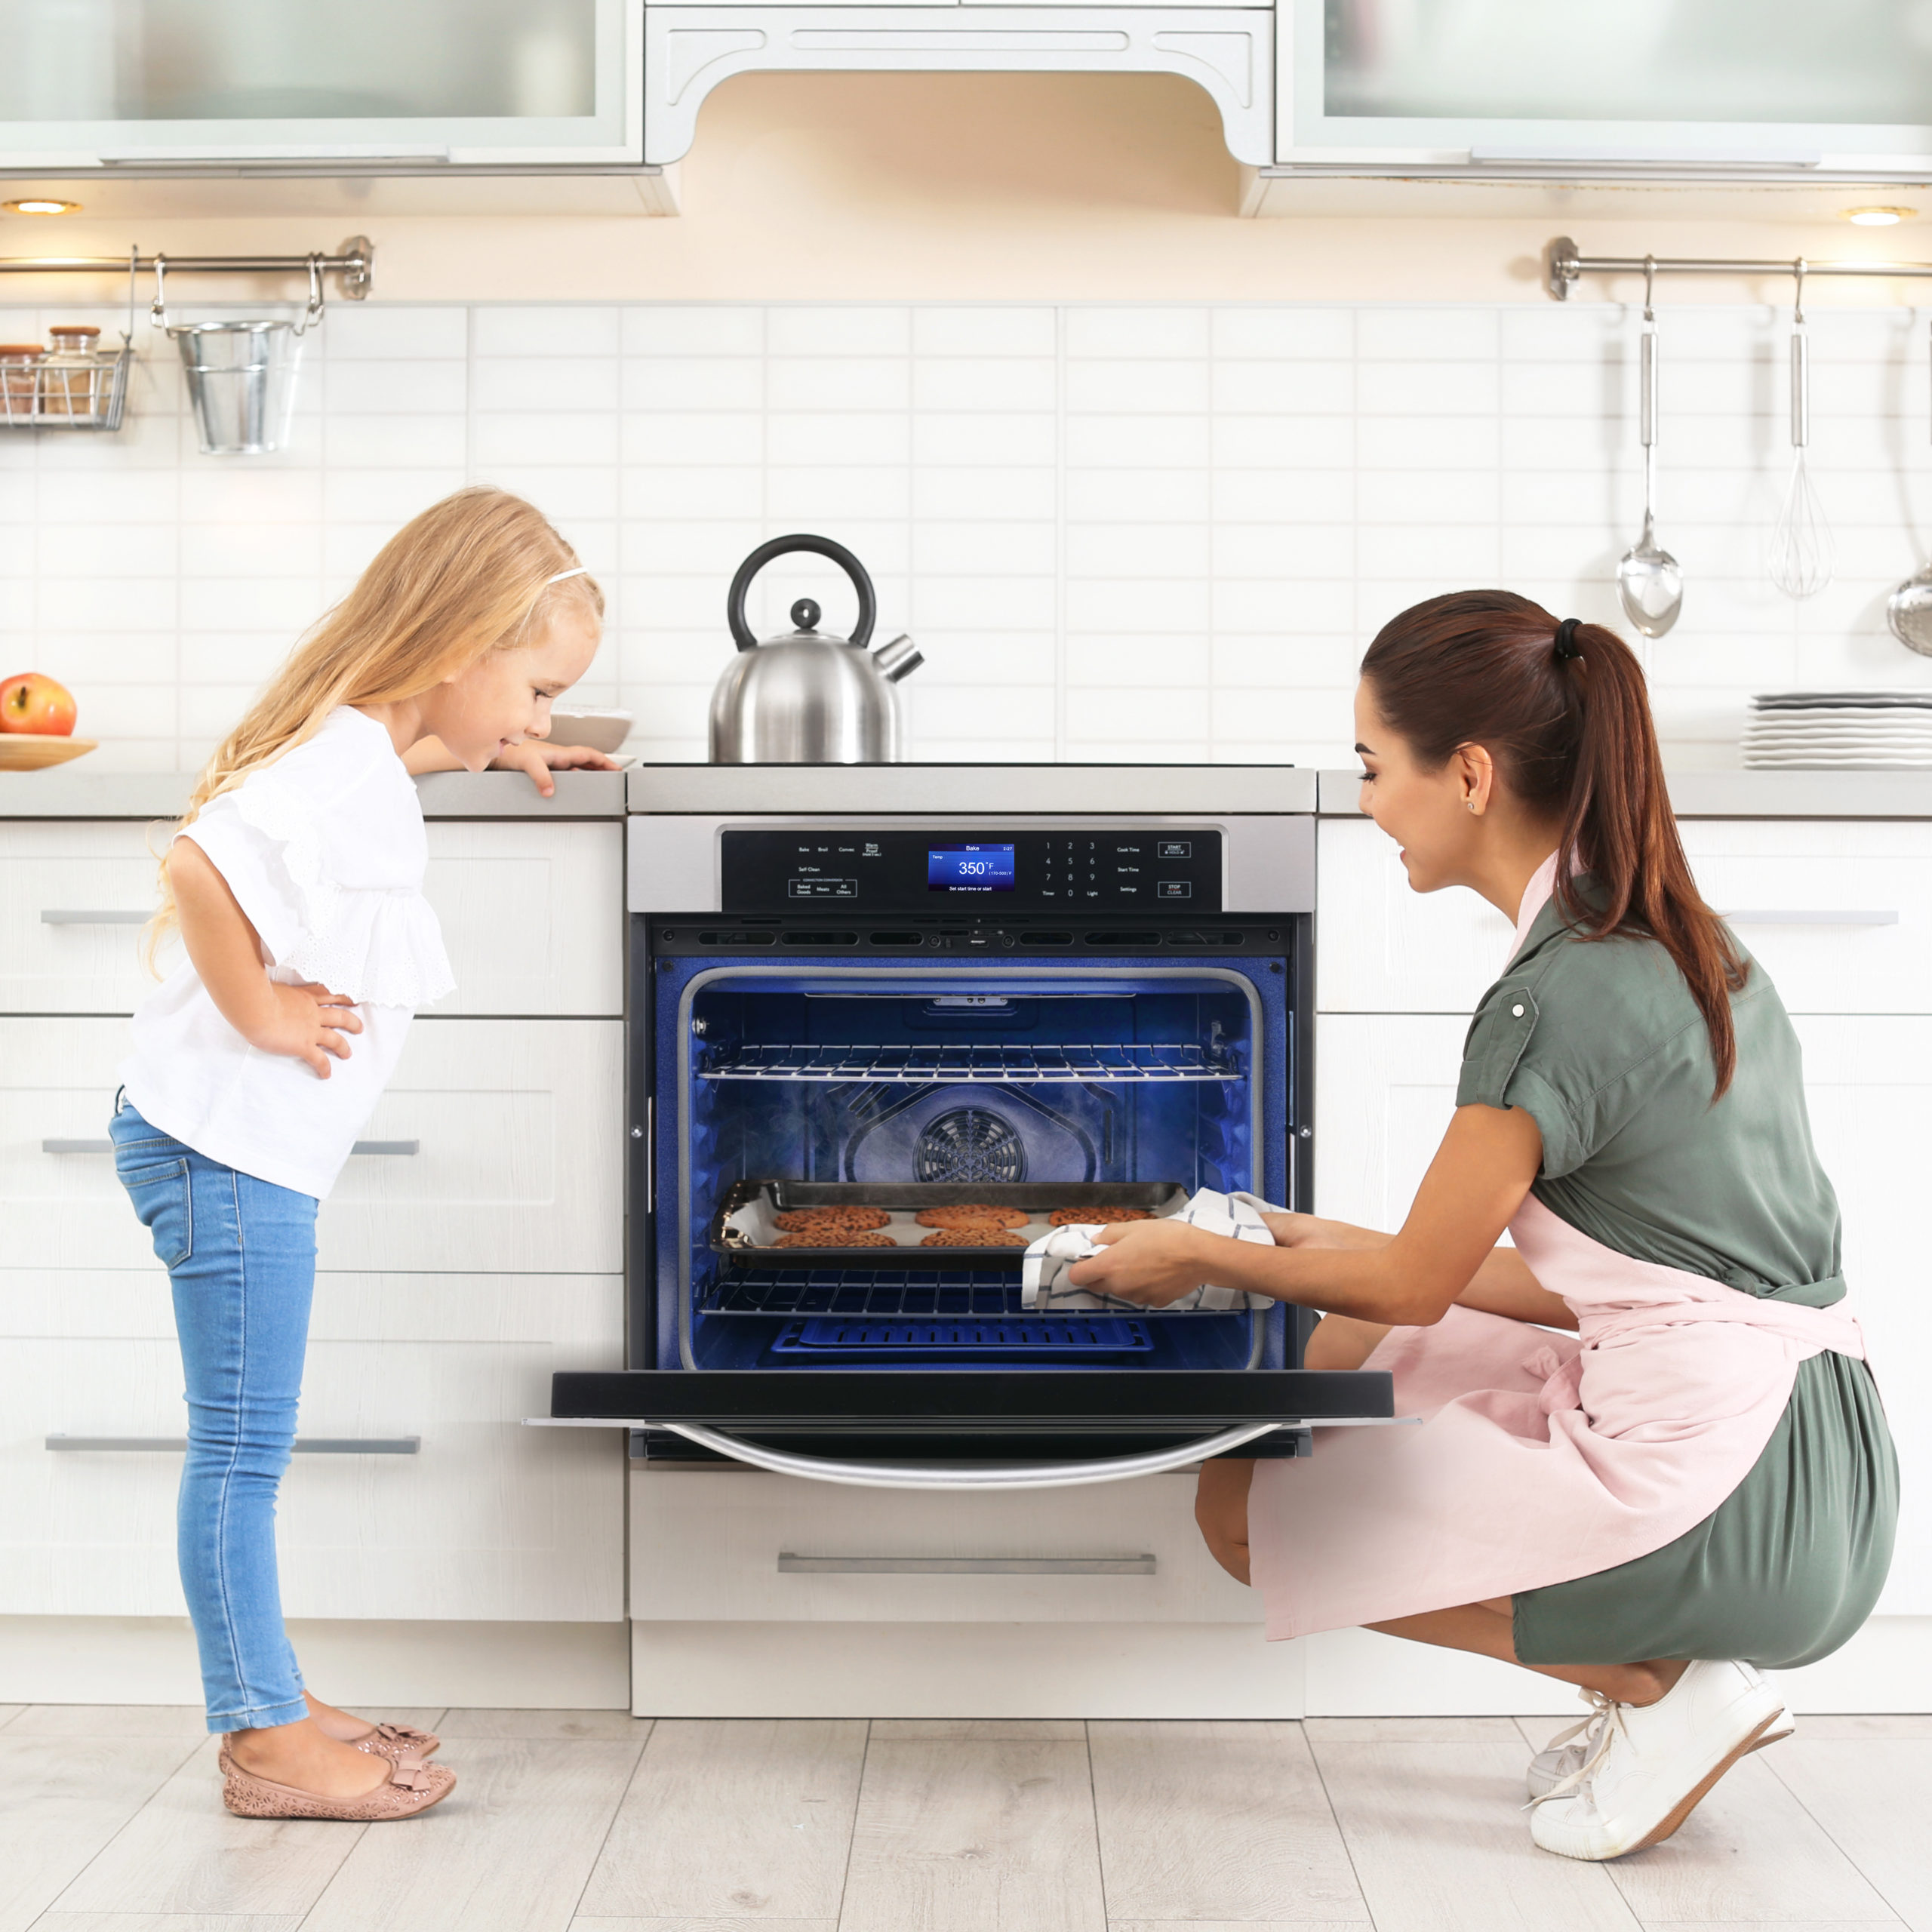
Wall ovens represent the perfect solution for homeowners who want to separate their cooking and baking functions while creating a more ergonomic kitchen design. The COS-30ESWC single wall oven brings professional-level features and performance to home kitchens at an accessible price point. With 5.0 cubic feet of capacity, seven oven functions, and Turbo True European Convection, this oven handles everything from daily meal preparation to holiday entertaining with impressive results. Built-in wall ovens offer advantages that traditional range ovens simply can’t match. By installing the oven at a comfortable height, you reduce bending and lifting while gaining better access to your cooking. The COS-30ESWC takes this concept further with thoughtful features designed to make baking and roasting easier and more successful for home cooks of all skill levels. Why Choose a Wall Oven Over a Range Wall ovens provide ergonomic benefits that become more valuable over time. Installing the oven at counter height or slightly below puts the oven interior at a comfortable working level, reducing strain on your back and making it easier to check on dishes or remove heavy items like roasts or casseroles. The separation of cooking functions allows you to use your cooktop and oven simultaneously without conflicts. You can sear a roast on the cooktop while vegetables roast in the oven, or bake dessert while preparing dinner on the stovetop. This flexibility becomes particularly valuable during meal preparation for large gatherings. Built-in installation creates a custom, high-end appearance that many homeowners prefer over freestanding ranges. The COS-30ESWC integrates seamlessly into your cabinetry, creating clean lines that enhance your kitchen’s overall design aesthetic. Wall ovens also offer more flexibility in kitchen layout design. You can place the oven wherever it works best for your workflow rather than being limited by range placement requirements. This freedom allows for more creative and functional kitchen designs. Turbo True European Convection Technology The heart of the COS-30ESWC’s performance lies in its Turbo True European Convection system. This technology uses a fan-assisted circular heating element to distribute heat evenly throughout the oven cavity, resulting in more consistent cooking temperatures and better results across different types of food. True convection systems place the heating element around the fan rather than using separate elements with a circulation fan. This design creates more even heat distribution and allows for cooking multiple items simultaneously without flavor transfer between dishes. The even heat distribution means you can use multiple rack positions effectively. Cookies bake evenly on multiple sheets, roasts cook uniformly, and casseroles brown consistently across their entire surface. This capability significantly improves cooking efficiency and results. Convection cooking typically reduces cooking times by 25-30% compared to conventional ovens while often allowing lower temperature settings. This efficiency saves energy while producing superior results, particularly for baked goods and roasted items. The system also provides better moisture control, which helps achieve crispy exteriors on roasted meats while maintaining juicy interiors. Baked goods develop better crusts and more even textures throughout. Seven Oven Functions for Versatile Cooking The COS-30ESWC offers seven distinct cooking functions that optimize performance for different types of food and cooking techniques. This variety gives you the flexibility to choose the best cooking method for each dish rather than relying on a one-size-fits-all approach. Conventional bake mode provides traditional top and bottom heating for standard baking and roasting tasks. This mode works well for casseroles, traditional bread baking, and recipes developed for conventional ovens. Convection bake combines the fan circulation with traditional heating elements to improve heat distribution while maintaining familiar cooking patterns. This mode works particularly well for cookies, pastries, and items where you want the benefits of convection without dramatic cooking time changes. Convection roast optimizes airflow and heating patterns for larger items like roasts, whole chickens, and vegetables. The circulation helps achieve even browning while cooking items thoroughly and efficiently. Broil functions provide intense top heat for browning, melting cheese, or finishing dishes that need surface caramelization. The precise control helps prevent burning while achieving the perfect level of browning. Additional specialized functions might include pizza modes, proofing settings for bread making, or warming functions for keeping foods at serving temperature. Each function adjusts heating patterns and fan operation to optimize results for specific cooking tasks. Generous 5.0 Cubic Foot Capacity With 5.0 cubic feet of usable space, the COS-30ESWC accommodates large family meals and entertaining needs without overwhelming standard kitchen layouts. This capacity handles multiple dishes simultaneously while fitting into standard 30-inch cabinet openings. The interior dimensions allow for multiple rack positions, giving you flexibility in arranging different sized items. You can roast a large turkey on the bottom rack while baking side dishes on upper racks, maximizing oven efficiency during busy cooking periods. Multiple rack positions work particularly well with convection cooking, which maintains consistent temperatures throughout the oven cavity. Unlike conventional ovens where rack position significantly affects cooking results, convection systems allow more flexible rack usage. The spacious interior accommodates oversized items like large roasting pans, half-sheet baking pans, and even small commercial-sized equipment. This flexibility becomes valuable for holiday cooking or when preparing meals for large groups. Consider the interior height when planning your cooking. The oven accommodates tall items like standing rib roasts or large casserole dishes while providing adequate clearance for proper air circulation around food items. User-Friendly Soft Touch Controls The soft touch control panel makes operating the COS-30ESWC intuitive and convenient. Unlike traditional mechanical controls, soft touch interfaces respond to light pressure and provide immediate feedback through LED displays and indicators. The controls are positioned for easy access and reading, with clear markings that remain legible even after years of use. The smooth surface resists grease and fingerprints better than textured controls while being easy to clean with standard kitchen cleaners. Digital displays show current temperature settings, cooking time remaining, and selected functions clearly. This information helps you monitor cooking progress and make adjustments without opening the oven door and losing heat. Programming multiple functions becomes simple with intuitive controls that guide you