Month: November 2020

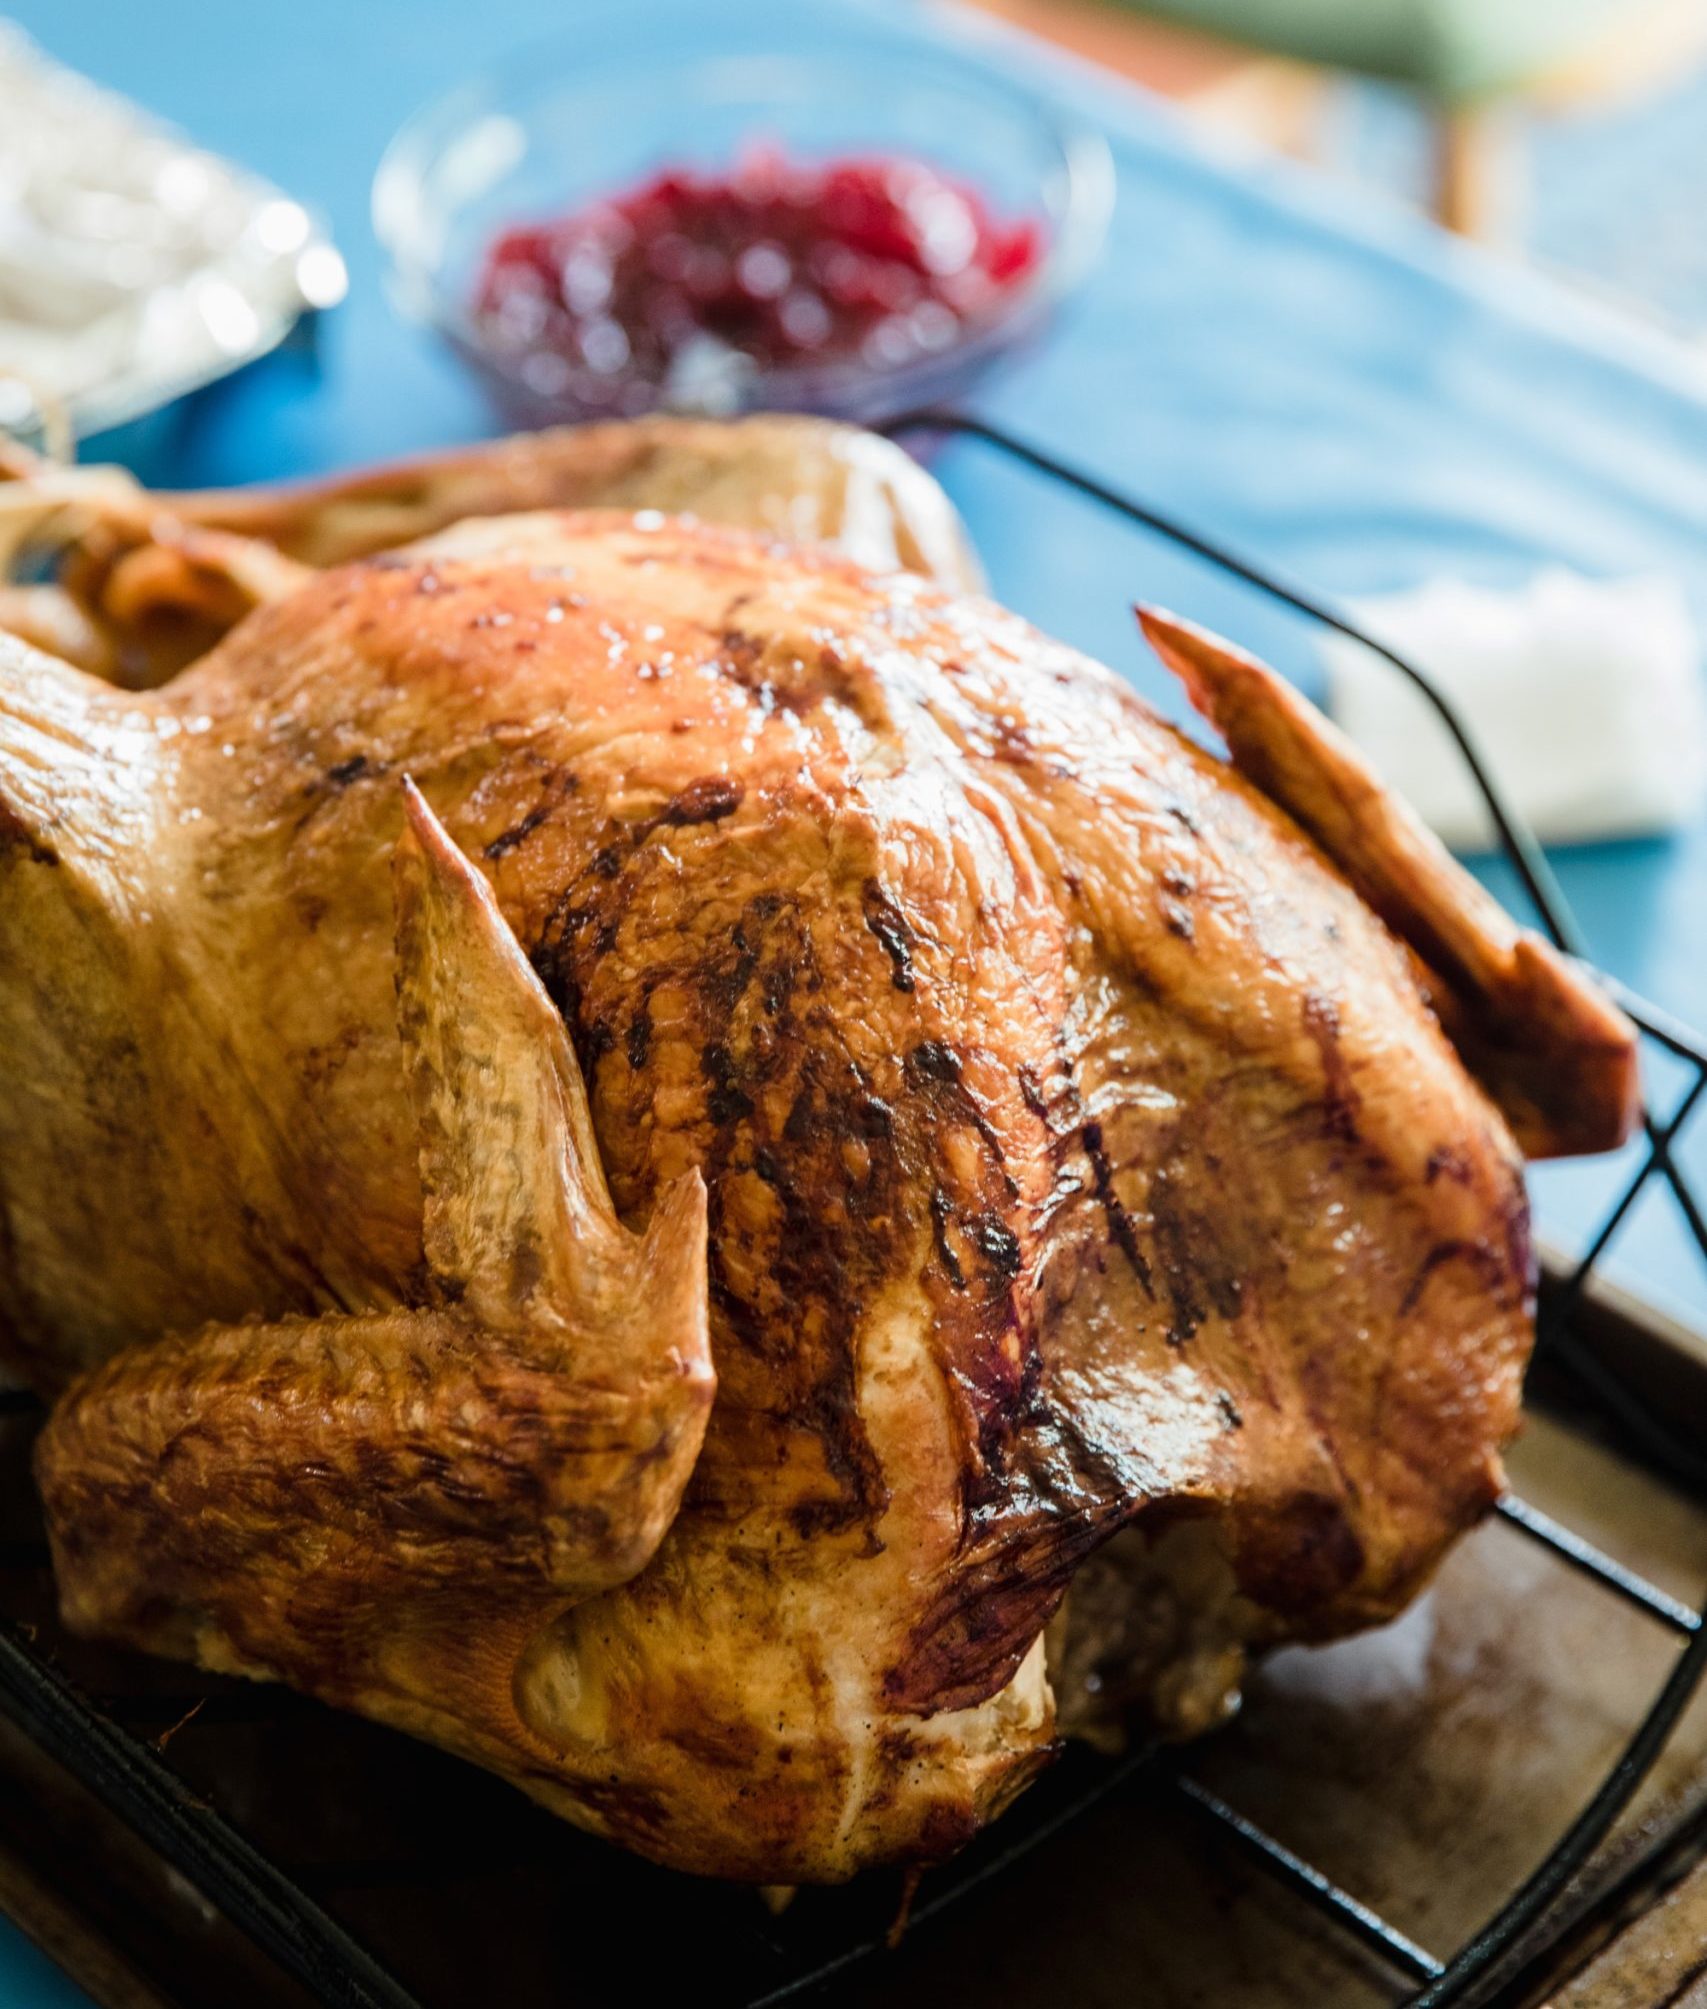
3 Ways to Cook the Perfect Turkey

Cooking turkeys can be a daunting task. Instead of resorting to an old recipe, try something new this year if you’re up for the challenge, here are three different ways you can cook that perfect turkey. Smoke It Smoking turkey takes about the same amount of time as cooking it traditionally in an oven, however it requires more attention. You’ll need to truss your turkey to make it easier to flip in the smoker for an even cook. Cotton butcher’s twine is a must. You’ll need to have a slow and mellow fire. Be sure to keep your coals glowing and add some hardwood chunks for a unique flavor. Keep an eye on the turkey throughout the day and measure its temperature. Avoid a dry, hot smoker as this will make the turkey’s skin crack. Have a silicone brush on hand to keep the turkey basted. Grill It A gas grill can be ideal for cooking turkey with the right tools. You’ll need a roast rack to hold up your turkey upside down and away from the grill as it starts to cook. The breast will take the longest so start with the breast side facing the burners. After an hour or two you can flip it over directly on to the grate. Add some smokey flavor with a smoke box as gas doesn’t naturally do this. Keep track of the temperature of your turkey. Use a dual probe thermometer as the breast will take longer to cook. Fry It One of the quickest ways to cook a turkey is frying it. You can cook an average sized turkey in about an hour, making it a much more attractive method. It’s best to brine your turkey beforehand to maintain moisture in the turkey as frying can dry it out. Safety is key when it comes to frying a turkey. Be sure you have a thermometer to keep track of the oil’s temperature. Use proper equipment when lowering and lifting the turkey in the oil, such as heat resistant gloves. Turn off your fryer prior to lifting it out of the fryer and check the turkey’s temperature once it’s out. It’s only safe to fry a turkey outdoors and with the proper fryer. Keep flammable items away from the area. How are you going to cook your turkey this year? Let us know over on our Facebook and Instagram, or in the comments below. Have a happy and safe Thanksgiving this year! Sources: HGTV

The Best Black Friday Deals from Cosmo

It’s that time of year again when you can take advantage of huge sales on select Cosmo appliances for Black Friday! Upgrade your kitchen with these luxury appliances at wholesale prices. All these deals are currently live! Check out some of our recommendations below. Previous Next COS-5MU30 This under cabinet range hood has modern styling for any kitchen decor. Featured in brushed stainless steel, efficient suction removes smells and odors with ease. Two dishwasher-safe aluminum mesh filters collect unwanted grease and oil from the air. Easy Push button controls make using the hood easy. Built-in LED lighting ensures visibility for cooking at all times of the day. $93.45 $119.95 SHOP NOW Previous Next COS-63ISS75 This 30 inch stainless steel island mount range hood is in a class of its own. Praised by kitchen design experts for its sophistication and ultra-modern aesthetic that seamlessly complement a variety of kitchen designs. Its modern features include commercial grade 430 stainless steel and an efficient 380 CFM centrifugal motor dedicated to ridding your house of lingering aromas. Dishwasher-safe premium stainless steel baffle filters to trap grease and oil. Comes with 4 LED lights to illuminate your cooktop. $321.29 $389.95 SHOP NOW Previous Next COS-30EDWC Maximize your kitchen’s output with this 30 inch double electric wall oven. Two 5 cu. ft. ovens give you the flexibility to manage multiple dishes and cooking temperatures at once. The upper oven is equipped with Turbo True European Convection to bring your dishes to life faster and tastier than ever, cooking at an average of 25° cooler and 10% faster than a traditional oven. Both ovens feature our brilliant blue oven cavity finish, six oven rack positions, and a self-cleaning function to take the elbow grease out of appliance maintenance. $1,504.49 $1,749.99 SHOP NOW Previous Next COS-EPGR366 This 36 in. gas range brings professional styling and quality into your home kitchen. The large 6.0 cu. ft. oven capacity lets you bake multiple dishes at once, and the gas cooktop with 6 sealed burners can handle all your pots and pans with ease. The cooktop is equipped with a variety of different burners to suit needs from the largest pots and pans down to the smallest saucepans. In the convection oven, a powerful fan circulates air for fast, perfectly cooked meals every time. This range is constructed with industrial, corrosion resistant stainless steel and a removable backsplash means it is suitable for either freestanding or slide-in installation. $2,209.99 $2,999.95 SHOP NOW These are just some of our deals happening this week. Shop all our available sales over on Amazon. Available now!

Upcoming Product Release: Electric Ceramic Glass Cooktops!

Here at Cosmo we’re proud to see the way our products bring alive the heart and soul to kitchens across the country. Our cooktop line has always delivered seamless performance with modern design at its core. We’re happy to introduce our newest products, the COS-365ECC and COS-304ECC, electric ceramic glass cooktops! These beautiful cooktops come with a smooth glass ceramic surface that easily wipes clean, giving you freedom to cook whatever you please and a clean, shiny cooktop after every meal. Powered with either 4 or 5 electric surface burners, you can rest assured you can cook like a professional chef in your own home. These burners are also equipped with dual zone elements for added flexibility when cooking with different sized cookware. Previous Next Features Knob controls provide easy access to temperature settings 5 Heat levels for a variety in cooking Hot Surface Indicator Light will glow to alert any surface area is too hot to touch Built with SCHOTT CERAN ® cooktop panels –made of a material that combines the aesthetics of glass with enormous heat resistance and stability. The ceramization process is then what turns glass into a glass-ceramic Dual Zone Elements offer flexibility for a variety of cookware sizes Easy clean-up with the cooktop’s smooth glass surface 5 Year Limited Warranty Like what you see? Keep an eye out for the cooktops here. CLICK HERE

Kitchen Design Mistakes to Avoid

Kitchen design can be daunting. It’s best to learn the biggest mistakes people often make before designing your own. Check out these tips below! Inconsistent Layout The placement of appliances and cabinets is crucial. Good organization goes a long way. First decide, what kind of kitchen works for you? Are you somebody who entertains in the kitchen? Maybe you’ll need an island with extra seats. You could need extra counter space if you love to bake and cook for all your ingredients. Putting all your appliances in one counter may not be the most aesthetically pleasing idea. These questions will help map out your space more effectively. Cabinets and the Color Choices You Make Cabinets can be one of the most expensive items in your kitchen. When deciding on your cabinets it’s important to keep two things in mind–versatility and durability. You won’t be replacing your cabinets all the time and these decisions can carry a hefty cost. Look for solid wood construction cabinets that are at least ½ inch thick with well finished surfaces. Pay attention to any imperfection such as wood knots or bad sanding. Countertops Marble counters may look beautiful at first, but these surfaces easily stain from certain drinks and dyes. Other acidic ingredients such as vinegar or lemons can actually erode marble quickly, making it less practical in a kitchen. Affordable and durable counters such as quartz or granite are safer choices for kitchen counters. Empty Spaces Above Cabinets Having a large empty space between cabinets and the ceiling leads to kitchens feeling empty and dust buildup. These spaces are hard to reach and clean. Consider placing a soffit here. A soffit is a decorative architectural feature that can fill up these areas in an appealing way. Thinking over how you can improve your kitchen with these tips? Show us over on our Facebook and Instagram and be sure to tag us! Source: Insider

Holiday Spirits to Sip On

As we approach the holidays, we come to accept the fact this holiday season will be unlike any other due to restrictions amongst a COVID reality. Safety and responsibility come first during these times, but we look for other ways to ensure we have our holiday cheer. Take this opportunity to sit down and try something new with these exciting drinks, recipes courtesy of Zevia. Winter White Margarita Servings: 6 12 ounces coconut milk 12 ounces silver tequila 1 tablespoon orange extract 2 ½ cups ice 1 ½ cans Zevia Lemon Lime with Bitters Granulated stevia, for garnish (optional) Cranberries, for garnish (optional) Rosemary sprigs, for garnish (optional) In blender, blend coconut milk, tequila, orange extract, ice and bitters until smooth. Rim six glasses with granulated stevia. Divide mixture among glasses and garnish each with cranberries and rosemary, if desired. Cranberry Smash Moscow Mule Servings: 1 1 cup cranberries, plus additional for garnish (optional), divided ¾ – 1 cup water, divided 2 ounces vodka 1-2 ounces fresh squeezed lime juice 4 ounces Zevia Ginger Beer Mixer Ice Rosemary, for garnish (optional) Lime slices, for garnish (optional) Cinnamon sticks, for garnish (optional) In saucepan, boil cranberries in 1/2 cup water until they burst. Use fork to smash cranberries. Boil 3-4 minutes. Keep mixture moist by adding water 1/4 cup at a time. Let mixture cool to room temperature. In copper mug, combine vodka, lime juice, ginger beer and smashed cranberries over ice. Garnish with additional cranberries, rosemary, lime slices and cinnamon sticks, if desired. Did you try out these recipes? Tag us! Follow us on Facebook and Instagram. Photos courtesy of Getty Images Source: Zevia

Tips on Lighting Your Kitchen

Let there be light! Kitchen lighting often comes as an afterthought or disregarded completely. Well balanced kitchen lighting brings both functionality and aesthetic to a home. While there may be a plethora of different lights you can buy such as pendants, strip lights or recessed lighting, it’s important to understand the function of light and the role it plays in any room. It’s easier to think of light in layers. Light, like anything else in the kitchen, should have a purpose. Ambient – Ambient lighting will be the main source of lighting. It should be applied in an even layer to the entire room. An example would be natural sunlight. This can be accomplished with various kinds of lights as long as it’s filling the space. Task – The lighting that illuminates cooktops or surfaces you will need to use when preparing meals, as the name implies. It can be the lights you need to look through a pantry or read labels. Accent – Accent lighting emphasizes various places in the kitchen such as cabinets or counters. It should be the cherry on top that adds depth and dimension. Did you know color plays an important role too? According to Jeff Dross, director of education and industry trends at Kichler Lighting, you should look out for three qualities when picking lights for energy efficiency. Color Temperature. Look for lights that are in between 2700 to 3000 Kelvin. This will closely resemble incandescent lamping which would perfectly fit in any residential environment. CRI Rating. This stands for Color Rendering Index, and determines the way the light is interpreted. Low CRI can result in lights looking gray. Jeff recommends your lights have at least 80 CRI to see better color renders. Energy Star. Lights should have this certification to ensure the bulb has gone through longevity testing and has a minimum 80 CRI. What kind of lights do you have in your kitchen and is there any way you can add more? We’d love to see your design and style! Follow us on Facebook and Instagram, tag us and join our Cosmo community. Sources: YLighting , HGTV

Taking Care of Your Stainless Steel Appliances

Stainless steel is one of the sleekest modern finishes any appliance can have. As a matter of fact, it’s the most popular among dishwashers, ranges, and refrigerators sales. But as you may soon learn, stainless steel attracts fingerprints, smudges and streaks. There are many stainless steel cleaners on the market to bring the shine back to your appliances. But we’ve compiled some tricks if you’re looking for other cost saving alternatives. It’s always a good idea to refer to your product’s user manual on any cleaning recommendations. Always avoid scouring powders, steel wool, bleach, or ammonia as these can damage your appliance’s finish. Dish Soap. You can actually mix a mild soap detergent and warm water to help clean your stainless steel. Use a microfiber cloth and rub the solution into any marks, going with the grain of the stainless steel. Rinse with cold water and dry immediately with a clean cloth after. Mineral Oil. Apply a light coating of mineral oil and buff with a cloth to avoid any tacky buildup. Steer clear of any food-based oils such as vegetable or olive oil. These kinds of oils can turn rancid. Glass Cleaner. Spray a soft, dry cloth with a glass cleaner that is ammonia and vinegar-free to buff out any pesky fingerprints that may persist. Wipe the surface clean after. Baking Soda. Create a paste of baking soda and warm water, then apply to a soft cloth or sponge. Always remember to go with the grain of your appliance. Wipe with a clean wet cloth and dry with a towel. For any remaining scratches or stains you can utilize a stainless steel cleaner to the area. Sources: Good HouseKeeping , Consumer Reports Looking to learn more? Follow us on our Facebook and Instagram. 

Ducted and Ductless Range Hoods–What’s the Difference?

All range hoods are not created equal. It’s important to know the differences when deciding which range hood would work best for your kitchen. Searching through the options, you may come across some terms you’re unfamiliar with: ducted and ductless. To better understand these functions, let’s establish the main function of a range hood: moving odors, smoke or fumes away from your kitchen when cooking meals. Ducted Range Hoods Ducted range hoods require a duct inside a kitchen that connects to the outside. The range hood pulls the air up through the duct and away from the kitchen. The main restriction here is the location of the duct, and how the kitchen is built. If you’d like to have your range hood in another location where there is no duct available, then a ducted range hood may not work for you. Humidity is a key difference here. Since the air is being moved outside, you would have a dryer air quality than a ductless option. Ductless Range Hood Ductless range hoods recirculate air back into the kitchen. They require an additional filter, usually carbon activated. One of the biggest advantages of ductless use is that they can be placed anywhere in the kitchen. Ductless range hoods can contribute to higher humidity and heat levels in kitchens since the same air is remaining in the area. Filters do have to be replaced, usually once or twice a year, which can lead to additional costs. Ductless range hoods often require more power to recirculate the air, which may create higher noise levels. At Cosmo, we offer both ducted and ductless options in our range hoods so you have the option in deciding what’s best for your needs– without sacrificing aesthetics. Check out all our range hoods here. Looking to learn more? Follow us on our Facebook and Instagram.

Spice Up the Season With These Easy Recipes

The holiday season is upon us, and with that comes delicious foods for the whole family! Snacks are a staple for any occasion but are often overlooked. Don’t miss the opportunity to bring a memorable experience when you impress your family with these recipes. Learn how to make these delicious treats below, courtesy of AmericanPecan.com Reindeer Pecan Brownies Prep time: 20 minutes Cook time: 15 minutes Yield: 20 brownies Nonstick cooking spray 1 stick (½ cup) unsalted butter, melted 1 tablespoon pecan or canola oil 1 cup, plus 2 tablespoons, granulated sugar 2 large eggs 1 teaspoon vanilla extract ½ cup all-purpose flour ½ cup cocoa powder 1 teaspoon espresso powder (optional) ¼ teaspoon kosher salt 20 raw pecan halves, cut in half 40 candy eyeballs 20 red chocolate candies ¼ cup chocolate chip Preheat oven to 350 F. Spray mini muffin tin with nonstick cooking spray. In large bowl, whisk melted butter, oil and sugar until well combined. Add eggs and vanilla extract; beat until mixture is thick and pale in color, about 1 minute. Sift in flour and cocoa powder. Add espresso powder, if desired, and salt. Using rubber spatula, fold dry ingredients into butter mixture until just combined. Batter should be thick. Using 1-tablespoon cookie scoop, transfer batter to prepared mini muffin tin. Bake 13-15 minutes until toothpick inserted in center comes out mostly clean, with some lingering crumbs. Add chocolate chips to heat-safe bowl; microwave until smooth and melted. Pour melted chocolate into sandwich bag and cut off small portion of one corner to use as tip. Use melted chocolate to “glue” on pecan antlers, candy eyeballs and red candy noses to brownies. Allow chocolate to set before transferring brownies to airtight container. Note: Brownies will stay fresh for up to three days. No-Bake Pumpkin Pecan Pie Bites Prep time: 15 minutes Chill time: 1 hour Yield: 12 bites (6 servings) Crust: 1 1/2 cups raw pecan pieces 3/4 cup pitted medjool dates (about 7 dates), soaked in hot water 10 minutes 1 pinch pink salt Filling: 1/3 cup pumpkin puree 1/3 cup full fat coconut milk 1 teaspoon pumpkin spice 1/4 cup maple syrup 1 pinch pink salt 1 scoop collagen peptides (optional) 12 raw pecan halves, for topping To make crust: In food processor, process pecan pieces, drained dates and salt until combined and “dough” starts to form into ball. To make filling: In bowl, combine pumpkin puree, coconut milk, pumpkin spice, maple syrup, pink salt and collagen peptides, if desired. Whisk until smooth. Line cupcake tin and evenly distribute crust mixture, about 1 1/2 tablespoons in each cupcake opening. Use fingers to press crust into even layer. Evenly disperse pumpkin pie filling among openings until tins are about half full. Top each with one pecan half and place in freezer at least one hour. Source: American Pecan Council

Mistakes to Avoid When Painting Cabinets

Changing cabinetry can be one of the most impactful visual changes in your kitchen. Some people may think this is a weekend job, painting your cabinets is a big project you want to properly plan. Check out the most important tips below on how to create the kitchen you want, while saving yourself a headache later on. Preparation is Key Take some time to understand the kind of cabinets you have. Wood materials paint differently than laminate and should influence the paint you’re buying. Flat-front doors and drawers are easily repainted, but woodwork with raised panels, routed profiles or other architectural detailing will require more time to prep and paint (see HGTV). Be sure to remove all the drawers and their hardware. Often people try to paint their cabinets as they currently stand which will result in problems later on. Removing the doors and hardware will ensure you have a careful painting process and reduce mistakes that will eventually have to be fixed. Mark all the doors and drawers, you want to know where they go once you’re done! Be sure to tape and cover everything else in your kitchen, the last thing you want is to accidentally get paint on something else. The Importance in Sanding According to GoodHouseKeeping, even if your cabinets are in near-perfect condition, you still have to sand them so the paint will stick. Use sandpaper in the middle of the spectrum (150 or 200 grit is good) and just give all of the surfaces a quick buffing. You just want to take the surface from glossy to matte. Your cabinets can have grease and dirt not visible to the eye that you definitely want to get rid of before painting. Skipping this step will result in paint chipping and peeling down the road. There’s no need to rid all the current color on the cabinets. Be sure to pay attention to the texture of the surface. Paint with Patience As previously mentioned, painting your cabinets is a long project that requires patience. Rushing the painting process can result in visible brush strokes, smudging or smearing. Apply paint in light, thin coats. Don’t lay the brush firmly on the cabinets as this will leave streaks and create air pockets or bubbles in the paint. Allow the paint to dry for at least four hours between coats. When dry, resand all surfaces lightly to prepare them for the second coat, wipe away all sanding dust with a tack cloth, then repaint. Two coats of quality paint are usually sufficient, but you may want to add a third coat because kitchen cabinets take lots of punishment from cooking heat and day-to-day use, and wood surfaces need all the protection they can get. Looking to learn more tips and tricks for your kitchen? Be sure to give us a follow over on our Facebook and Instagram.