Author : Cosmo

Taking Care of Your Stainless Steel Appliances

Stainless steel is one of the sleekest modern finishes any appliance can have. As a matter of fact, it’s the most popular among dishwashers, ranges, and refrigerators sales. But as you may soon learn, stainless steel attracts fingerprints, smudges and streaks. There are many stainless steel cleaners on the market to bring the shine back to your appliances. But we’ve compiled some tricks if you’re looking for other cost saving alternatives. It’s always a good idea to refer to your product’s user manual on any cleaning recommendations. Always avoid scouring powders, steel wool, bleach, or ammonia as these can damage your appliance’s finish. Dish Soap. You can actually mix a mild soap detergent and warm water to help clean your stainless steel. Use a microfiber cloth and rub the solution into any marks, going with the grain of the stainless steel. Rinse with cold water and dry immediately with a clean cloth after. Mineral Oil. Apply a light coating of mineral oil and buff with a cloth to avoid any tacky buildup. Steer clear of any food-based oils such as vegetable or olive oil. These kinds of oils can turn rancid. Glass Cleaner. Spray a soft, dry cloth with a glass cleaner that is ammonia and vinegar-free to buff out any pesky fingerprints that may persist. Wipe the surface clean after. Baking Soda. Create a paste of baking soda and warm water, then apply to a soft cloth or sponge. Always remember to go with the grain of your appliance. Wipe with a clean wet cloth and dry with a towel. For any remaining scratches or stains you can utilize a stainless steel cleaner to the area. Sources: Good HouseKeeping , Consumer Reports Looking to learn more? Follow us on our Facebook and Instagram. 

Ducted and Ductless Range Hoods–What’s the Difference?

All range hoods are not created equal. It’s important to know the differences when deciding which range hood would work best for your kitchen. Searching through the options, you may come across some terms you’re unfamiliar with: ducted and ductless. To better understand these functions, let’s establish the main function of a range hood: moving odors, smoke or fumes away from your kitchen when cooking meals. Ducted Range Hoods Ducted range hoods require a duct inside a kitchen that connects to the outside. The range hood pulls the air up through the duct and away from the kitchen. The main restriction here is the location of the duct, and how the kitchen is built. If you’d like to have your range hood in another location where there is no duct available, then a ducted range hood may not work for you. Humidity is a key difference here. Since the air is being moved outside, you would have a dryer air quality than a ductless option. Ductless Range Hood Ductless range hoods recirculate air back into the kitchen. They require an additional filter, usually carbon activated. One of the biggest advantages of ductless use is that they can be placed anywhere in the kitchen. Ductless range hoods can contribute to higher humidity and heat levels in kitchens since the same air is remaining in the area. Filters do have to be replaced, usually once or twice a year, which can lead to additional costs. Ductless range hoods often require more power to recirculate the air, which may create higher noise levels. At Cosmo, we offer both ducted and ductless options in our range hoods so you have the option in deciding what’s best for your needs– without sacrificing aesthetics. Check out all our range hoods here. Looking to learn more? Follow us on our Facebook and Instagram.

Spice Up the Season With These Easy Recipes

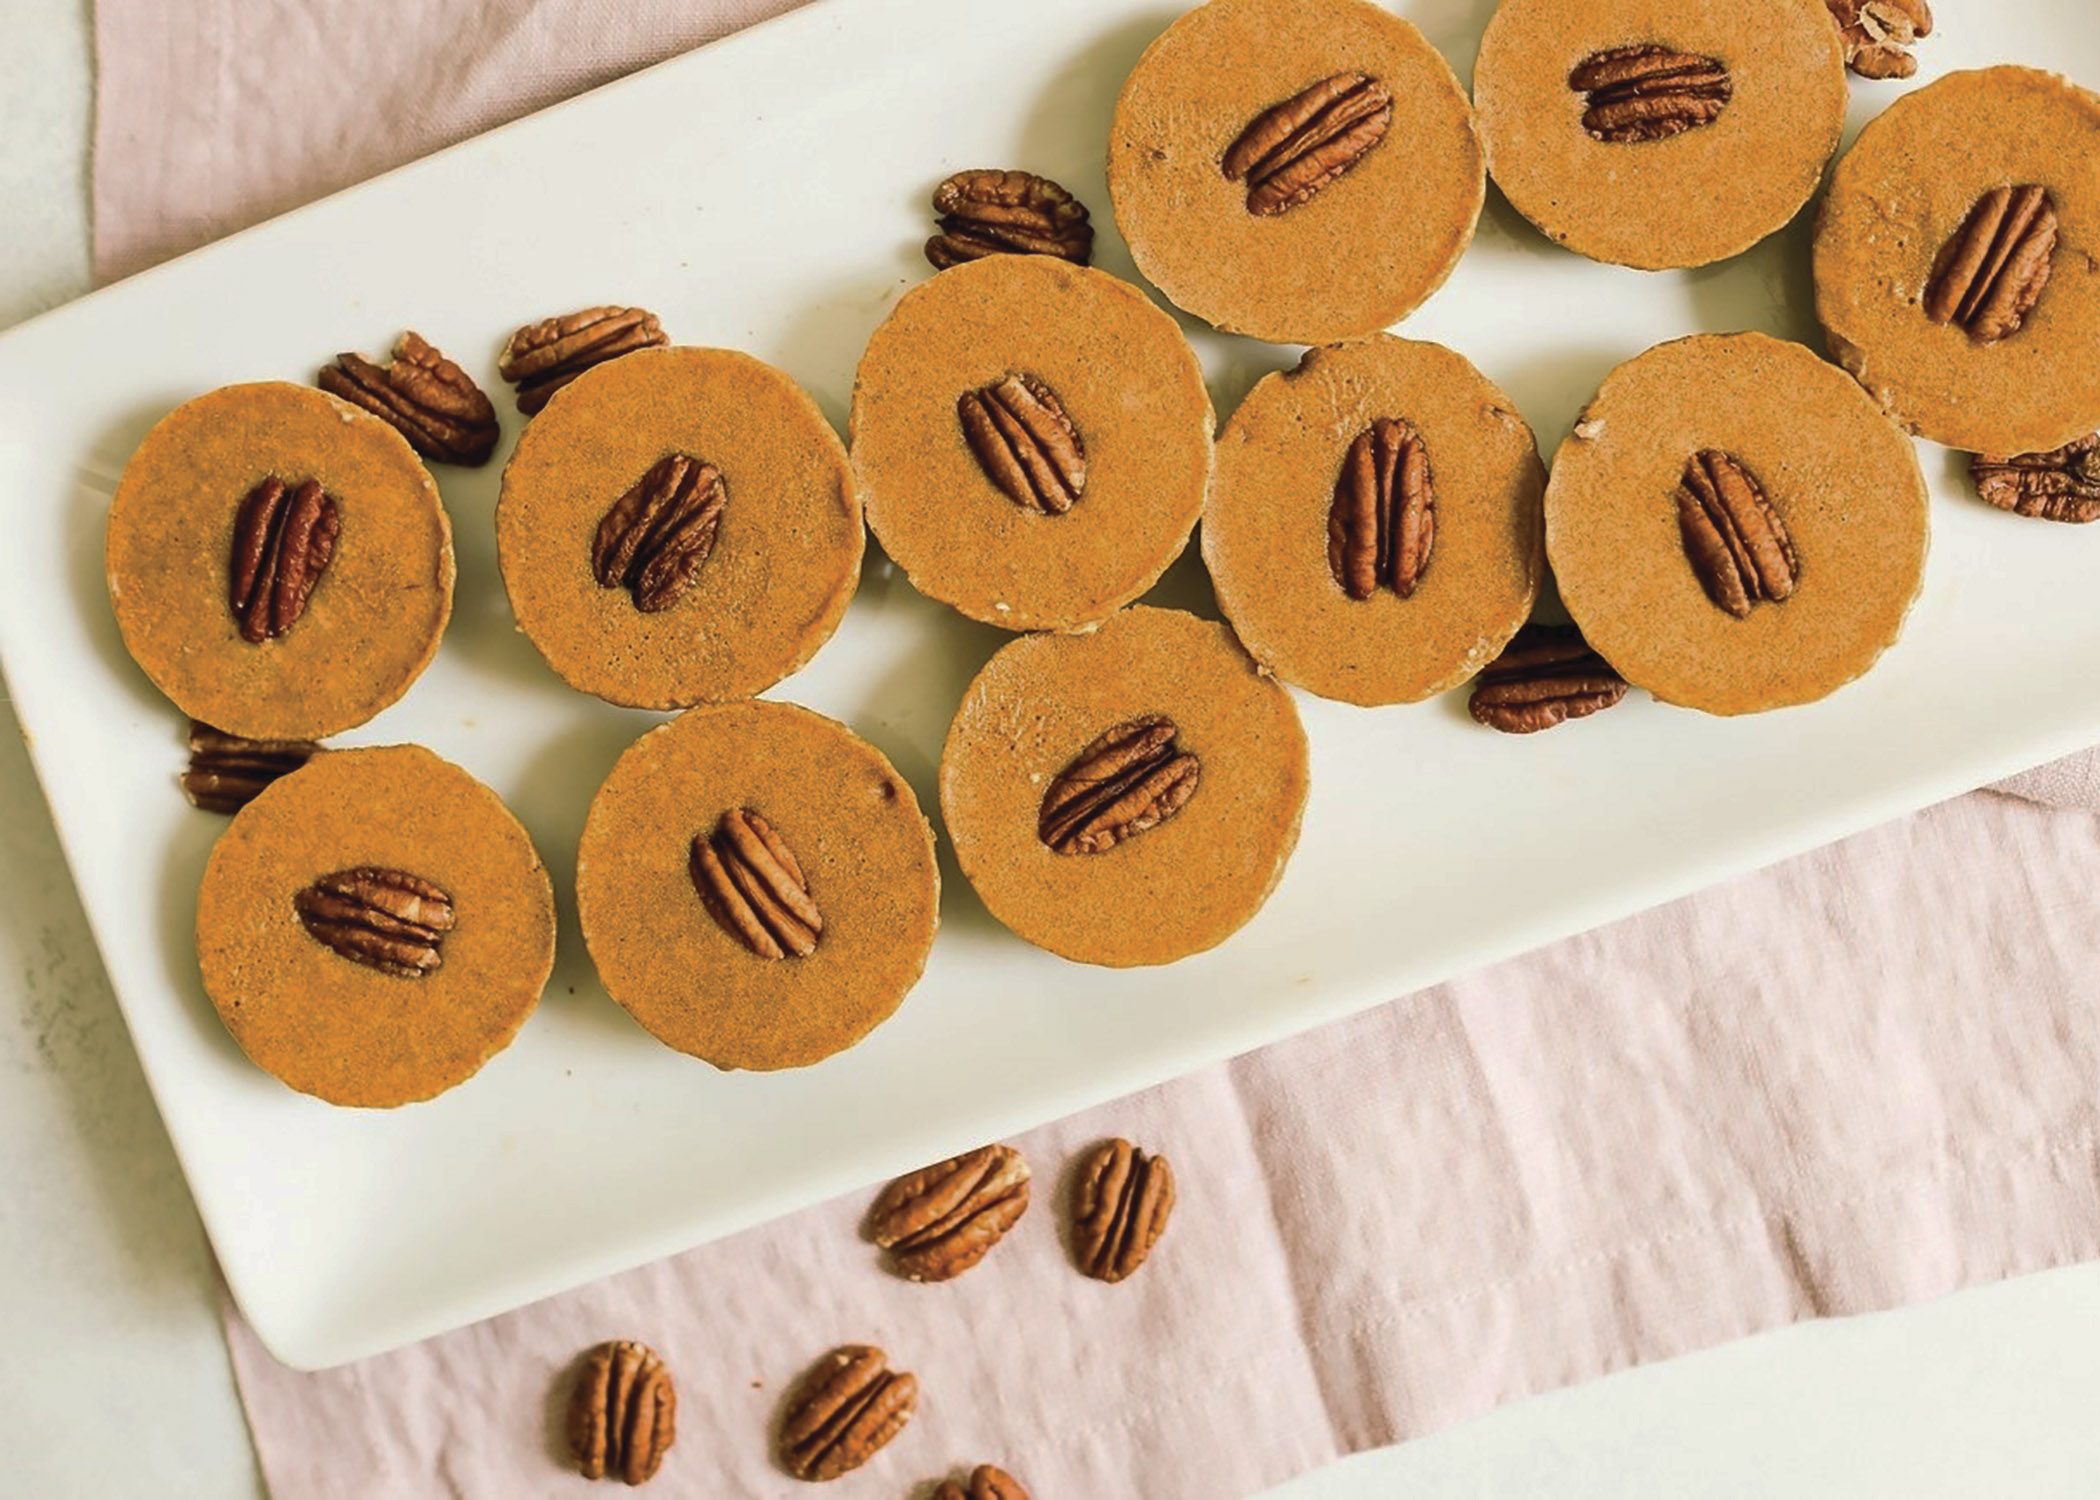
The holiday season is upon us, and with that comes delicious foods for the whole family! Snacks are a staple for any occasion but are often overlooked. Don’t miss the opportunity to bring a memorable experience when you impress your family with these recipes. Learn how to make these delicious treats below, courtesy of AmericanPecan.com Reindeer Pecan Brownies Prep time: 20 minutes Cook time: 15 minutes Yield: 20 brownies Nonstick cooking spray 1 stick (½ cup) unsalted butter, melted 1 tablespoon pecan or canola oil 1 cup, plus 2 tablespoons, granulated sugar 2 large eggs 1 teaspoon vanilla extract ½ cup all-purpose flour ½ cup cocoa powder 1 teaspoon espresso powder (optional) ¼ teaspoon kosher salt 20 raw pecan halves, cut in half 40 candy eyeballs 20 red chocolate candies ¼ cup chocolate chip Preheat oven to 350 F. Spray mini muffin tin with nonstick cooking spray. In large bowl, whisk melted butter, oil and sugar until well combined. Add eggs and vanilla extract; beat until mixture is thick and pale in color, about 1 minute. Sift in flour and cocoa powder. Add espresso powder, if desired, and salt. Using rubber spatula, fold dry ingredients into butter mixture until just combined. Batter should be thick. Using 1-tablespoon cookie scoop, transfer batter to prepared mini muffin tin. Bake 13-15 minutes until toothpick inserted in center comes out mostly clean, with some lingering crumbs. Add chocolate chips to heat-safe bowl; microwave until smooth and melted. Pour melted chocolate into sandwich bag and cut off small portion of one corner to use as tip. Use melted chocolate to “glue” on pecan antlers, candy eyeballs and red candy noses to brownies. Allow chocolate to set before transferring brownies to airtight container. Note: Brownies will stay fresh for up to three days. No-Bake Pumpkin Pecan Pie Bites Prep time: 15 minutes Chill time: 1 hour Yield: 12 bites (6 servings) Crust: 1 1/2 cups raw pecan pieces 3/4 cup pitted medjool dates (about 7 dates), soaked in hot water 10 minutes 1 pinch pink salt Filling: 1/3 cup pumpkin puree 1/3 cup full fat coconut milk 1 teaspoon pumpkin spice 1/4 cup maple syrup 1 pinch pink salt 1 scoop collagen peptides (optional) 12 raw pecan halves, for topping To make crust: In food processor, process pecan pieces, drained dates and salt until combined and “dough” starts to form into ball. To make filling: In bowl, combine pumpkin puree, coconut milk, pumpkin spice, maple syrup, pink salt and collagen peptides, if desired. Whisk until smooth. Line cupcake tin and evenly distribute crust mixture, about 1 1/2 tablespoons in each cupcake opening. Use fingers to press crust into even layer. Evenly disperse pumpkin pie filling among openings until tins are about half full. Top each with one pecan half and place in freezer at least one hour. Source: American Pecan Council

Mistakes to Avoid When Painting Cabinets

Changing cabinetry can be one of the most impactful visual changes in your kitchen. Some people may think this is a weekend job, painting your cabinets is a big project you want to properly plan. Check out the most important tips below on how to create the kitchen you want, while saving yourself a headache later on. Preparation is Key Take some time to understand the kind of cabinets you have. Wood materials paint differently than laminate and should influence the paint you’re buying. Flat-front doors and drawers are easily repainted, but woodwork with raised panels, routed profiles or other architectural detailing will require more time to prep and paint (see HGTV). Be sure to remove all the drawers and their hardware. Often people try to paint their cabinets as they currently stand which will result in problems later on. Removing the doors and hardware will ensure you have a careful painting process and reduce mistakes that will eventually have to be fixed. Mark all the doors and drawers, you want to know where they go once you’re done! Be sure to tape and cover everything else in your kitchen, the last thing you want is to accidentally get paint on something else. The Importance in Sanding According to GoodHouseKeeping, even if your cabinets are in near-perfect condition, you still have to sand them so the paint will stick. Use sandpaper in the middle of the spectrum (150 or 200 grit is good) and just give all of the surfaces a quick buffing. You just want to take the surface from glossy to matte. Your cabinets can have grease and dirt not visible to the eye that you definitely want to get rid of before painting. Skipping this step will result in paint chipping and peeling down the road. There’s no need to rid all the current color on the cabinets. Be sure to pay attention to the texture of the surface. Paint with Patience As previously mentioned, painting your cabinets is a long project that requires patience. Rushing the painting process can result in visible brush strokes, smudging or smearing. Apply paint in light, thin coats. Don’t lay the brush firmly on the cabinets as this will leave streaks and create air pockets or bubbles in the paint. Allow the paint to dry for at least four hours between coats. When dry, resand all surfaces lightly to prepare them for the second coat, wipe away all sanding dust with a tack cloth, then repaint. Two coats of quality paint are usually sufficient, but you may want to add a third coat because kitchen cabinets take lots of punishment from cooking heat and day-to-day use, and wood surfaces need all the protection they can get. Looking to learn more tips and tricks for your kitchen? Be sure to give us a follow over on our Facebook and Instagram.

Our Holiday Gift Pick, the Compact Air Fryer by Cosmo

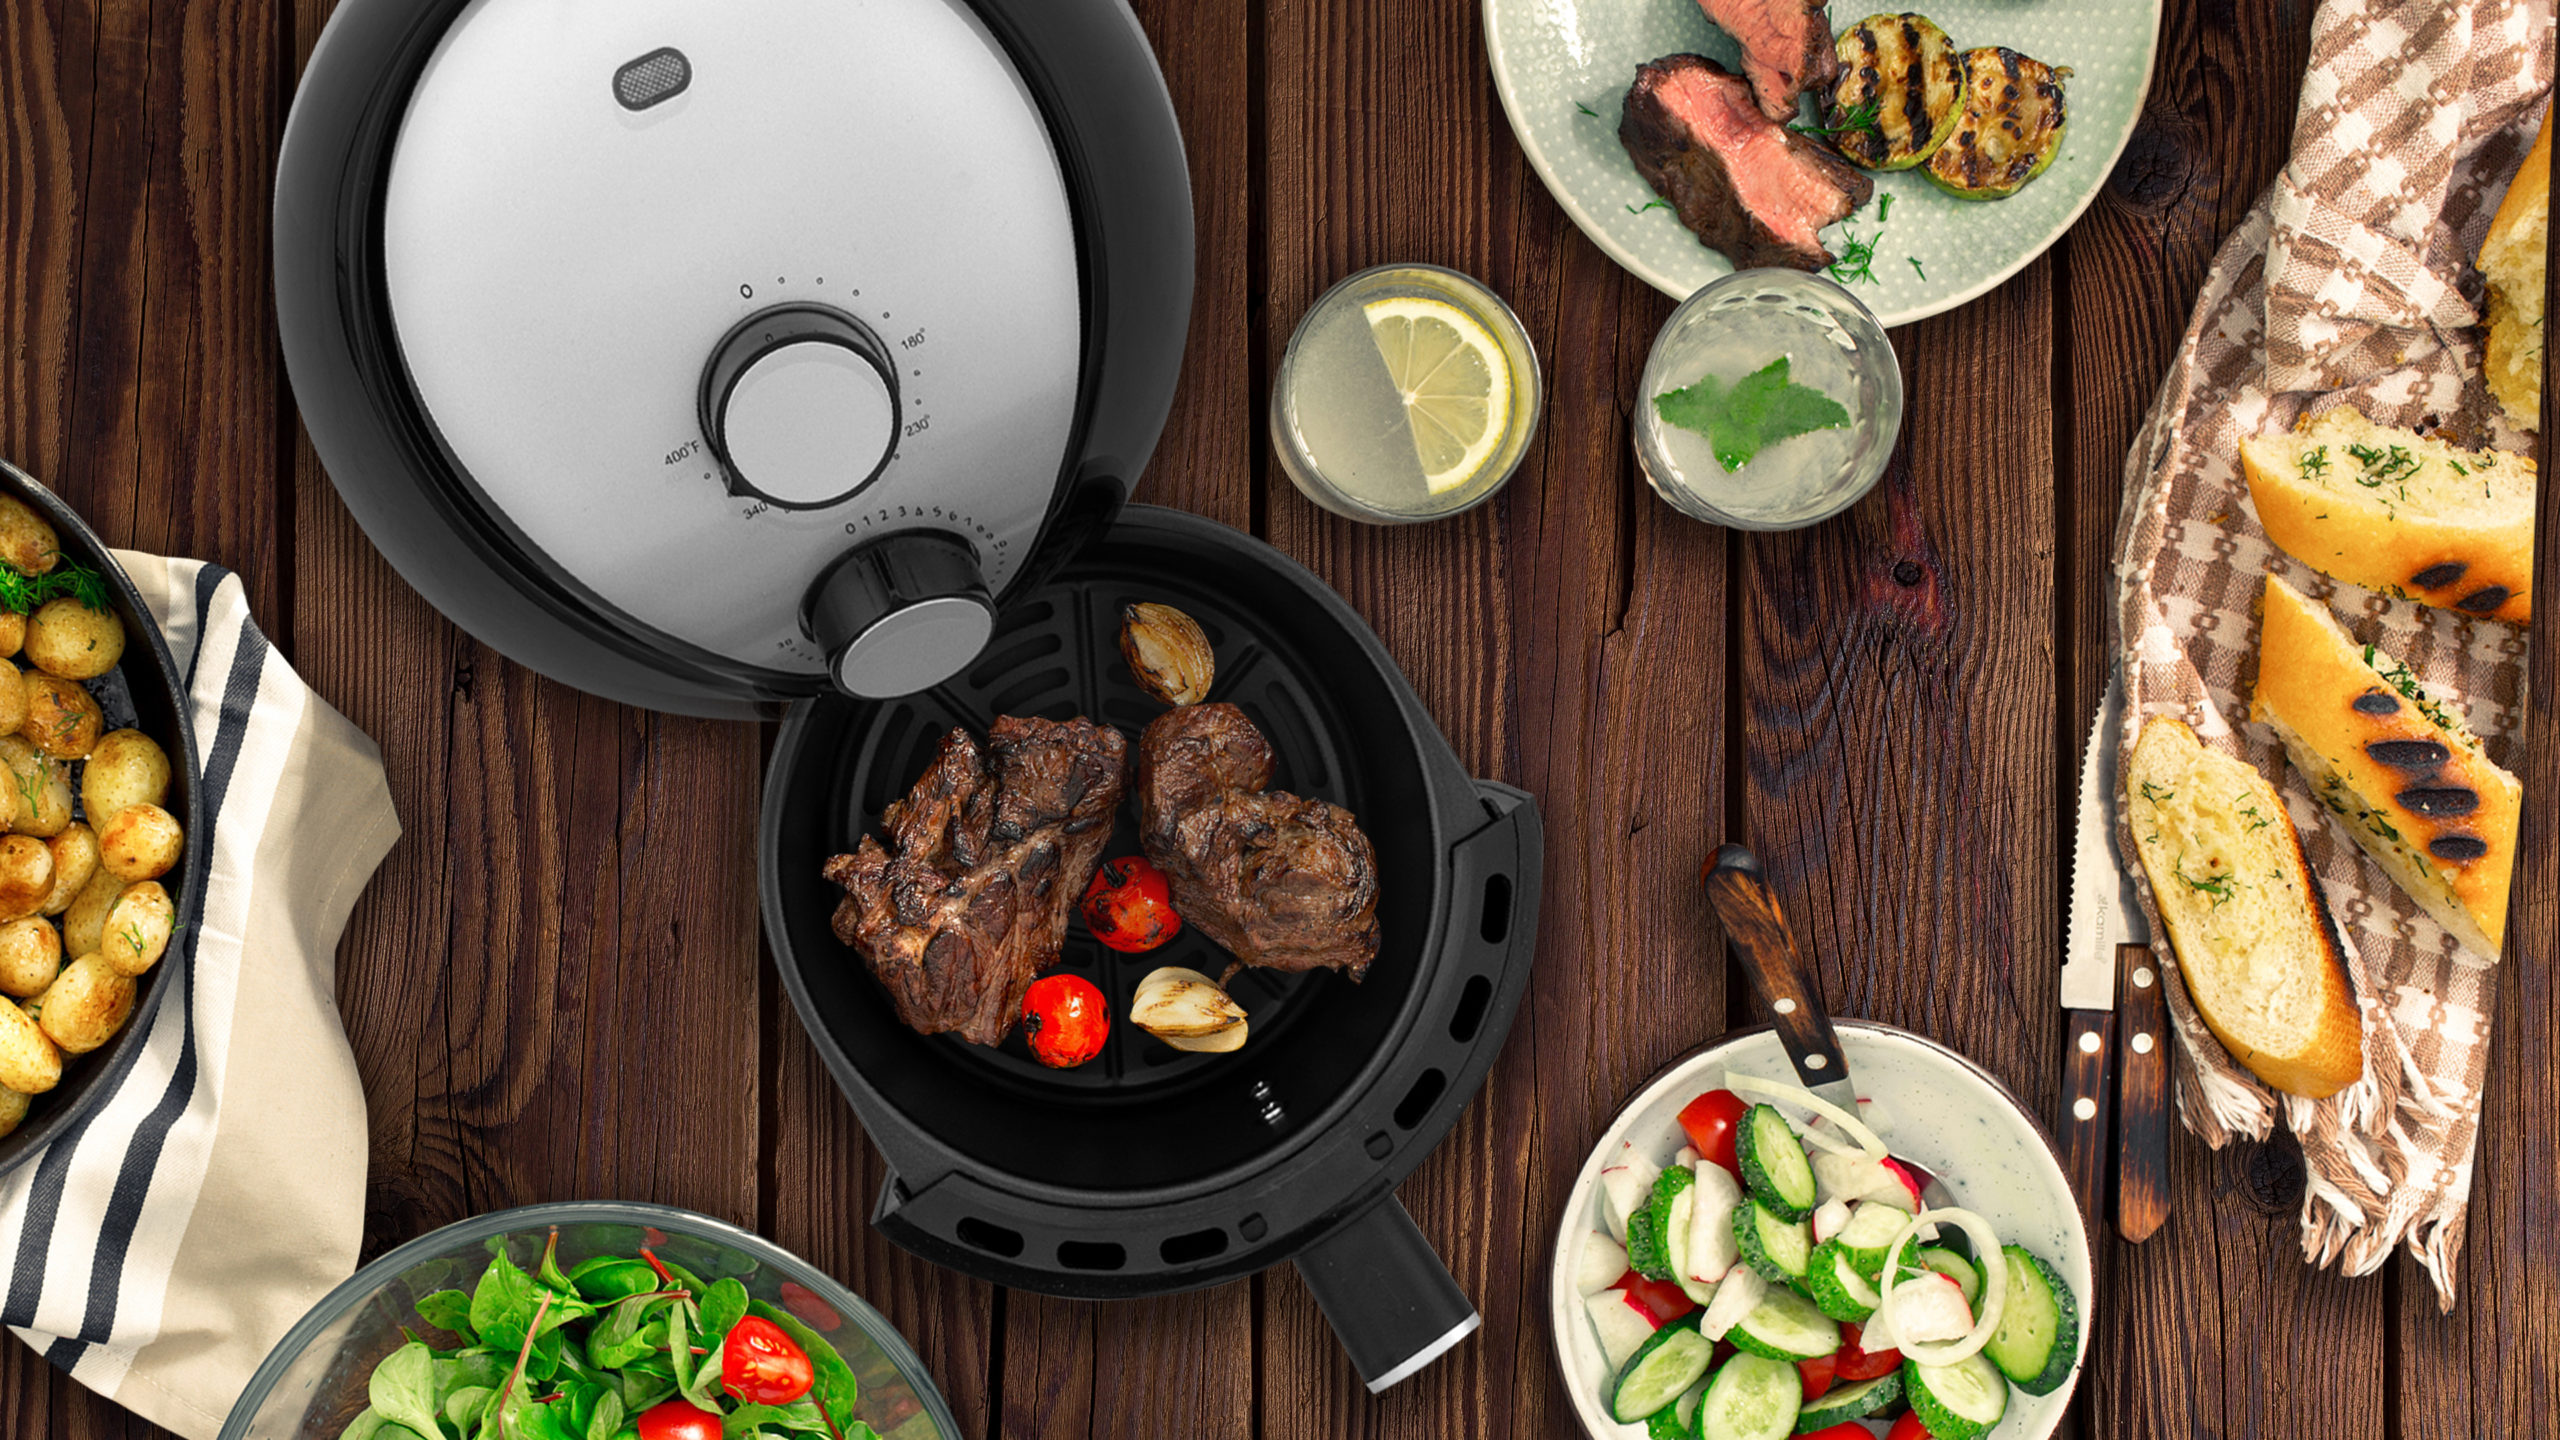
That time of year is coming when you sit thinking what to get everyone for the holidays. As Black Friday approaches, it’s the perfect time to start on your early shopping and get the stress out of the way. If there’s one thing we know at Cosmo, it’s that a home is not complete without a balanced kitchen. Air frying has quickly grown in popularity as a healthy alternative to enjoy the same meals you love, with the same incredible taste. Introducing the COS-23AFAKB, the newest compact air fryer from Cosmo. Its compact build has a 2.3 QT capacity, powered by Electric Air Frying for 85% less fat than traditional deep frying methods. Check out the features below. Previous Next Healthy and Tasty Cooking High-speed air circulation and heat technology to easily fry delicious food without the addition of excess oils or fats and delivering the same great taste Easy Cooking Built-in knob controls with timer and temperature adjustments from 180°F up to 400°F make any recipe possible, plus a built-in auto shut-off feature to prevent overcooking and overheat protection. Versatility in the Kitchen Equipped with frying, baking, grilling and roasting capabilities for a variety of meals with hassle-free functions in a compact 2.3 Quart Fry Basket. Easy to Clean Designed and conveniently-sized for an easy clean-up with non-stick coated parts that can be cleaned by hand or a dishwasher. Want this air fryer? Check it out here. SHOP NOW

The Power of ARC-FLOW Permanent Filters

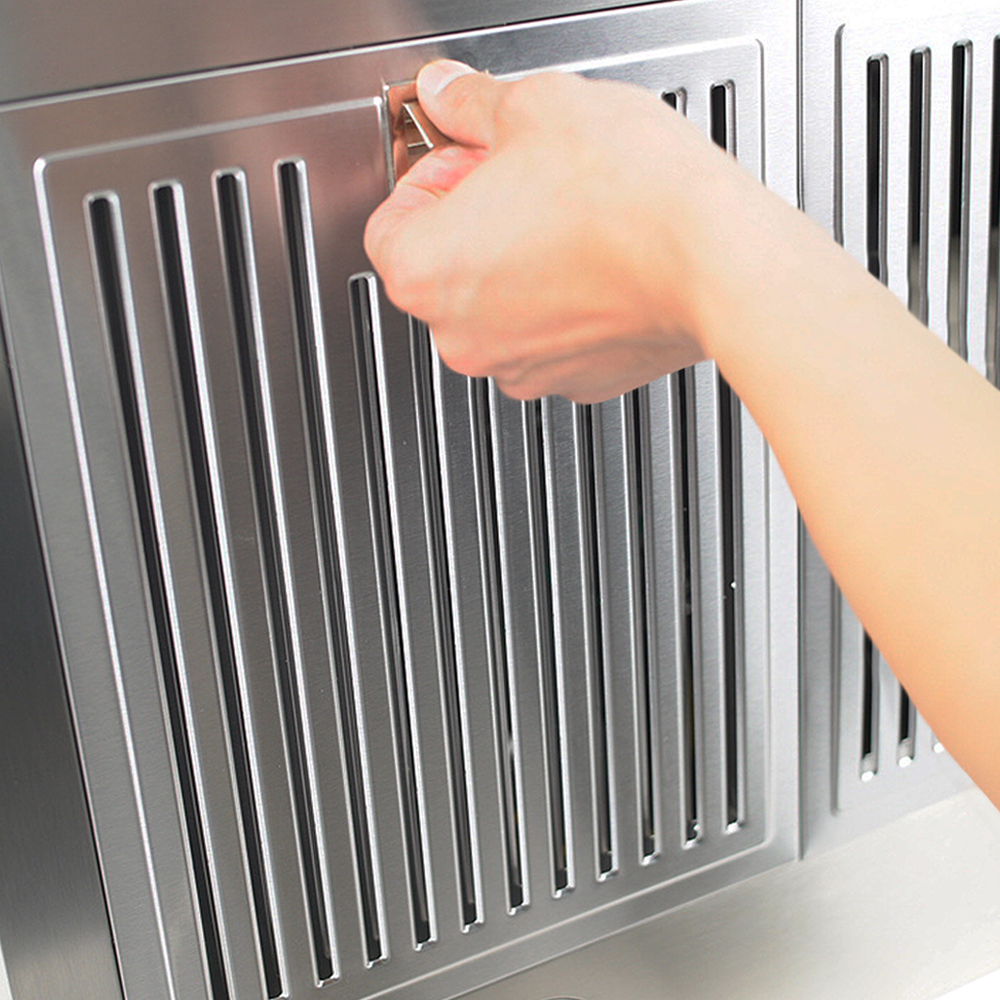
While shopping for range hoods, you may be wondering what the difference is between the various filter options on the market. You may come across aluminum mesh filters, which are cheaper and more lightweight compared to baffle stainless steel permanent filters. However, aluminum mesh filters lose efficiency when it comes to filtration and are not as durable over time. At Cosmo, we utilize ARC-FLOW permanent stainless steel filters for select range hood models. With Cosmo’s ARC-FLOW filters, you are guaranteed an unlimited number of uses–they are dishwasher-safe, so there’s no need to throw these filters out or replace them. You can keep them as long as you need, saving you time and money along the way!  Cosmo ARC-FLOW permanent filters are constructed of high quality stainless steel to effectively capture grease and cooking odors while keeping air clean. Here’s how: Quickly Neutralizes Odors With efficient airflow, these filters ensure you can cook with no harmful smells and odors left lingering in your kitchen. Clears the Air of Toxins and Airborne Viruses According to the National Institutes of Health, exposure to cooking-related contaminants is associated with a significant increase in pulmonary effects and symptoms of respiratory diseases. Traps Grease from Forming and Blocking Air Flow Easy-to-clean filters wipe away grease build up to reduce the risk of fires. Recent studies show that dirty range hoods resulted in increased fires when not properly maintained. Looking to see how these filters work in action? Check out our Range Hoods here.

Step Inside Our Factory

In-house European inspired design, top of the line parts, and expert manufacturing. We believe in creating premium appliances, providing exceptional customer service, and delivering a luxury experience at a revolutionary price point. Step inside our factory and learn more about how Cosmo products are made. Cosmo appliances are made in a modern 390,000 square foot factory base that is home to 800+ staff members. Cutting edge automation works hand-in-hand with expert engineers and technicians that operate numerous advanced machinery like laser welding and steel pressing machines. Each team member goes through rigorous training in order to be in compliance with our high standard in quality and safety. Every step in our production process has clear-cut standards. At the end of production each Cosmo product enters a thorough quality control inspection before receiving approval for shipment. Some of our tests include product durability, thermal performance, gas performance, noise level readings, and more. Expect cooking, cooling, and cleaning experiences that makes life easer and brightens up your home. With modern technology and beautiful design, Cosmo appliances supports what is really important: A home that you love to come home to, feel safe in, and a place you can make timeless memories in. Designed in California and made with precision and care.

Fire Up the Grill for Father’s Day

It’s a time to fire up the grill, slow down and enjoy father’s day. When you’re thinking about what to feed your family off the grill, it should be a breeze, and you shouldn’t have to choose between good and good for you. Consider these tips for creating healthier, flavorful meals you can feel confident serving. Keep it simple. Skip the complicated recipes that call for a wide variety of ingredients, a multitude of steps and long cook times. Instead, seek out products and dishes that are made with ingredients you recognize and have just a handful of instructions. This will ensure less time in the kitchen and more time with loved ones. Focus on seasonal, clean ingredients. Get inspired by your local farmer’s market. One of the best parts about summer is the abundance of fresh fruits and vegetables that can add flavor and nutrients to your plate. Don’t forget the sides. To balance your spread of burgers and hot dogs, consider serving fresh asparagus or sweet corn in place of other salty, processed options. Fruits like peaches and pineapple work well on the grill, too, but remember to group produce by similar cooking times. Aim for a quick and fun cleanup. Perhaps one of the most overlooked secrets to a stress-free meal is to cut down on cleanup. A backyard barbecue can be one of the easiest messes to maintain as most of the prep is done outside on the grill. Try setting up a buffet line on your deck or patio where your family can build their burgers with customized toppings, like cheese, veggies and sauces. Then add a little bit of fun by putting on your favorite music playlist to help make a simple, everyday meal feel even more special. Burger with Grilled Pineapple and Honey Garlic Barbecue Sauce Total time: 30 minutesServings: 2 2 rings freshly cored pineapple 2 Burger patties, thawed salt, to taste freshly ground black pepper, to taste1 cup baby arugula2 sesame seed burger buns, lightly toasted1/4 cup crispy fried onions2 tablespoons honey garlic barbecue sauce Heat grill to medium heat. Grill pineapple slices 4-5 minutes per side until grill-marked and slightly caramelized. Cut slices in half and set aside. Wipe down grill to cook burger patties.  Season burger patties with salt and pepper, to taste. Grill 4-5 minutes per side until burgers are evenly browned with internal temperature of 165 F. To assemble, layer handful of baby arugula leaves on toasted bottom buns, top each with burger and two cut slices each of grilled pineapple. Sprinkle on crispy fried onions, drizzle with honey garlic barbecue sauce and place toasted sesame seed bun on top. Asian Marinated Grilled Shrimp Skewers 1 Pound large shrimp, shelled and de-veined (you can leave the tails on if you like, I took them off so we could shovel them in our mouths faster, ha!)3 Tbls unsalted butter2 Tbls soy sauce2 tsp lime juice, fresh squeezed1 tsp ginger, grated2 cloves garlic, minced1 1/2 Tbls sugar2 green onions, bruised but not chopped Place all ingredients except for the shrimp in a sauce pan over medium heat. Let come to a simmer then take off the heat and let cool on the counter. Place shrimp and marinade in a bag or bowl covered in plastic wrap and marinade for at least an hour in the fridge. Try to let marinade around 3-5 hours but not longer. Take shrimp out of marinade and place on skewers. If using wooden skewers, let these soak overnight in water. Grill over high heat until just cooked. Do not overcook or shrimp will become rubbery. This will only take about 3-4 minutes per side, depending how big the shrimp are. You can baste the shrimp with the marinade when they first hit the grill but after that, toss out the marinade. Serve and enjoy! These don’t need any condiments, they are super flavorful and moist on their own! Happy Father’s Day!

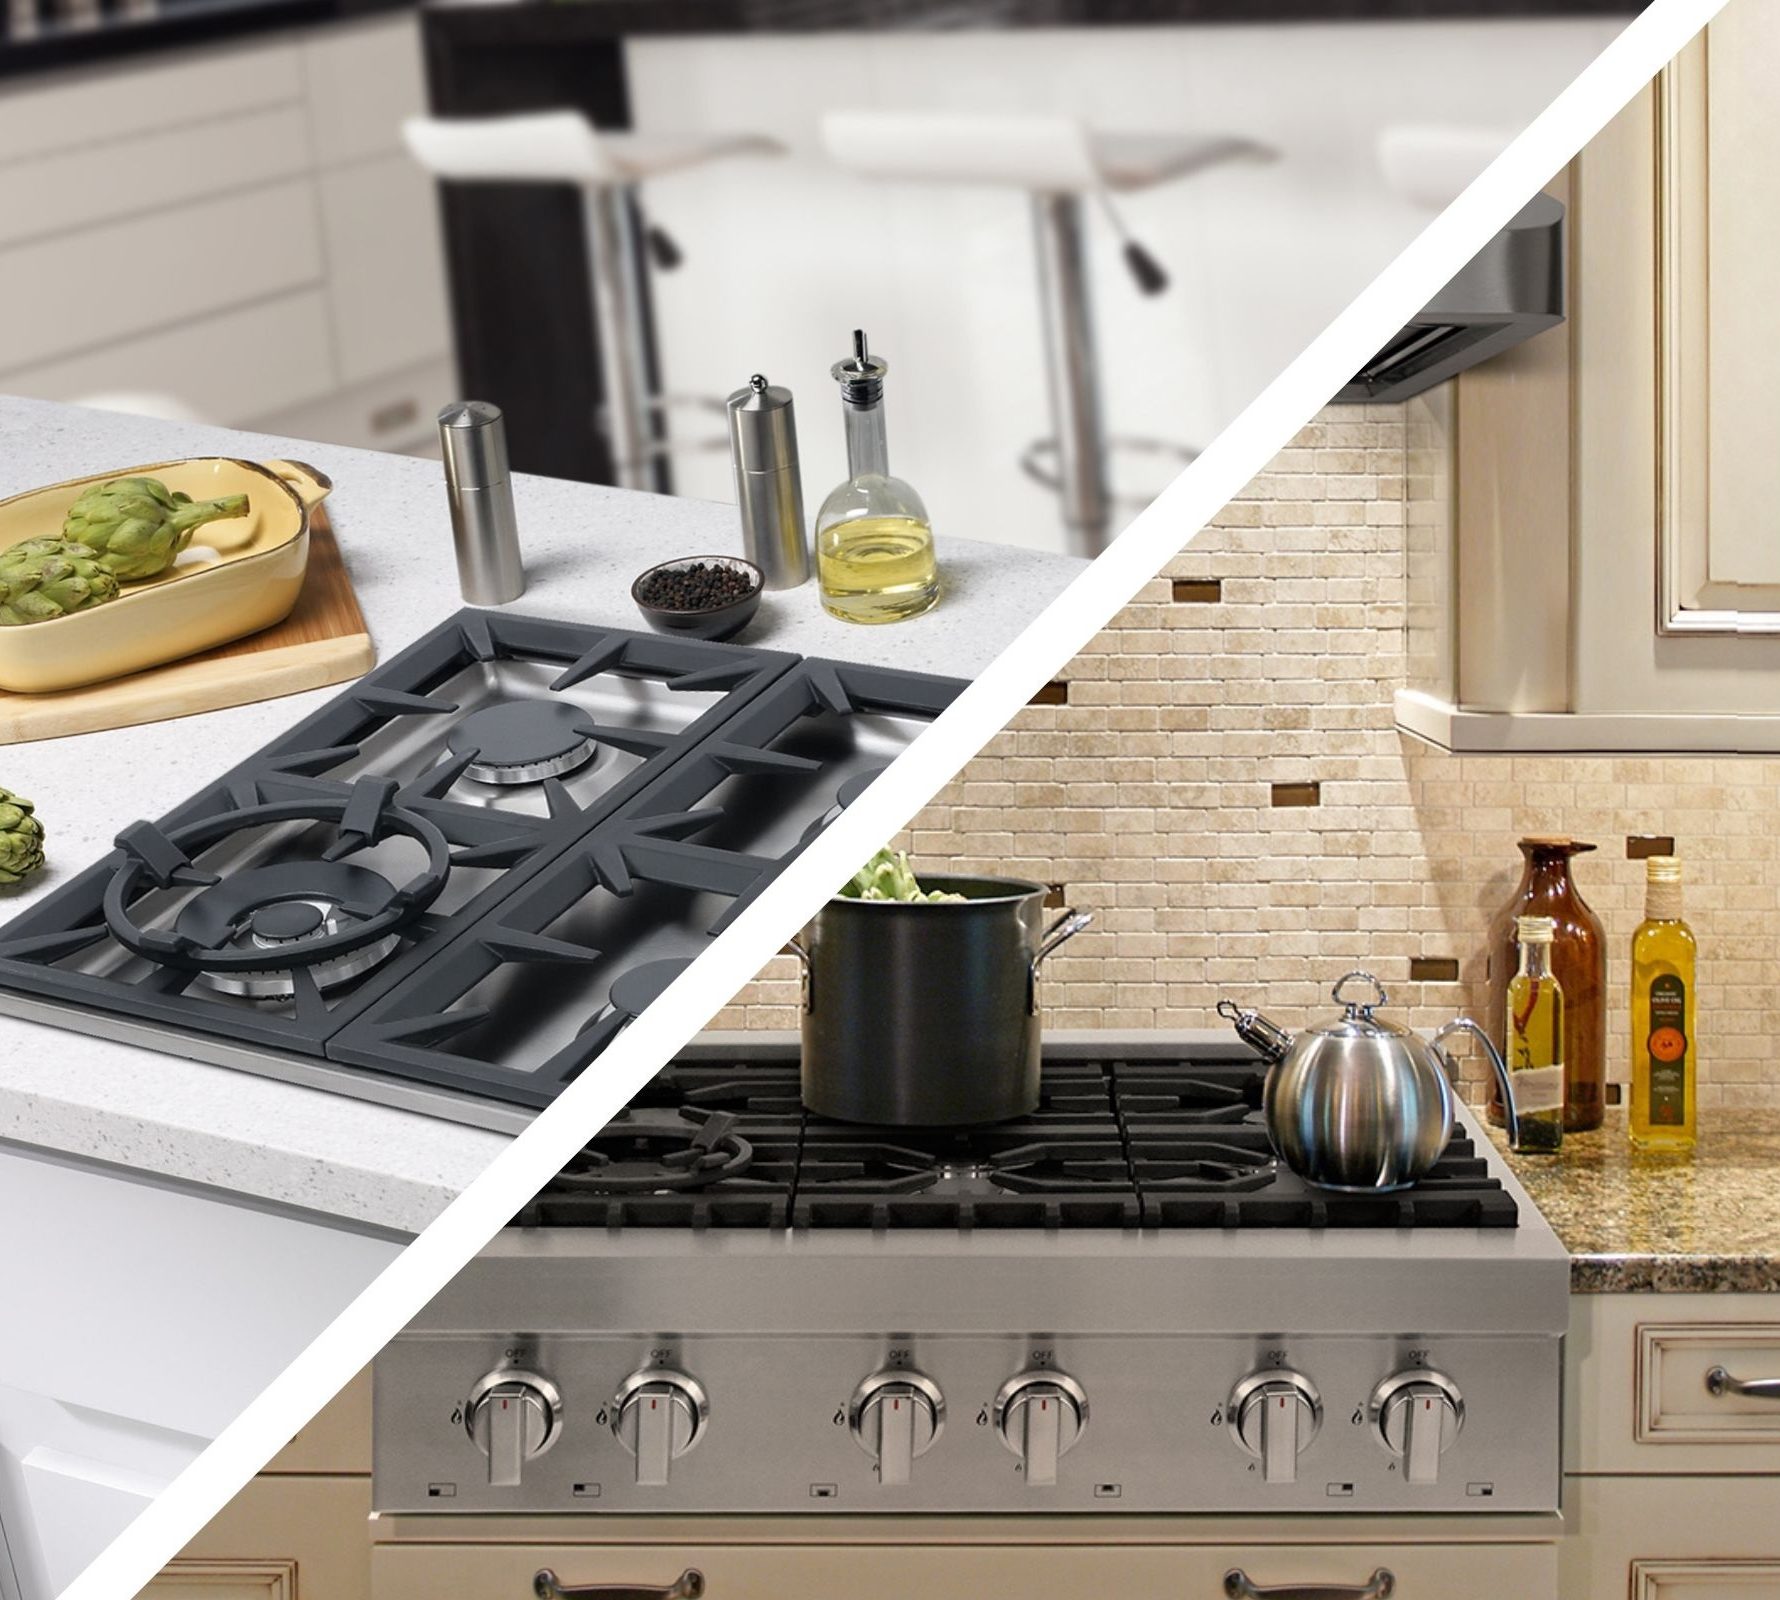
Appliance Talk: Difference Between a Rangetop & Cooktop?

When remodeling your kitchen, or designing a brand new one, then you’ll need to think about which appliances you need. There are essential appliances every well designed kitchen needs and this includes a cooking appliance such as you range or a cooktop to cook on. Will you choose a range top or cooktop? To make your purchase with confidence we have decided to break it down for ya! In this comparison between the range top vs cooktop, you will discover the similarities and differences between these two kitchen applications. First, Let’s discuss the similarities. Rangetops and cooktops have either gas or electric models, and either one offers the ability to have a more flexible kitchen layout, so oven and rangetop or cooktop can be placed separately. Now, on to the differences. The major difference between rangetops and cooktops is the control features and installation method, which will determine how your countertop and cabinets are designed. The Pros of a Range Top These are the perks: A rangetop is very much like a hybrid of a range and a cooktop. rangetop slides into an opening directly into your countertops Range tops are sturdy and can handle heavy use. Range tops can either be powered by electric or gas. Range tops have knobs and controls on the front, which come in handy when trying to manage you’re cooking with multiple items on the burners. Range tops have a larger cooking surface. Range tops typically come with more professional features than others of its kind on the market. Like the sound of these Pros? CLICK HERE The Cons of a Range Top These aren’t exactly cons but these are a few things to consider. The front knobs and controls of the range top may be a safety concern where small children are concerned.  Range tops may be too large and bulky for smaller kitchens. The Pros of a Cooktop Cooktops have their pros too that make them a popular choice among many people. Cooktops are available in electric, gas, or induction cooking methods.  In general a Cooktop are smaller than Rangetops so they take up less space in your kitchen. The knobs and controls of cooktops are found on top of the unit. This allows an increased level of safety since they are more difficult for young kids to reach. Cooktops are often easier to clean. Like the sound of these Pros? CLICK HERE The Cons of a Cooktop Cooktops have they’re drawbacks, too! Cooktops are more compact, with less room or space to move around. Cooktops often come with less professional features than range tops do. Rangetops are going to require more space but they are perfect for those who do a lot of cooking and want the normal grates and feeling of a stove top. On the other hand, if space, efficiency, and simple is what you are after, then a cooktop may be your ideal appliance. When determining which one is right for your kitchen before you waste your money, consider the following: The size of your kitchen is going to have a great impact on which one you choose. You will need to determine the space available and how much of it you are willing to give up. Determine the amount of cooking you typically do you are going to need something hefty, sturdy, and large to withstand your level of use. Think about the method of cooking electric, gas, or induction? What level of professional features are you looking for, do you prefer something simpler or more advanced for your needs? Getting a new appliance for your kitchen is always exciting. However, it is important to remember that appliances are not the type of item you buy on a whim. They require installation and space, in addition to the purchase itself.

Father’s Day Gifts for the Man Who Loves to Cook

Hey Family, Father’s Day is coming up. Yey! Sure, typical Father’s Day gifts generally get the job done – think golf clubs, tool set and even a stylish tie – but what about the dad who enjoys spending time making magic in the kitchen. Don’t forget him. Give him the tools he needs to succeed, whether he’s baking for the big game, preparing a meal for the family, trying out a new recipe or seeking to master the perfect steak. Reaching one’s fullest potential in the kitchen requires the right equipment, so put the best gear in his hands (or on his counter) and up his culinary experience with these ideas from Cosmo Appliances. From a Portable Induction Cooktop Burner to an Airfryer turn his Kitchen countertop into a versatile powerhouse, give your food-savvy dad what he needs to up his culinary game. For more Father’s Day gift inspiration visit cosmoappliances.com. A Super Range for a Super Dad Dad deserves tools as bold and innovative as his culinary creations. Featuring Gas or Dual Fuel Ranges that combine modern styling with high-performance cooking technology. Dad will appreciate the authentic professional appearance with a robust profile. With high performance sealed burners that deliver exhilarating precision while the convection oven provides consistent heat for perfect roasting, baking, and broiling. These one-of-a-kind Ranges are sure to take his culinary prowess to a whole new level. Previous Next BUY THIS RANGE Chef on the Go For those warm summer weekends, camping is a fantastic activity that provides hours of enjoyment and a welcome opportunity to connect with loved ones and nature. After a day full of outdoor activities, Dad will want to prepare something easy, simple and very fast. Upgrade your camping cuisine with a portable Induction cooktop. Thanks to induction technology, electromagnetic currents generate heat from within the metal in the cookware for extremely fast and even heating. Boasting impressive safety features unlike burners with flammable and combustible vapors, our system remains cool to touch until cookware is placed on it. It’s sleek, compact design allows him to enjoy cooking anywhere he goes. BUY THIS COOKTOP Guilt-Free Crispy Fried Food  Made popular by claims air frying is a healthy alternative for frying food; because it replicates the wonders of deep-frying in a healthier way so Dad can still indulge in his fave fried foods like French fries. The Air Fryer, uses rapid air technology to fry, bake, roast or grill your food with only a tablespoon or less of oil. Think of it as a hi-tech counter-top convection oven. For recipe ideas click here BUY THIS AIR FRYER Bonus Gift for Dad who Loves Wine For those wine enthusiasts that insist on professional grade wine refrigeration, for at home use Cosmo has combined advanced technology and our signature sleek appearance for you to enjoy quick access to cold drinks and your favorite wine. Our 24 inch wine cooler delivers exactly the right temperature, with a single zone temperature that can be set at an ideal temperature to allow your wine to mature properly. BUY THIS WINE COOLER