cooking

Quiet Yet Efficient: Noise Reduction Features in the COS-KS6U36

When it comes to kitchen ventilation, homeowners often face a dilemma: choosing between efficient performance and quiet operation. The COS-KS6U36 36” Under Cabinet Range Hood eliminates this compromise, offering exceptional airflow with advanced noise reduction features. Here’s how the COS-KS6U36 ensures a peaceful cooking environment without sacrificing ventilation power. The Importance of Quiet Ventilation A noisy range hood can disrupt conversations, overpower background music, and create an unpleasant cooking atmosphere. With open-concept kitchens becoming more popular, maintaining a quiet environment is essential. That’s where the COS-KS6U36 excels—combining robust performance with whisper-quiet operation. Key Noise Reduction Features of the COS-KS6U36 1. Advanced Motor Technology 2. Variable Speed Settings 3. Sound-Absorbing Materials 4. Aerodynamic Design Additional Benefits of the COS-KS6U36 The COS-KS6U36 36” Under Cabinet Range Hood is the perfect solution for those seeking a balance between efficient ventilation and quiet operation. Its advanced noise reduction features ensure that your kitchen remains a peaceful, enjoyable space, even during the busiest cooking sessions. Upgrade to the COS-KS6U36 and experience the difference of quiet yet efficient performance.

How to Grow and Preserve Fresh Herbs for Year-Round Flavor

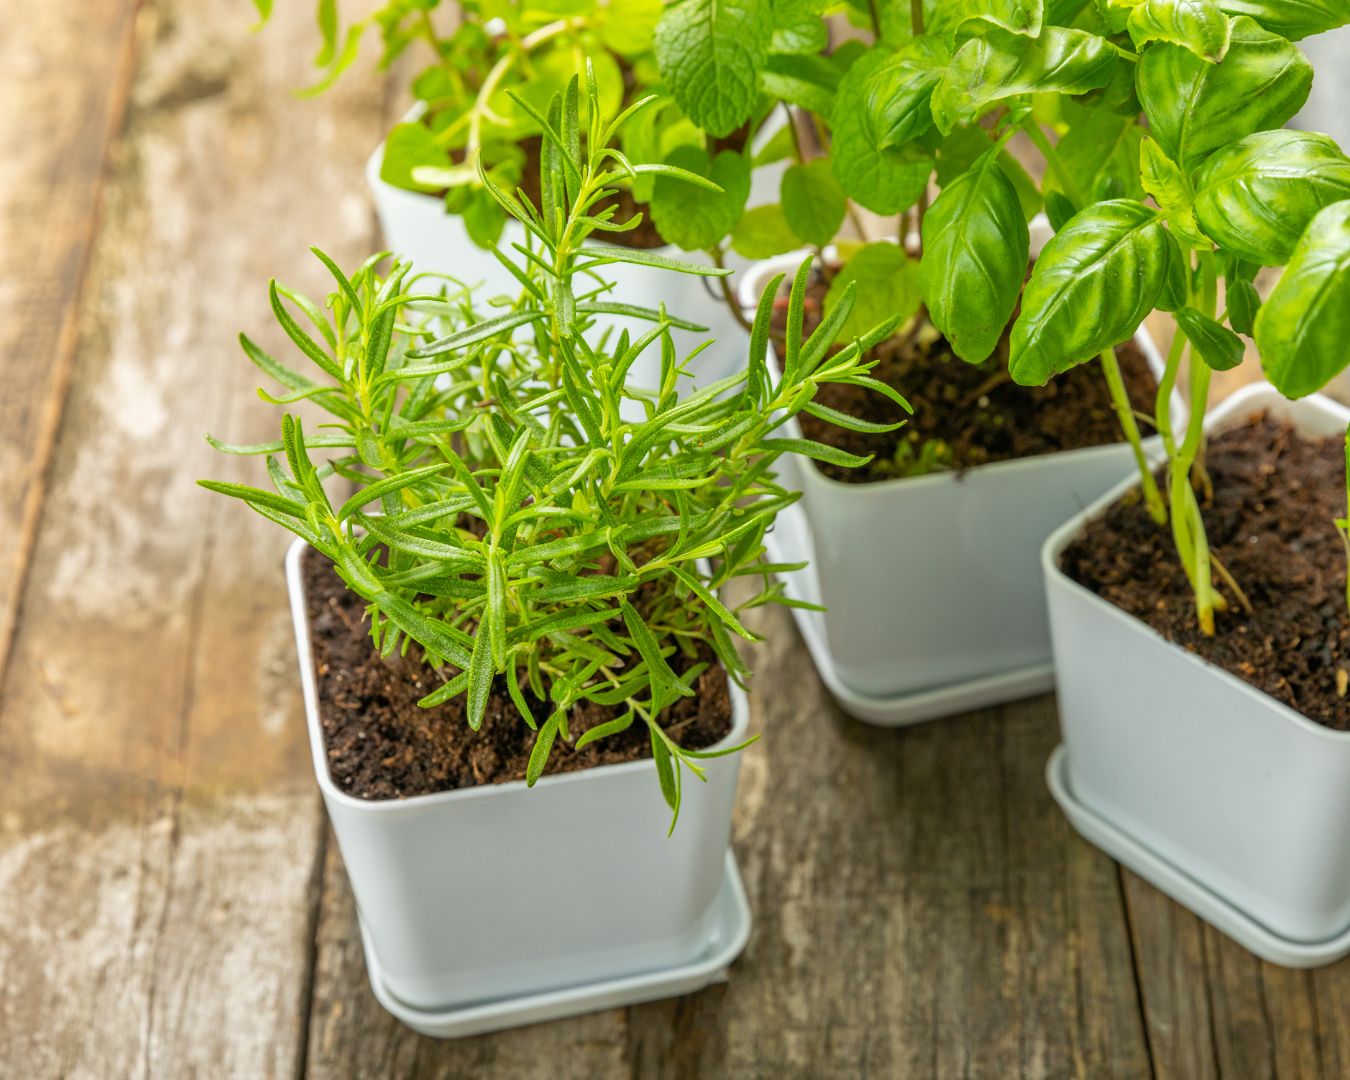
Fresh herbs can elevate any dish, adding vibrant flavors and aromatic qualities that dried versions often lack. Growing and preserving your own herbs ensures you have a ready supply of these culinary treasures right at your fingertips. Here’s a comprehensive guide to help you successfully grow and preserve fresh herbs, so you can enjoy their flavor all year long. Choosing the Right Herbs Before you start, decide which herbs you want to grow. Some popular choices include: Consider your climate and growing conditions. Some herbs thrive indoors, while others prefer outdoor gardens. Planting Fresh Herbs A. Indoor Herbs: B. Outdoor Herbs: Caring for Your Herb Garden Harvesting Herbs Preserving Fresh Herbs A. Drying: B. Freezing: C. Herb Infusions: Using Preserved Herbs Growing and preserving your own herbs not only enhances the flavor of your meals but also adds a personal touch to your culinary creations. Whether you prefer to dry, freeze, or infuse your herbs, having a supply of fresh or preserved herbs allows you to enjoy the taste of summer throughout the year. Start your herb garden today and savor the benefits of homegrown flavors in every dish!

Delicious Vegetarian and Vegan Recipes for Your Air Fryer

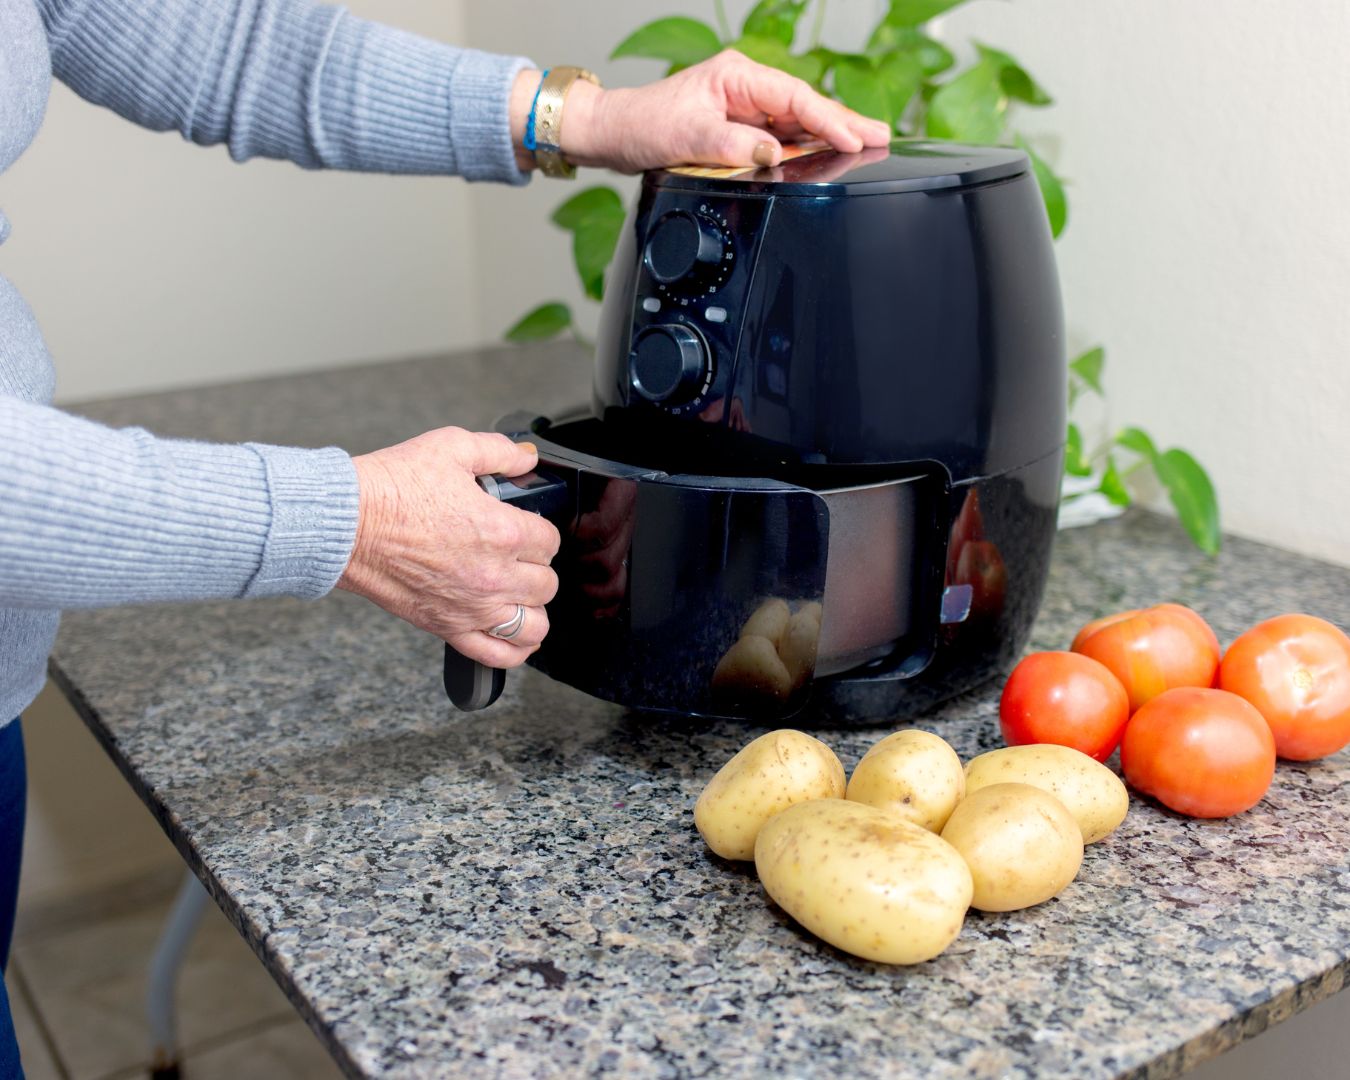
The air fryer has become a beloved kitchen appliance, celebrated for its ability to create crispy, delicious foods with less oil. For vegetarians and vegans, it’s a fantastic tool to prepare healthy, flavorful meals without sacrificing taste or texture. Here’s a collection of vegetarian and vegan recipes that are perfect for your air fryer, making your meal prep both exciting and health-conscious! Crispy Air Fryer Chickpeas Ingredients: Instructions: Air Fryer Veggie Spring Rolls Ingredients: Instructions: Air Fried Vegan Buffalo Cauliflower Ingredients: Instructions: Air Fryer Stuffed Portobello Mushrooms Ingredients: Instructions: Air Fried Vegan Falafel Ingredients: Instructions: The air fryer is an excellent tool for preparing delicious vegetarian and vegan meals with minimal oil. These recipes are just a starting point—feel free to experiment with your favorite vegetables, seasonings, and sauces. Enjoy the convenience of quick, healthy, and flavorful meals that cater to your dietary preferences!

How to Debone and Carve Poultry: A Step-by-Step Guide

Deboning and carving poultry can seem like a daunting task, but with a little practice and the right techniques, you can master the art of preparing a beautifully presented bird. Whether you’re working with a chicken, turkey, or duck, this guide will walk you through the steps to efficiently debone and carve poultry, ensuring that you get the most out of your meal. Step 1: Gather Your Tools Before you start, make sure you have the following tools: Step 2: Prepare the Poultry Step 3: Debone the Poultry Step 4: Carve the Poultry Step 5: Presentation and Serving Tips for Success Deboning and carving poultry can elevate your meal presentation and make serving easier. By following these steps and using the right tools, you’ll be able to handle poultry like a pro. Whether you’re preparing a festive feast or a simple family dinner, mastering these techniques will enhance your cooking skills and impress your guests.

The Health Benefits of Omega-3 Fatty Acids: Why You Should Include Them in Your Diet

Omega-3 fatty acids are essential nutrients that play a crucial role in maintaining overall health. Found in a variety of foods and supplements, these healthy fats are known for their numerous health benefits, from supporting heart health to improving brain function. Understanding the importance of omega-3s and incorporating them into your diet can significantly impact your well-being. Here’s a comprehensive look at the health benefits of omega-3 fatty acids and how they can enhance your life. What Are Omega-3 Fatty Acids? Omega-3 fatty acids are a type of polyunsaturated fat that is essential for the body’s normal functioning. They are categorized into three main types: 1. Heart Health Benefits: Omega-3 fatty acids are well-known for their cardiovascular benefits. They help reduce the risk of heart disease by: How It Helps: EPA and DHA, in particular, have anti-inflammatory properties that help prevent the build-up of plaque in the arteries, which can lead to heart attacks and strokes. Regular consumption of omega-3s can lead to a healthier heart and improved circulation. 2. Brain Health Benefits: Omega-3 fatty acids are vital for brain function and development. They contribute to: How It Helps: DHA is a major structural component of the brain and retina, playing a critical role in brain development and function. Adequate levels of omega-3s can support memory, focus, and overall cognitive performance. Additionally, omega-3s have been linked to reduced symptoms of depression and anxiety, promoting better mental health. 3. Joint Health Benefits: Omega-3 fatty acids can provide relief from joint pain and stiffness. They are beneficial for: How It Helps: The anti-inflammatory properties of omega-3s help to reduce joint inflammation and pain. Regular intake of omega-3 fatty acids can improve joint function and decrease the severity of arthritis symptoms, making them a valuable addition to the diet for those with joint issues. 4. Eye Health Benefits: Omega-3 fatty acids play a crucial role in maintaining eye health. They help: How It Helps: DHA is a major component of the retina, and adequate levels of omega-3s are essential for proper visual function. Consuming omega-3-rich foods can help protect against eye diseases and support long-term vision health. 5. Pregnancy and Infant Development Benefits: Omega-3 fatty acids are vital for the health of both mother and baby during pregnancy. They contribute to: How It Helps: DHA is crucial for the development of the baby’s brain and eyes. Pregnant and breastfeeding women who consume sufficient omega-3s can support their baby’s cognitive and visual development while also reducing the risk of preterm delivery and postpartum depression. How to Incorporate Omega-3s into Your Diet To reap the benefits of omega-3 fatty acids, consider incorporating these sources into your diet: Omega-3 fatty acids are essential for maintaining heart, brain, joint, eye, and overall health. By incorporating omega-3-rich foods into your diet, you can enjoy numerous health benefits and support your body’s well-being. Whether through fatty fish, nuts, seeds, or supplements, ensuring an adequate intake of omega-3s can lead to a healthier and more vibrant life. Prioritize these healthy fats in your diet and experience the positive impact they can have on your health.

Combining Ventilation and Convenience: The Dual Functionality of the COS-2413ORM1SS

When it comes to optimizing kitchen space without compromising on functionality, over-the-range microwaves have become an indispensable appliance. The COS-2413ORM1SS 24″ Over-the-Range Microwave stands out for its sleek design, powerful features, and dual functionality—serving both as a microwave and an efficient ventilation system. This article explores how this innovative appliance enhances kitchen efficiency while providing a seamless cooking experience. The Rise of Over-the-Range Microwaves Over-the-range microwaves have evolved significantly since their inception. Initially designed to save counter space, they have become multi-functional appliances that enhance cooking convenience and kitchen aesthetics. Homeowners prefer these models for their ability to integrate seamlessly into cabinetry while providing powerful ventilation and advanced cooking features. Introducing the COS-2413ORM1SS 24″ Over-the-Range Microwave The COS-2413ORM1SS 24″ Over-the-Range Microwave is a testament to modern engineering. With a compact 24-inch design, it fits perfectly in contemporary kitchens. Its stainless steel finish adds a touch of elegance, while its robust features cater to all cooking needs. Dual Functionality: Microwave and Ventilation System One of the standout features of the COS-2413ORM1SS is its dual functionality: Benefits: Key Features That Make It Stand Out Space-Saving Design and Aesthetic Appeal The compact size of the COS-2413ORM1SS makes it ideal for small to medium-sized kitchens. Its sleek stainless steel finish complements other appliances, adding a cohesive look to your kitchen design. Installation and Maintenance Tips Why Choose the COS-2413ORM1SS Over Competitors? The COS-2413ORM1SS 24″ Over-the-Range Microwave is more than just an appliance; it’s a smart investment in kitchen efficiency and aesthetics. Combining powerful cooking capabilities with robust ventilation, it offers unparalleled convenience for modern homeowners. If you’re looking to upgrade your kitchen with a versatile, space-saving solution, the COS-2413ORM1SS is the perfect choice.

Decorating with Plants: Adding Greenery to Your Kitchen for a Fresh and Vibrant Look

Plants are more than just a decorative touch—they bring life, color, and a sense of calm to any space. When it comes to the kitchen, incorporating greenery can transform the area into a vibrant and inviting place. Whether you have a spacious kitchen or a cozy nook, plants can enhance your cooking space with minimal effort. Here’s how to use plants to add a fresh and lively touch to your kitchen decor. Choose the Right Plants Herbs for Practicality and Style: Low-Maintenance Options: Air-Purifying Plants: Creative Display Ideas Countertop Planters: Hanging Planters: Window Sills: Wall-Mounted Planters: Styling Tips Mix and Match: Match with Kitchen Decor: Use Plant Stands: Incorporate Kitchen Tools: Care and Maintenance Watering: Light: Cleaning: Repotting: Decorating your kitchen with plants adds a refreshing touch and enhances the overall ambiance of the space. By selecting the right plants, using creative display ideas, and following proper care routines, you can create a vibrant and inviting kitchen environment. Whether you opt for functional herbs or decorative foliage, plants bring a sense of life and beauty to your culinary space. So, get started on your kitchen garden and enjoy the benefits of a greener, more vibrant cooking area.

Mastering Cooking Techniques for Different Cuts of Meat: Braising, Grilling, and Stewing

When it comes to preparing meat, the cooking technique you choose can greatly impact the flavor, texture, and overall quality of the dish. Different cuts of meat require different methods to bring out their best characteristics. Understanding how to cook various cuts properly ensures delicious results every time. Here’s a guide to some of the most popular cooking techniques—braising, grilling, and stewing—and how to use them effectively with different cuts of meat. Braising: Perfect for Tough Cuts What Is Braising? Braising is a cooking technique that involves cooking meat slowly in a small amount of liquid. This method combines both dry and moist cooking, starting with searing the meat to develop flavor and then simmering it in liquid to tenderize the meat. Best Cuts for Braising: How to Braise: Benefits: Grilling: Ideal for Tender Cuts What Is Grilling? Grilling involves cooking meat over direct heat, either on a gas or charcoal grill. The high heat caramelizes the exterior of the meat, adding a smoky, charred flavor. Best Cuts for Grilling: How to Grill: Benefits: Stewing: Great for Flavor and Tenderness What Is Stewing? Stewing is a method of cooking meat slowly in a liquid, similar to braising but often with smaller, bite-sized pieces. This technique is used to cook meat thoroughly and develop deep, complex flavors. Best Cuts for Stewing: How to Stew: Benefits: Mastering different cooking techniques for various cuts of meat can elevate your culinary skills and ensure delicious results. Whether you’re braising a tough cut to tender perfection, grilling a juicy steak for a quick meal, or stewing meat for a hearty dish, understanding these methods will help you make the most of your ingredients. Experiment with these techniques to discover new flavors and textures in your cooking, and enjoy the satisfying results of your efforts.

Making Homemade Nut Butters and Seed Pastes: A Delicious and Nutritious DIY Guide

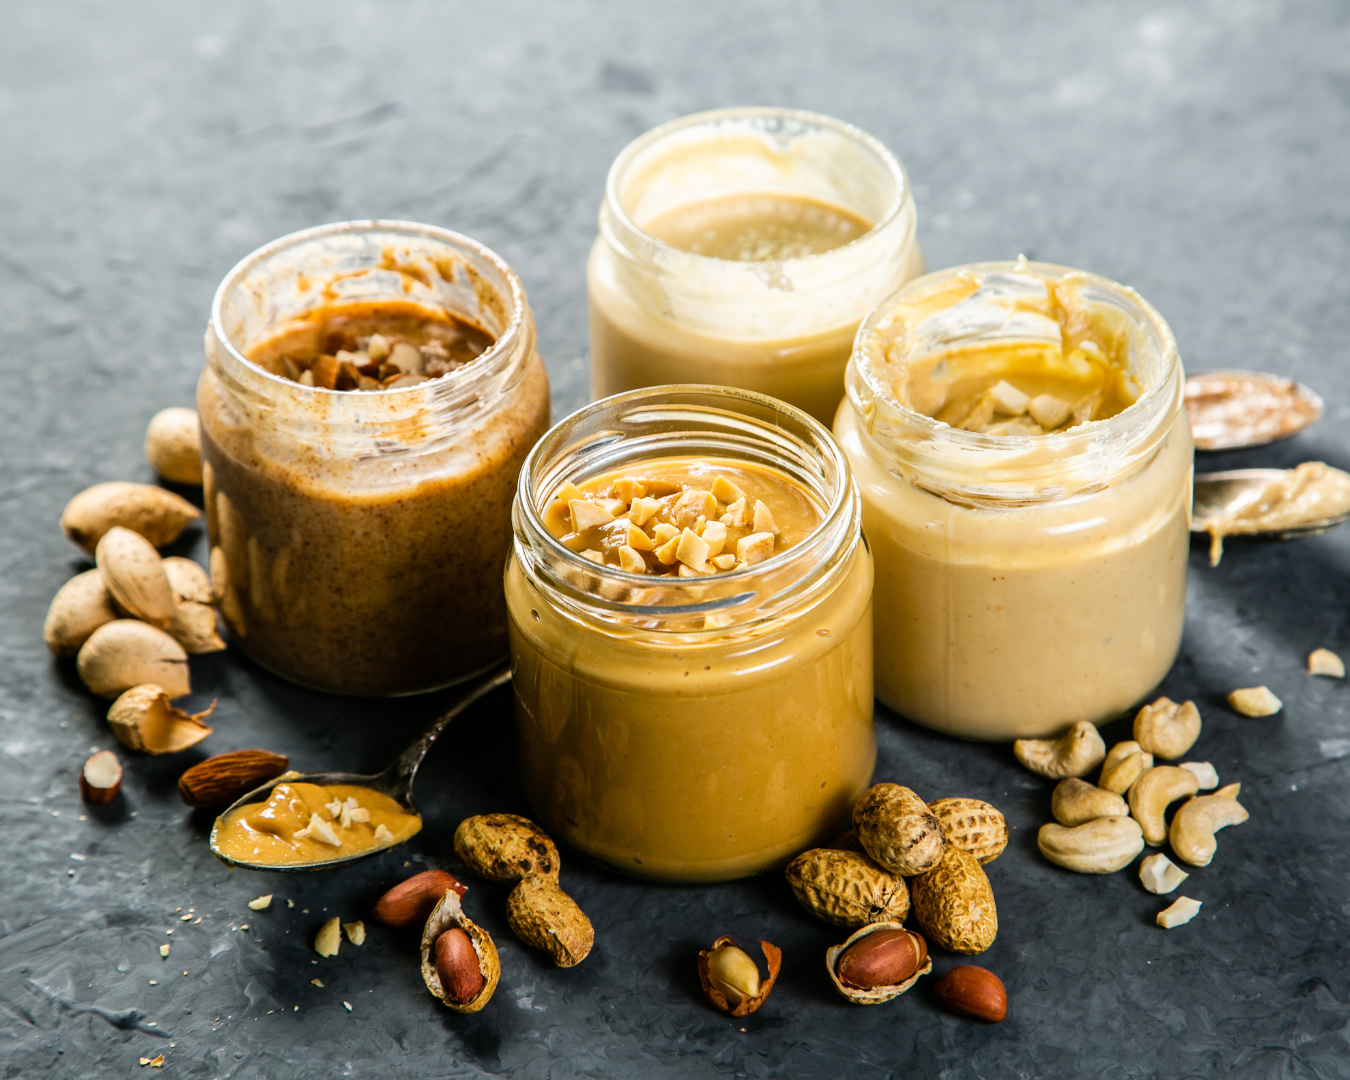
Homemade nut butters and seed pastes are not only delicious but also packed with nutrients and free from unnecessary additives. Whether you’re a fan of creamy peanut butter, rich almond paste, or smooth sunflower seed butter, making these spreads at home is simple and rewarding. Here’s how to create your own nut butters and seed pastes with ease, plus some tips for customization and storage. Why Make Nut Butters and Seed Pastes at Home? 1. Healthier Ingredients: Homemade versions allow you to control the quality and quantity of ingredients, avoiding added sugars, unhealthy fats, and preservatives often found in store-bought options. 2. Customizable Flavors: Adjust the flavor and texture to your preference. You can add spices, sweeteners, or even mix different nuts and seeds to create your unique blend. 3. Freshness: Freshly made nut butters and seed pastes often taste better and retain more nutrients compared to their store-bought counterparts. Essential Ingredients For Nut Butters: For Seed Pastes: Basic Instructions 1. Choose Your Nuts or Seeds: Start with raw, unsalted nuts or seeds. You can use them as-is or roast them lightly for a deeper flavor. Roasting enhances the nutty taste and can be done by spreading the nuts or seeds on a baking sheet and toasting them in a preheated oven at 350°F (175°C) for 8-10 minutes, stirring occasionally. 2. Cool and Prepare: Allow roasted nuts or seeds to cool before processing. This prevents the oils from separating and ensures a smoother texture. 3. Blend to Desired Consistency: 4. Adjust Flavor and Texture: 5. Store Properly: Transfer your homemade nut butter or seed paste to an airtight container. Store it in the refrigerator for longer shelf life, typically 2-3 weeks, or at room temperature for up to a week. Recipe Variations and Ideas 1. Peanut Butter: Blend roasted peanuts until smooth, adding a touch of salt and a small amount of honey if desired. 2. Almond Butter: Use roasted almonds and blend with a pinch of salt. For a richer flavor, try adding a dash of cinnamon or vanilla extract. 3. Cashew Butter: Blend roasted cashews with a bit of coconut oil for a creamy texture. A touch of sea salt complements its natural sweetness. 4. Sunflower Seed Butter: Ideal for nut-free diets, blend roasted sunflower seeds with a bit of honey and a pinch of salt. For added depth, mix in a bit of cinnamon. 5. Tahini: Made from roasted sesame seeds, tahini is a versatile paste perfect for dressings, dips, and spreads. Blend roasted sesame seeds with a little oil for a smooth consistency. Creative Uses 1. Spread on Toast: Enjoy your nut butter or seed paste on whole-grain toast for a nutritious breakfast or snack. 2. Add to Smoothies: Stir into smoothies for added protein and creaminess. 3. Use in Baking: Incorporate into cookies, muffins, or energy bars for a nutty flavor. 4. Dip for Fruits and Veggies: Use as a dip for apple slices, celery sticks, or other fresh produce. 5. Make Sauces and Dressings: Blend with a bit of water or additional seasoning to create rich sauces or dressings. Making homemade nut butters and seed pastes is a satisfying way to enjoy fresh, nutritious spreads tailored to your tastes. With just a few basic ingredients and a food processor, you can create delicious butters and pastes that elevate your meals and snacks. Experiment with different nuts, seeds, and flavors to find your perfect blend, and enjoy the benefits of homemade goodness in every bite.

How to Clean Stainless Steel Appliances Without Streaks

Stainless steel appliances are a stylish addition to any kitchen, offering a sleek and modern look. However, their shiny surfaces can easily show fingerprints, smudges, and streaks, making them appear less pristine than intended. Cleaning stainless steel effectively without leaving streaks requires the right techniques and products. Here’s a comprehensive guide to help you achieve a spotless, streak-free shine. Gather Your Cleaning Supplies What You’ll Need: Avoid Using: Start with a Gentle Clean Step 1: Wipe Down with Warm Water and Soap Begin by wiping the surface with a soft microfiber cloth dampened with warm water and a few drops of mild dish soap. This will remove loose dirt and grime. Avoid using excessive water, as it can leave streaks. Step 2: Rinse and Dry After cleaning with soapy water, rinse the cloth with clean water and wipe down the appliance to remove any soap residue. Follow up by drying the surface immediately with a dry microfiber cloth to prevent streaks. Use White Vinegar for a Streak-Free Shine Step 1: Apply White Vinegar White vinegar is excellent for removing streaks and enhancing shine. Dampen a microfiber cloth with white vinegar and wipe down the stainless steel surface in the direction of the grain. Step 2: Buff Dry Use a clean, dry microfiber cloth to buff the surface to a shine, following the grain of the stainless steel. This helps to remove any remaining streaks and gives a polished finish. Apply Olive Oil for Extra Shine Step 1: Add a Small Amount of Olive Oil For an added layer of shine, apply a small amount of olive oil to a clean, dry microfiber cloth. Rub the olive oil onto the stainless steel in a thin, even layer. Step 2: Wipe Off Excess Buff the surface with another clean, dry microfiber cloth to remove any excess oil and achieve a streak-free shine. Olive oil not only enhances the appearance but also helps to repel fingerprints. Address Tough Stains with Baking Soda Step 1: Create a Paste For stubborn stains, make a paste with baking soda and a small amount of water. Apply the paste to the affected area using a soft cloth. Step 2: Gently Scrub Gently scrub the paste onto the stain using a circular motion, always following the grain of the stainless steel. Avoid using abrasive scrubbers that can scratch the surface. Step 3: Rinse and Dry Rinse the area with warm water and wipe dry with a microfiber cloth. Repeat if necessary until the stain is removed. Maintain Regular Cleaning Step 1: Daily Wipe-Down To prevent buildup and maintain the shine, wipe down your stainless steel appliances daily with a dry microfiber cloth. This helps to remove fingerprints and smudges before they become more noticeable. Step 2: Weekly Deep Clean Once a week, perform a more thorough cleaning using the steps outlined above. This helps to keep your appliances looking their best and prolongs their lifespan. Additional Tips Keeping stainless steel appliances clean and streak-free requires the right approach and tools. By using gentle cleaning solutions, following the grain of the steel, and maintaining a regular cleaning schedule, you can ensure your appliances always look their best. Enjoy the sleek, shiny appearance of your stainless steel surfaces with minimal effort and maximum impact.