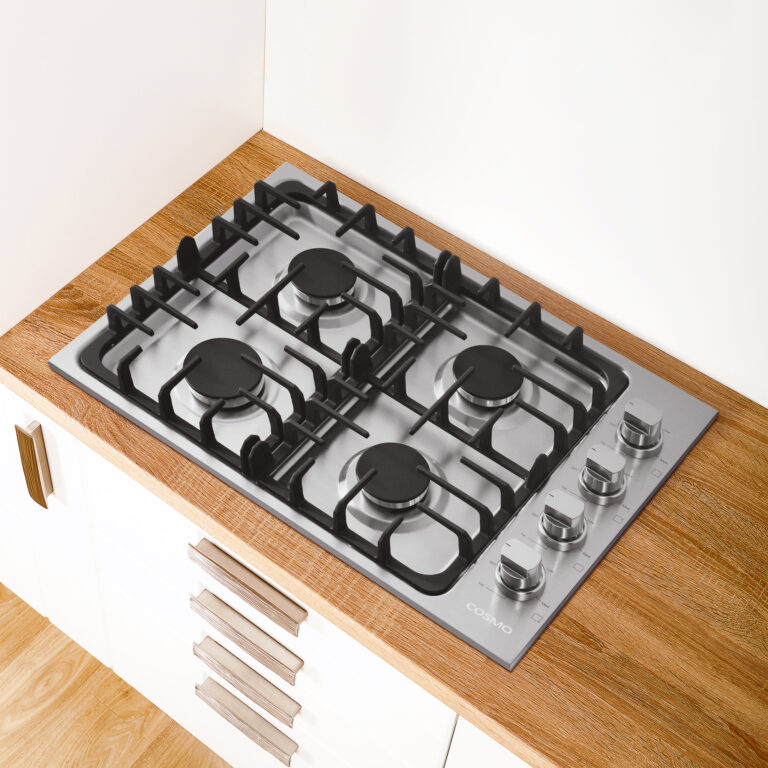
Maximizing Energy Efficiency with the COSMO 30” Gas Cooktop (COS-DIC304)
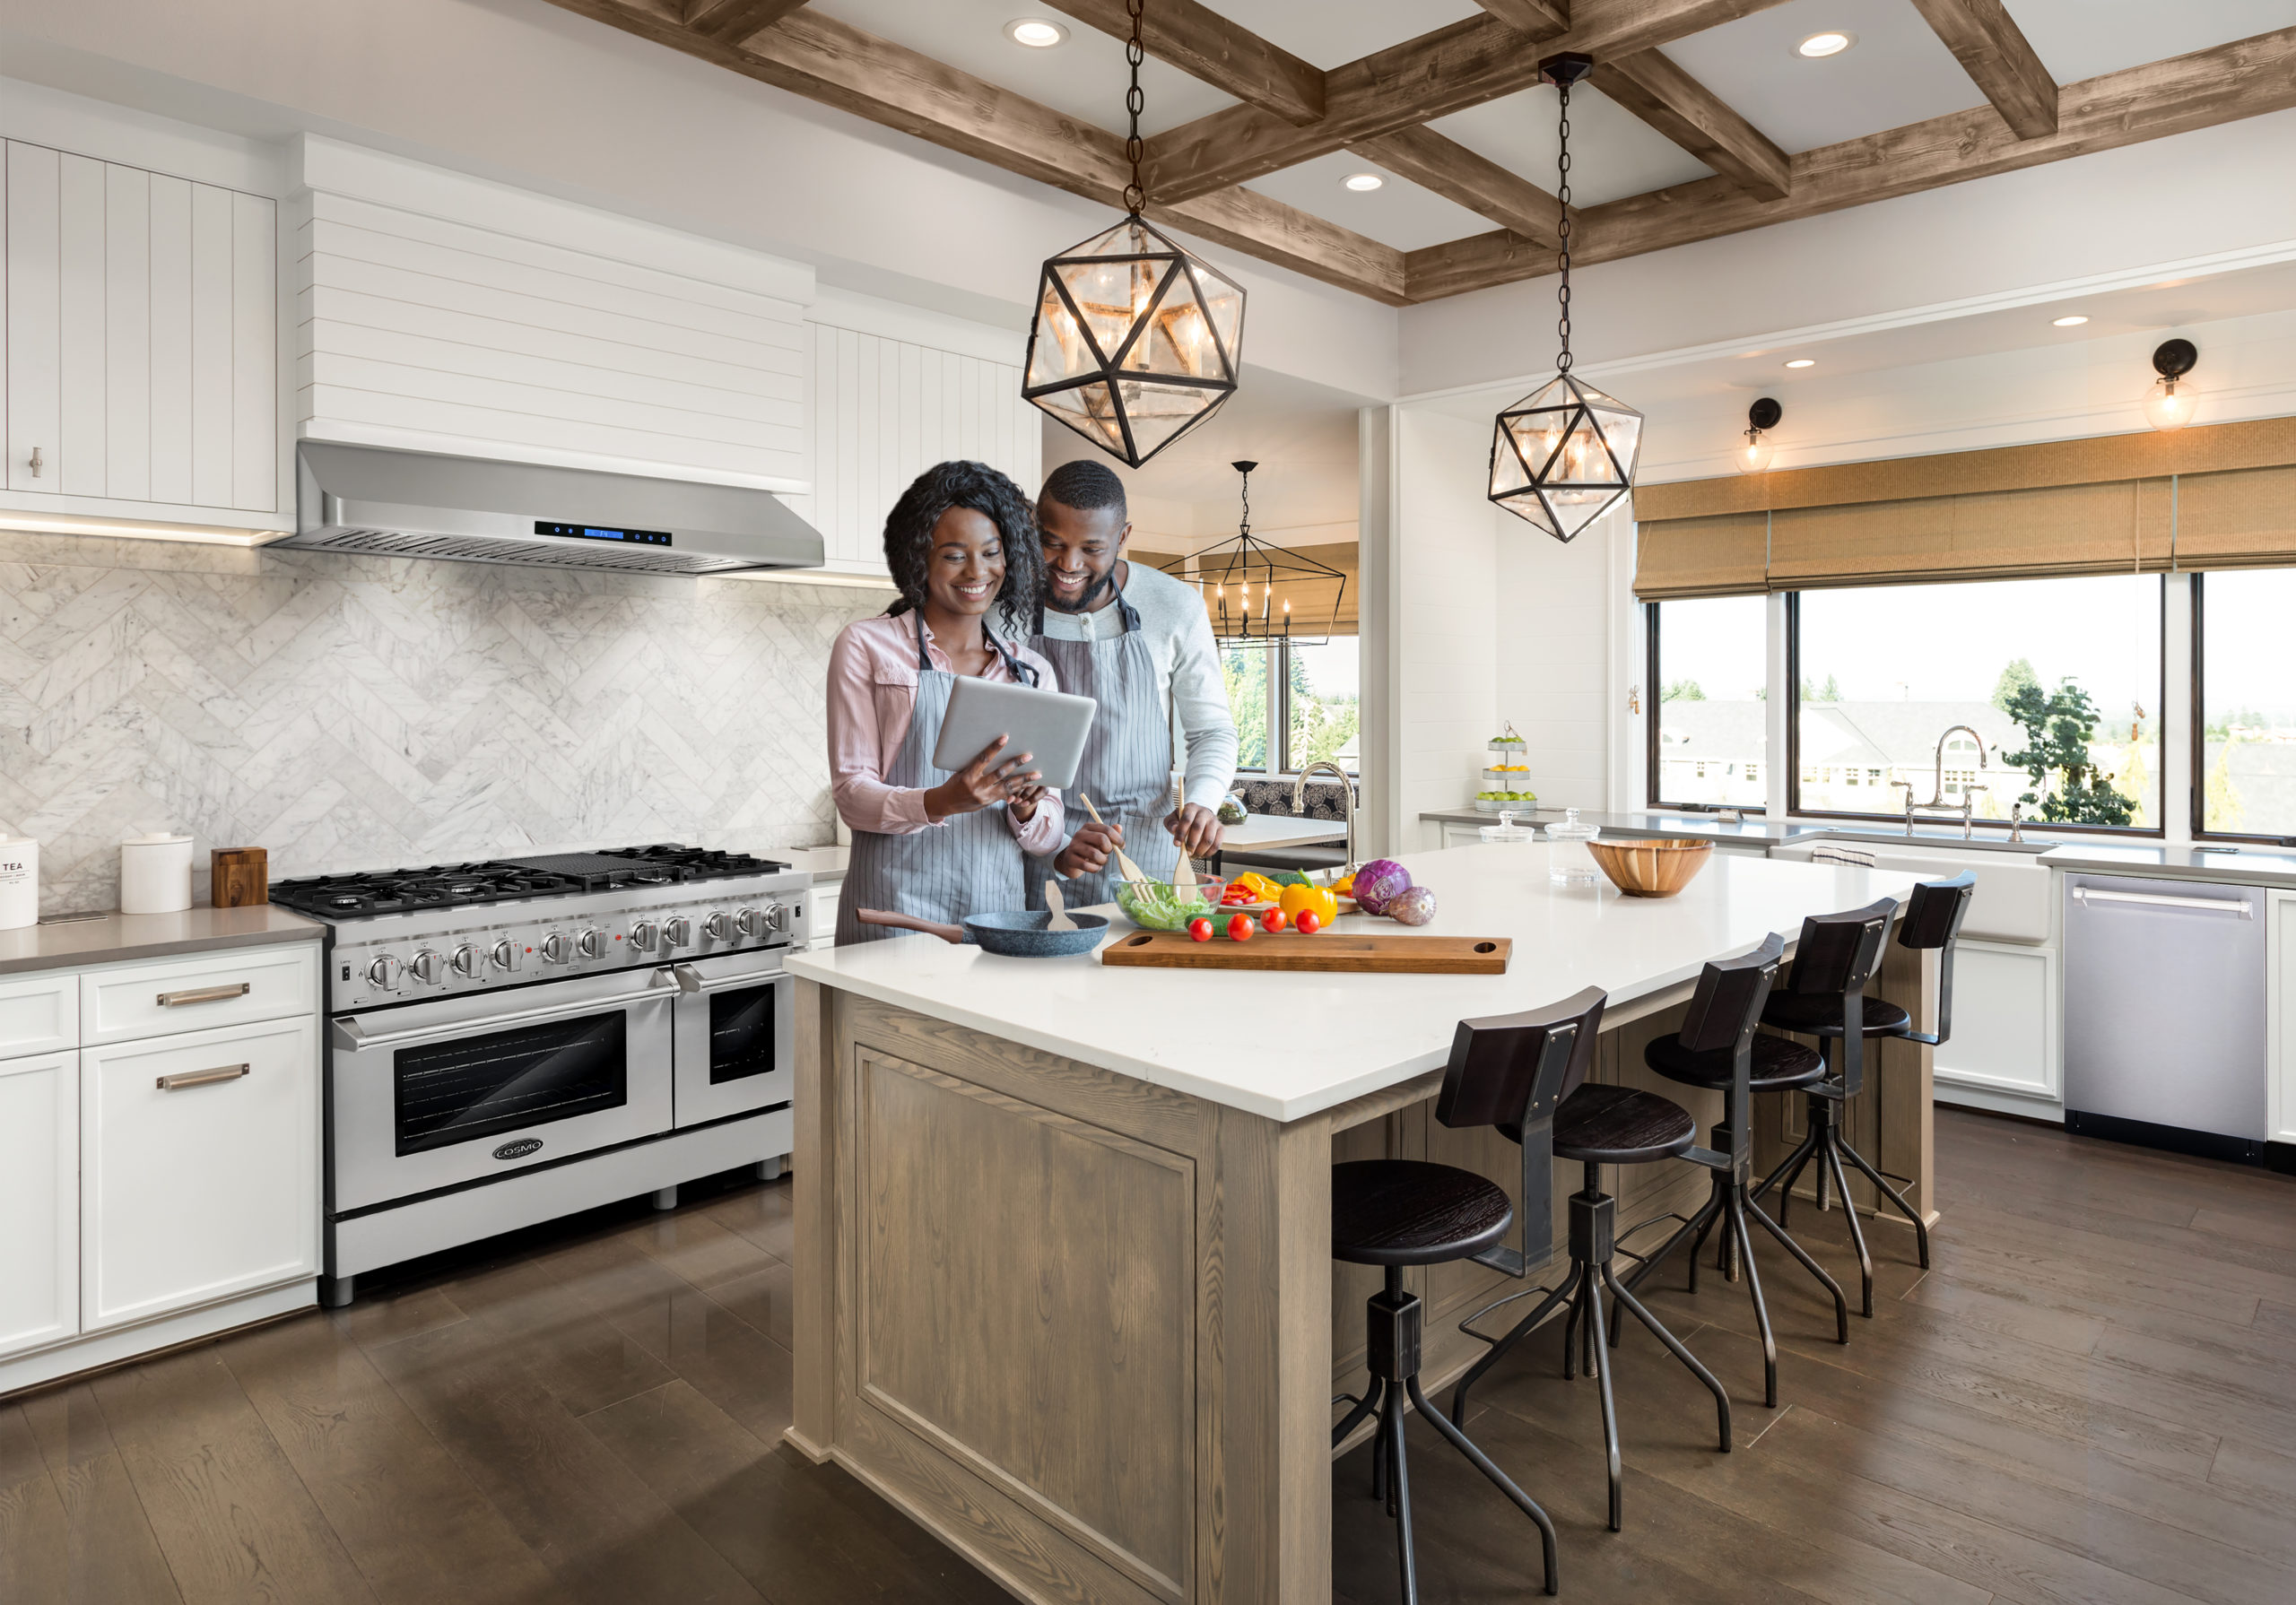
The COSMO 30” Stainless Steel Drop-In Gas Cooktop (COS-DIC304) is a powerhouse in the kitchen, providing excellent performance with its 4 sealed burners. But with the rising costs of utilities and an increasing focus on sustainability, many homeowners are looking for ways to use their kitchen appliances more efficiently. If you’re planning to get the most out of your new cooktop, here are some energy-saving tips to keep your cooking efficient while keeping costs low. 1. Match Your Cookware to the Burner Size One of the simplest and most effective ways to increase energy efficiency is by using the right cookware for each burner. The COSMO COS-DIC304 features different-sized burners, each designed for specific tasks. To get the most out of your gas burners: When you use the appropriately sized pot or pan, you avoid wasting energy by heating an oversized pot with a smaller burner, or vice versa. 2. Keep Lids On When Cooking Covering your pots and pans with a tight-fitting lid helps trap heat and steam inside, allowing food to cook faster. This reduces the amount of time you need the burner on, saving both energy and gas. Plus, it helps preserve the flavors and nutrients in your food. 3. Use the Right Flame Level With the COSMO COS-DIC304, you have full control over the flame. For energy efficiency, you don’t always need to turn the burner up to its highest setting. Cooking on medium heat is often more than sufficient for many tasks, from boiling pasta to simmering sauces. Overheating food or boiling water at full blast wastes energy, so aim to adjust the flame based on your cooking needs. 4. Keep the Burner Clean The sealed burners on the COSMO COS-DIC304 are designed for easy cleaning, but don’t overlook the importance of maintenance. Regularly cleaning the burners and surrounding areas ensures maximum heat transfer. If food residue or grease builds up on the burner caps, it can block the flame and reduce efficiency, meaning you’ll need to use more gas to reach the desired cooking temperature. 5. Preheat Efficiently When using the cooktop for high-heat cooking (like frying or grilling), it’s tempting to preheat the pan for a long time. Instead, use shorter preheating times to reduce energy consumption. Simply place your cookware on the burner for a few minutes to allow it to heat up before cooking. 6. Cook in Batches When Possible If you’re preparing multiple items, consider batch cooking on the COSMO COS-DIC304. Cooking more food at once means using the burner for longer periods, but also allows you to make the most out of each cooking session without wasting heat. This can be especially useful when cooking meals for the week, making leftovers, or preparing dishes that require similar cooking temperatures. 7. Turn Off Early and Let Residual Heat Finish Cooking Cooktops cool down quickly after the flame is turned off, so you can take advantage of the residual heat from your burners. For dishes that need a bit of extra time after the burner is turned off—like rice or stews—simply turn the burner off a few minutes before the cooking time ends and let the heat do the work. 8. Ensure Proper Ventilation This tip isn’t just about energy efficiency—it’s about cooking safety. The COSMO COS-DIC304 features high-performance burners that generate significant heat. Make sure to keep your kitchen well-ventilated so that you don’t waste energy trying to cool the space down after cooking. A good range hood can help vent excess heat and keep your kitchen comfortable, allowing you to avoid turning on additional cooling systems. 9. Plan Cooking Times Around Busy Hours If your household is particularly busy, consider meal planning during times when you’ll be using the cooktop anyway. This minimizes wasted energy, especially if you’re already preparing multiple meals at once. You can also combine stovetop cooking with baking in your oven, using both appliances efficiently. 10. Use Pressure Cookers and Steamers While the COSMO COS-DIC304 has burners that handle most cooking tasks with ease, pressure cookers and steamers are fantastic for speeding up cooking times and saving energy. These appliances require less heat and shorten cooking durations, helping you make the most of your cooktop while using less gas.With a few small adjustments, the COSMO 30” Stainless Steel Drop-In Gas Cooktop (COS-DIC304) can be even more energy-efficient, helping you cook like a pro while keeping costs down. From using the right cookware to making the most of residual heat, these tips will help you achieve perfectly cooked meals without wasting energy. After all, a little efficiency goes a long way in both your cooking and your utility bills!