kitchen

Wall Oven Safety Tips: Ensuring Safe and Efficient Operation

Wall ovens are a popular choice in modern kitchens, offering both convenience and style. Whether you’re an experienced home cook or just getting started, understanding how to use your wall oven safely is crucial. Proper care and safety measures not only protect you and your loved ones but also ensure that your oven operates efficiently for years to come. Here are some essential wall oven safety tips to keep in mind. Read the User Manual Before using your wall oven, take the time to thoroughly read the user manual. Every oven model is different, and the manual provides important information about installation, operation, and maintenance. Familiarize yourself with the safety features specific to your oven, such as automatic shut-off, child locks, and temperature controls. Proper Installation Proper installation is key to the safe operation of your wall oven. Ensure that the oven is installed by a qualified professional according to the manufacturer’s instructions. This includes making sure it’s securely fastened and that the electrical or gas connections are correctly set up. Poor installation can lead to electrical hazards or even fires. Maintain Clear Ventilation Wall ovens generate a lot of heat, so it’s important to ensure that the ventilation around the oven is clear and unobstructed. Blocked vents can cause the oven to overheat, leading to potential malfunctions or fire hazards. Regularly check the vents and surrounding areas to make sure they are free from dust, debris, and any obstructions. Use Proper Cookware When using your wall oven, always choose cookware that is oven-safe and appropriate for the temperatures you’ll be cooking at. Avoid using materials like plastic or non-oven-safe glass, which can melt or shatter under high heat. Also, ensure that your cookware fits properly in the oven without touching the walls or the heating elements, which can cause uneven cooking or damage to the oven. Monitor Cooking Times and Temperatures Overcooking or burning food can create smoke and increase the risk of fire. Always monitor your cooking times and temperatures closely, especially when trying out new recipes or cooking unfamiliar dishes. Use a timer and, if your oven has one, take advantage of the built-in temperature probe to ensure your food is cooked properly. Keep the Oven Clean Regularly cleaning your wall oven is essential for both safety and efficiency. Food spills, grease, and crumbs can accumulate over time, leading to unpleasant odors, smoke, or even fires. Use a damp cloth to wipe down the interior of the oven after each use and deep clean the oven according to the manufacturer’s recommendations. If your oven has a self-cleaning feature, use it as directed but be sure to follow the safety guidelines provided. Avoid Overloading the Oven Overloading your wall oven with too many dishes can lead to uneven cooking and put unnecessary strain on the oven’s components. It can also block the proper circulation of heat, causing the oven to work harder and increasing the risk of malfunction. Stick to the manufacturer’s guidelines regarding the maximum load your oven can handle. Use the Oven Light Instead of Opening the Door Every time you open the oven door, heat escapes, and the oven has to work harder to maintain the desired temperature. This not only leads to energy inefficiency but can also cause uneven cooking. Instead of opening the door frequently, use the oven light to check on your food’s progress. Handle Hot Surfaces with Care Always use oven mitts or heat-resistant gloves when handling cookware or touching the oven’s interior surfaces. Even the racks can become extremely hot during cooking. Avoid placing towels or other flammable materials near the oven, as they can catch fire if they come into contact with hot surfaces. Teach Children About Oven Safety If you have children at home, it’s important to teach them about the dangers of the oven and establish clear rules about its use. Many wall ovens come with child safety locks to prevent accidental operation. Keep children away from the oven when it’s in use, and never leave them unattended in the kitchen. Regular Maintenance and Inspections Regular maintenance is key to the long-term safety and efficiency of your wall oven. Schedule annual inspections with a qualified technician to check for any potential issues, such as faulty wiring or malfunctioning components. Regular maintenance not only keeps your oven running smoothly but also extends its lifespan. Know How to Handle an Emergency In case of an emergency, such as an oven fire, it’s important to know what to do. Never use water to extinguish an oven fire, as this can cause the flames to spread. Instead, turn off the oven and keep the door closed to smother the flames. If the fire doesn’t go out quickly, evacuate your home and call emergency services. By following these wall oven safety tips, you can enjoy cooking with confidence, knowing that you’re taking the necessary precautions to protect yourself and your home. Regular maintenance, proper use, and being mindful of safety measures will ensure that your wall oven remains a reliable and efficient appliance in your kitchen for years to come.

How to Encourage Healthy Eating Habits Through Cooking

Cooking at home offers more than just a way to prepare meals; it’s an opportunity to foster healthy eating habits and make nutritious choices. By integrating certain practices into your cooking routine, you can promote a healthier lifestyle for yourself and your family. In this blog post, we’ll explore effective strategies to encourage healthy eating habits through cooking. Plan Balanced Meals Meal planning is a cornerstone of healthy eating. By planning your meals in advance, you can ensure that your diet is balanced and includes a variety of nutrients. Aim to include: Tip: Use a meal planning app or a simple calendar to organize your weekly meals and make grocery shopping more efficient. Cook from Scratch Preparing meals from scratch allows you to control the ingredients and avoid added sugars, unhealthy fats, and excessive sodium found in processed foods. Cooking from scratch also gives you the chance to experiment with fresh ingredients and healthier cooking methods. Tip: Start with simple recipes and gradually incorporate more complex dishes as you become more comfortable. Homemade soups, salads, and stir-fries are great starting points. Use Healthy Cooking Methods The way you cook your food can impact its nutritional value. Favor healthy cooking methods that preserve nutrients and reduce the need for excessive fats. Some methods include: Tip: Invest in non-stick cookware to minimize the amount of oil needed and experiment with herbs and spices for added flavor without extra calories. Incorporate Superfoods Superfoods are nutrient-dense foods that offer a variety of health benefits. Integrate these into your cooking to enhance the nutritional profile of your meals: Tip: Add berries to your breakfast cereal, toss leafy greens into salads or smoothies, and use nuts and seeds as toppings for yogurt or oatmeal. Involve the Whole Family Involving family members in meal preparation can make healthy eating more enjoyable and educational. Children who participate in cooking are more likely to try new foods and develop a positive attitude towards healthy eating. Tip: Assign age-appropriate tasks such as washing vegetables, stirring ingredients, or setting the table. Make cooking a fun and collaborative activity. Create Healthy Substitutions Make small, manageable changes to traditional recipes to improve their nutritional content. Some healthy substitutions include: Tip: Experiment with different substitutions and flavors to find what works best for your family’s taste preferences. Practice Portion Control Portion control is key to maintaining a balanced diet. By serving appropriate portions, you can enjoy a variety of foods without overeating. Tip: Use smaller plates and bowls to help manage portion sizes and avoid second servings. Pay attention to hunger cues and eat slowly to recognize when you’re satisfied. Focus on Mindful Eating Mindful eating involves paying attention to the sensory experience of eating and savoring each bite. It helps you become more aware of your body’s hunger and fullness signals, leading to healthier eating habits. Tip: Sit down for meals without distractions, chew your food thoroughly, and appreciate the flavors and textures of your dishes. Practice gratitude for the food you have and the effort put into preparing it. Make Healthy Snacks Available Healthy snacks can keep you satisfied between meals and prevent unhealthy cravings. Stock your kitchen with nutritious options: Tip: Prepare snack-sized portions in advance and keep them readily available to avoid reaching for unhealthy options. Educate Yourself and Others Knowledge is a powerful tool for encouraging healthy eating habits. Educate yourself about nutrition and share what you learn with your family and friends. Tip: Read nutrition labels, follow reputable health blogs, and consider consulting a registered dietitian for personalized advice. Cooking is a powerful way to promote healthy eating habits and support a nutritious lifestyle. By planning balanced meals, cooking from scratch, using healthy cooking methods, and involving your family, you can create an environment that fosters good eating habits. Remember, small changes can make a big difference, so start incorporating these practices into your cooking routine and enjoy the benefits of a healthier, more satisfying diet.

Best Practices for Cleaning and Sanitizing Your Kitchen: A Comprehensive Guide

A clean kitchen is the cornerstone of a healthy home. Regular cleaning and sanitizing not only keep your kitchen looking its best but also ensure that it’s free from harmful bacteria and germs. Whether you’re cooking daily meals or preparing for special events, maintaining a hygienic kitchen is essential. In this post, we’ll explore the best practices for cleaning and sanitizing your kitchen to create a safe and pleasant cooking environment. Develop a Cleaning Routine Establishing a consistent cleaning routine is crucial for maintaining kitchen hygiene. Aim to clean and sanitize your kitchen daily to prevent the buildup of grime and bacteria. Break down your cleaning tasks into daily, weekly, and monthly routines to ensure comprehensive maintenance. Daily Tasks: Weekly Tasks: Monthly Tasks: Focus on High-Touch Areas High-touch areas in the kitchen are prone to contamination and require special attention. These include handles, knobs, and faucets. To effectively clean and sanitize these areas: Use the Right Cleaning Products Choosing the right cleaning products is essential for effective sanitation. Opt for: Prioritize Food Safety Proper food handling and storage are key to preventing foodborne illnesses. Follow these food safety practices: Clean Kitchen Tools and Equipment Kitchen tools and equipment can harbor bacteria if not cleaned properly. Follow these practices: Maintain a Clean Sink The kitchen sink can be a breeding ground for bacteria. Keep it clean by: Keep Air Vents and Filters Clean Air vents and filters help maintain air quality in the kitchen. Regular maintenance includes: A clean and sanitized kitchen is vital for both health and efficiency. By following these best practices, you can create a safe and enjoyable cooking environment. Develop a regular cleaning routine, focus on high-touch areas, prioritize food safety, and use appropriate cleaning products to maintain a hygienic kitchen. With consistent effort and attention to detail, you’ll ensure that your kitchen remains a clean and welcoming space for all your culinary adventures.

Using Garnishes and Sauces to Enhance Food Presentation

When it comes to creating a memorable dining experience, taste is only part of the equation. The way food is presented can significantly impact how it is perceived and enjoyed. Garnishes and sauces play a crucial role in elevating the visual appeal of a dish, making it more appetizing and inviting. Whether you’re a home cook looking to impress your guests or a professional chef striving for perfection, mastering the art of garnishing and sauce presentation can take your culinary creations to the next level. In this blog post, we’ll explore the various ways garnishes and sauces can be used to enhance food presentation, offering tips and techniques to help you plate like a pro. The Importance of Garnishes What Are Garnishes? Garnishes are decorative elements added to a dish that can also enhance its flavor and texture. They are typically small, edible components placed on or around the food to add color, contrast, and a finishing touch. Common garnishes include fresh herbs, citrus zest, edible flowers, microgreens, and finely chopped vegetables. Choosing the Right Garnish: The key to a successful garnish is ensuring that it complements the dish both visually and flavor-wise. Here are some tips for selecting the right garnish: Examples of Effective Garnishes: The Art of Sauce Presentation Why Sauces Matter: Sauces are more than just a way to add flavor to a dish; they are also an essential element of food presentation. The way a sauce is applied can change the entire look of a dish, turning a simple plate of food into a work of art. Whether drizzled, smeared, or pooled, sauces can add color, contrast, and elegance to your presentation. Techniques for Sauce Presentation: Pairing Garnishes and Sauces To truly elevate your food presentation, consider how garnishes and sauces can work together. Here are some tips for creating harmonious pairings: Garnishes and sauces are powerful tools in the art of food presentation. By carefully selecting and applying these elements, you can transform a simple dish into a visually stunning and delicious experience. Whether you’re drizzling a balsamic reduction over a salad or adding a sprinkle of fresh herbs to a pasta dish, the right garnish or sauce can make all the difference. So, next time you’re in the kitchen, take a moment to think about how you can enhance your food’s presentation with the perfect garnish or sauce. Your eyes—and your taste buds—will thank you!

Cooking with Peppers to Add Flavor and Heat

Peppers are a versatile and flavorful ingredient that can elevate any dish. From sweet bell peppers to fiery habaneros, these colorful vegetables add depth, texture, and heat to your meals. Whether you prefer a mild kick or an intense burn, cooking with peppers is a great way to experiment with flavors and spice up your culinary creations. In this blog post, we’ll explore the different types of peppers, how to use them in your cooking, and tips for balancing heat and flavor. Types of Peppers Cooking Tips Peppers are a dynamic ingredient that can add both flavor and heat to your dishes. Whether you’re looking to enhance a simple meal or create something bold and spicy, the variety of peppers available means there’s something for every palate. Experiment with different types of peppers in your cooking, and don’t be afraid to mix and match to find your perfect balance of heat and flavor. Happy cooking!

Exploring Dehydration Options with Your Air Fryer

The air fryer has become a kitchen favorite for its ability to create crispy, delicious meals with minimal oil. But did you know that your air fryer can also serve as a dehydrator? Dehydrating food is a fantastic way to preserve fruits, vegetables, and even herbs, making them last longer and providing healthy, shelf-stable snacks. In this blog post, we’ll explore how you can use your air fryer for dehydration, the types of foods you can dehydrate, and tips for achieving the best results. Why Dehydrate Food? Dehydrating food removes moisture, which inhibits the growth of bacteria, yeast, and mold, thereby extending the shelf life of your food. It also concentrates the flavors, making dehydrated snacks like fruit chips or vegetable crisps a tasty and healthy alternative to store-bought snacks. Plus, dehydrated foods are lightweight, making them perfect for camping, hiking, or just stocking your pantry with nutritious options. Dehydrating with an Air Fryer: What You Need to Know Many air fryers come with a dehydration function, or at least the capability to run at a low temperature, which is essential for dehydration. Here’s how you can get started: 1. Choose the Right Air Fryer: 2. Preparing the Food: 3. Arranging the Food in the Air Fryer: 4. Setting the Temperature and Time: Foods You Can Dehydrate in Your Air Fryer 1. Fruits: 2. Vegetables: 3. Herbs: Tips for Successful Dehydration 1. Store Properly: 2. Label and Date: 3. Experiment with Flavors: Dehydrating with your air fryer opens up a whole new world of culinary possibilities. Whether you’re looking to preserve seasonal produce, create healthy snacks, or simply experiment with new flavors, the air fryer can be your go-to tool. With a bit of practice and experimentation, you can master the art of dehydration and enjoy the convenience and versatility it brings to your kitchen. Happy dehydrating!

How to Select, Store, and Prepare Peppers: A Complete Guide

Peppers are a versatile and flavorful ingredient that can add color, crunch, heat, and depth to a wide range of dishes. With their variety of flavors—from sweet and mild to fiery hot—peppers have become a kitchen staple worldwide. Whether you’re using bell peppers for stir-fries or adding some heat with chili peppers, knowing how to select, store, and prepare peppers will help you get the most out of these vibrant vegetables. Here’s a comprehensive guide to choosing the best peppers, keeping them fresh, and prepping them for your next culinary creation. Selecting the Right Peppers When shopping for peppers, it’s important to select the right type based on your recipe and flavor preference. Here’s a quick breakdown of the most common peppers: 1. Bell Peppers What to Look For: 2. Jalapeño Peppers What to Look For: 3. Poblano Peppers What to Look For: 4. Habanero Peppers What to Look For: 5. Chili Peppers (e.g., Serrano, Cayenne, Thai) What to Look For: How to Store Peppers Storing peppers properly will help extend their freshness and flavor. Here are some tips for keeping your peppers in prime condition. 1. Store Whole Peppers in the Refrigerator 2. Freeze Peppers for Long-Term Storage 3. Store Dried Peppers in a Cool, Dark Place How to Prepare Peppers 1. Washing and Seeding Peppers 2. Roasting Peppers Roasting peppers enhances their sweetness and gives them a smoky flavor. Here’s how to roast them: Roasted peppers are perfect for salsas, sauces, or stuffing. 3. Sautéing Peppers Sautéing peppers softens them and brings out their natural sweetness. This method is great for fajitas, stir-fries, or as a side dish. 4. Grilling Peppers Grilling peppers brings out their smokiness and enhances their natural flavors. Use grilled peppers in sandwiches, salads, or as a topping for meats. 5. Pickling Peppers Pickled peppers make a tangy and spicy addition to sandwiches, tacos, and salads. Cooking with Peppers: Recipe Ideas Peppers are a must-have ingredient in every kitchen, offering endless possibilities for flavor, color, and texture in your meals. From selecting the freshest peppers at the store to storing them for long-term use, this guide will help you make the most of this versatile vegetable. Whether you’re roasting bell peppers, grilling jalapeños, or pickling chili peppers, you’ll always have the perfect pepper for any dish!

How to Clean a Glass-Top Stove: A Complete Guide

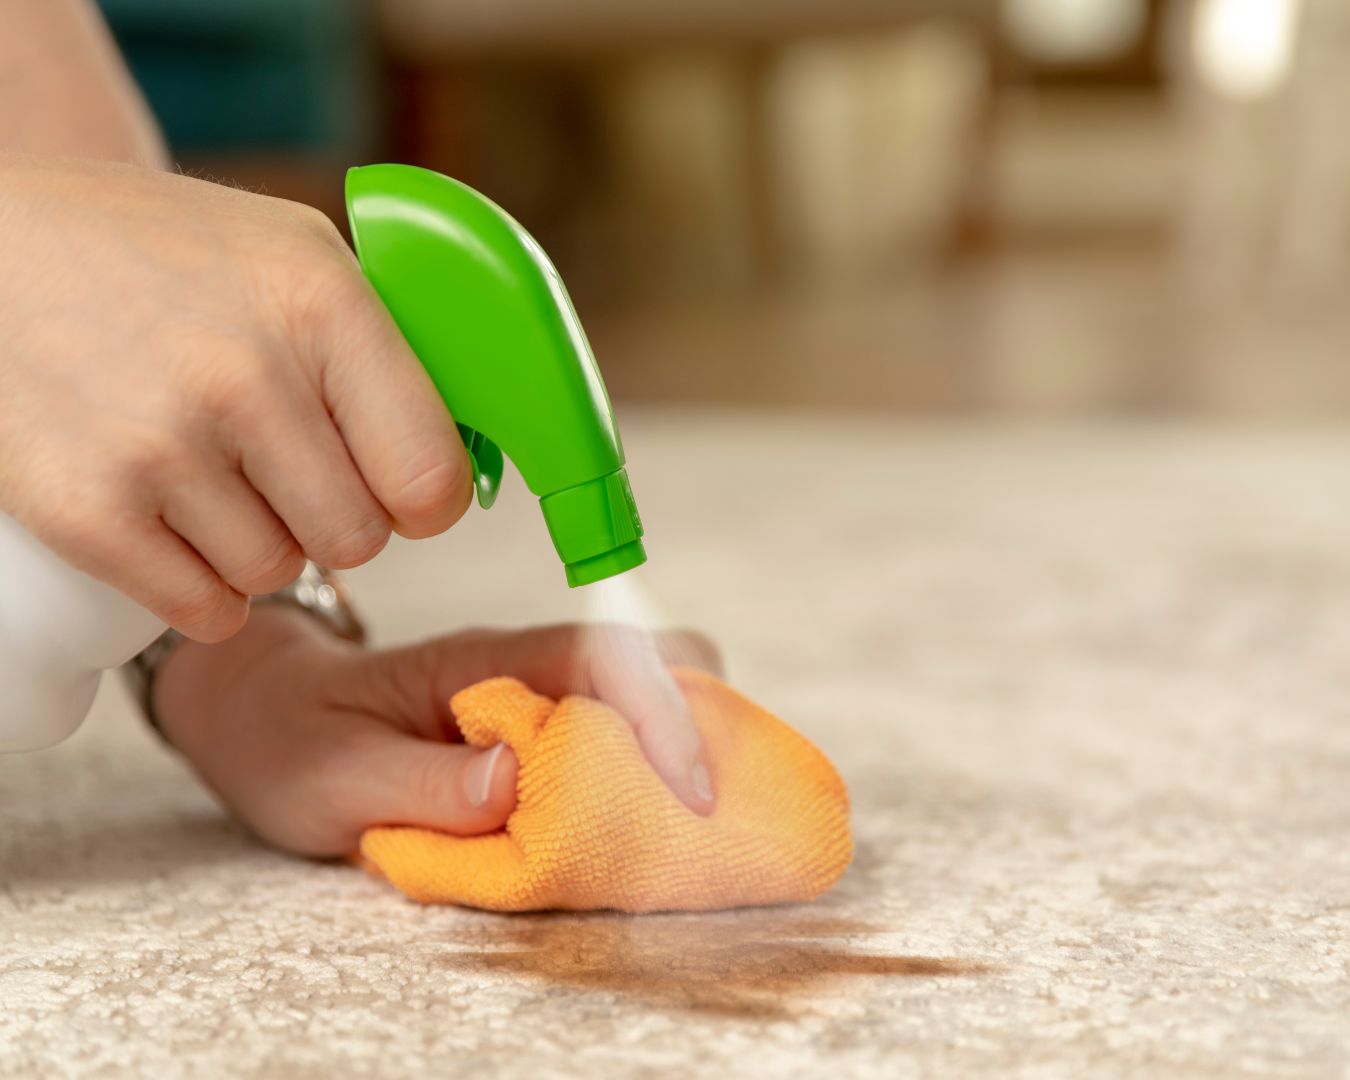
A glass-top stove adds a sleek, modern look to your kitchen, but it requires special care to maintain its shine and functionality. Unlike traditional stovetops, glass-top stoves can easily show streaks, smudges, and burnt-on food if not cleaned properly. In this guide, we’ll walk you through the best practices for cleaning and maintaining your glass-top stove to keep it looking pristine and functioning effectively. Why Glass-Top Stoves Require Special Care Glass-top stoves are made from smooth, flat ceramic or tempered glass surfaces. While they are visually appealing and easier to wipe down compared to gas stoves, their delicate surface can be prone to scratches and stains if you use the wrong cleaning methods. Abrasive cleaning tools or harsh chemicals can damage the surface, while burnt-on food can become a nightmare if not handled properly. That’s why it’s essential to use the right techniques and materials when cleaning a glass-top stove. Let’s dive into how to clean your stove without causing damage. What You’ll Need Step-by-Step Cleaning Process 1. Let the Stove Cool Down Before you begin cleaning, ensure that the stove is completely cool. Cleaning a hot stove can cause burns or damage the surface. Wait at least 20-30 minutes after cooking before starting the cleaning process. 2. Wipe Away Loose Debris Use a damp microfiber cloth or paper towel to wipe away loose debris, crumbs, or light spills. This will remove any immediate messes and prevent them from being smeared around the surface during the next steps. 3. Spray with White Vinegar White vinegar is a great natural cleaner for glass-top stoves because it cuts through grease and streaks. Fill a spray bottle with white vinegar and lightly mist the entire surface of the stove. Allow the vinegar to sit for a few minutes, which will help loosen any grease or residue. 4. Apply Baking Soda for Stubborn Stains For tougher, burnt-on stains, sprinkle baking soda generously over the problem areas. Baking soda is a mild abrasive that will help lift the grime without scratching the glass surface. The combination of baking soda and vinegar creates a fizzing action that helps break down stubborn food particles. 5. Use a Damp Cloth to Gently Scrub Take a damp microfiber cloth and gently scrub the baking soda and vinegar mixture in a circular motion. Be careful not to press too hard, as applying too much pressure can scratch the glass. Work your way across the surface, focusing on areas with visible stains or grime. 6. Scrape Off Burnt-On Food with a Razor Blade For any tough, burnt-on food that won’t come off with baking soda and vinegar, you can use a razor blade scraper. Ensure that the scraper is specifically designed for glass-top stoves to avoid scratching the surface. Hold the scraper at a 45-degree angle and gently scrape away the burnt residue. Be careful not to apply too much pressure, and always keep the blade flat against the surface. 7. Wipe the Surface Clean Once you’ve removed all the stains and food debris, wipe the stove with a clean, damp microfiber cloth to remove the remaining residue. Make sure the surface is free of baking soda and any other cleaning agents. 8. Dry and Polish To finish, use a dry microfiber cloth or paper towel to dry the stove and buff it to a shine. You can also spray a small amount of glass cleaner on the surface and wipe it down for a streak-free finish. Regular Maintenance Tips Cleaning a glass-top stove may require a bit of extra care, but by following the proper steps and using the right cleaning materials, you can keep your stove looking brand new. From regular maintenance to removing stubborn stains, these tips will help you maintain a sleek, scratch-free surface that enhances your kitchen’s modern look.

How to Prepare and Cook with Seafood Alternatives

As more people explore plant-based and sustainable options, seafood alternatives have emerged as a popular and environmentally friendly substitute for traditional fish and shellfish. These alternatives not only mimic the texture and flavor of seafood but also offer nutritional benefits while supporting a more sustainable food system. Whether you’re vegan, vegetarian, or simply looking to reduce your seafood consumption, these plant-based and lab-grown options can be incorporated into your meals with ease. In this guide, we’ll explore different types of seafood alternatives, how to prepare them, and tips for cooking them in a variety of delicious dishes. Why Choose Seafood Alternatives? There are several reasons why you might opt for seafood alternatives over conventional seafood: Popular Seafood Alternatives Here are some of the most common seafood alternatives available today: How to Prepare Seafood Alternatives Preparing seafood alternatives is generally straightforward, but it’s essential to follow a few key steps to ensure the best flavor and texture: Delicious Recipes to Try Here are some tasty ways to incorporate seafood alternatives into your cooking: Cooking Tips for Seafood Alternatives With seafood alternatives, you can enjoy the flavors and textures of the ocean while supporting sustainable food practices. Whether you’re experimenting with plant-based products, using mushrooms or hearts of palm, or exploring seaweed-rich dishes, there are endless possibilities for creating delicious seafood-inspired meals. By following these preparation tips and trying out new recipes, you’ll discover that seafood alternatives can be just as satisfying as the real thing!

Foraging for Wild Mushrooms: Safety and Tips

Foraging for wild mushrooms is a rewarding activity that allows you to connect with nature and discover a wide variety of edible mushrooms in their natural habitat. Whether you’re a seasoned forager or new to the world of wild fungi, understanding how to safely collect and identify mushrooms is crucial. While many wild mushrooms are edible and delicious, some can be toxic or even deadly if misidentified. This guide covers essential safety precautions, tips for beginners, and insights into the fascinating world of mushroom foraging. The Allure of Mushroom Foraging Mushroom foraging has long been a tradition in many cultures, from European truffle hunts to Asian harvesting of shiitakes and enokis. The appeal lies in the thrill of the hunt and the opportunity to enjoy organic, wild ingredients. Mushrooms, rich in flavor and nutrients, add a distinct umami profile to many dishes, making them a prized find in the wild. Foraging allows you to explore forests, meadows, and fields while gaining a deeper appreciation for fungi and their role in the ecosystem. However, because of the risks associated with misidentification, it’s important to approach mushroom hunting with care and knowledge. Safety First: Key Precautions Safety is the number one priority when foraging for wild mushrooms. The following precautions should always be taken to avoid dangerous or toxic mushrooms: Tips for Beginners If you’re new to mushroom foraging, here are some tips to help you get started safely and successfully: Common Edible Wild Mushrooms Here’s a list of some commonly foraged mushrooms that are both edible and flavorful: Poisonous Mushrooms to Avoid It’s equally important to know which mushrooms to steer clear of while foraging: Cooking with Wild Mushrooms Once you’ve successfully foraged safe, edible mushrooms, it’s time to enjoy their unique flavors in the kitchen. Mushrooms can be prepared in a variety of ways, from sautéing to roasting or adding them to soups, risottos, and pasta dishes. Here are a few tips for cooking wild mushrooms: Foraging for wild mushrooms can be an exciting and rewarding hobby, offering both a connection to nature and access to delicious, organic ingredients. However, it’s essential to prioritize safety and proper identification to avoid consuming toxic species. By following these tips and learning more about mushroom varieties and their habitats, you can enjoy the world of wild mushroom foraging with confidence.