Childproofing Your Kitchen: A Comprehensive Guide
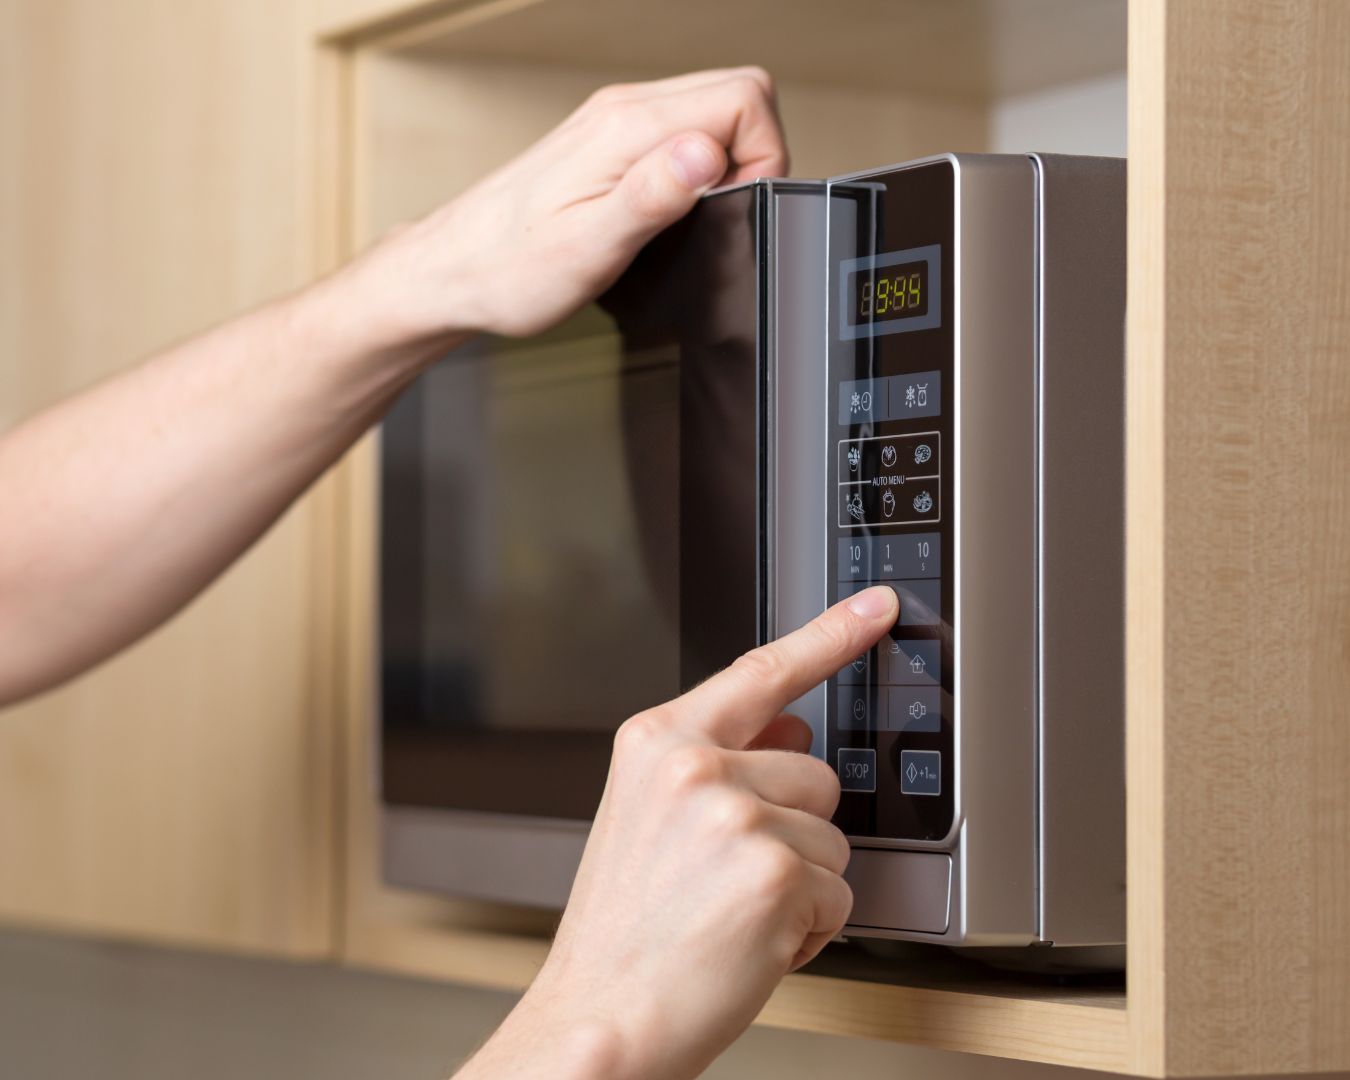
The kitchen is one of the busiest rooms in the house, filled with potential hazards for young children. Ensuring your kitchen is safe requires careful planning and ongoing vigilance. This comprehensive guide provides essential tips to help you childproof your kitchen effectively. Securing Cabinets and Drawers Cabinets and drawers often contain sharp objects, cleaning supplies, and other dangerous items. Here’s how to secure them: 1. Cabinet Locks Install childproof locks on all lower cabinets and drawers. Magnetic locks are effective and can be installed on the inside, keeping them hidden from view while still providing security. 2. Drawer Stoppers Use drawer stoppers to prevent drawers from being pulled out entirely. This helps avoid injuries and keeps dangerous items out of reach. 3. High Storage Store hazardous materials, such as cleaning supplies, knives, and small appliances, in high cabinets that are out of reach of children. Even with locks, it’s best to keep these items completely inaccessible. Covering Electrical Outlets and Cords Electrical outlets and cords can be particularly dangerous in the kitchen. Here’s how to make them safer: 1. Outlet Covers Use plastic outlet covers to prevent children from inserting objects into the sockets. Choose covers that are difficult for small hands to remove. 2. Sliding Plate Covers Consider installing sliding plate covers, which automatically close when the outlet is not in use. These are more secure and convenient than traditional plug covers. 3. Hide Cords Keep electrical cords out of reach by using cord organizers or hiding them behind appliances and furniture. This prevents children from pulling on them and potentially causing appliances to fall. Installing Safety Gates Safety gates can keep children out of the kitchen when you’re not able to supervise them directly. 1. Gate Placement Install gates at the entrance to the kitchen to block access. This is especially useful during meal preparation when there are many potential hazards. 2. Hardware-Mounted Gates Choose hardware-mounted gates for a more secure and stable installation. These are less likely to be knocked over or moved by children. 3. Flexible Options Consider using gates that can be easily moved and adjusted as needed. This allows for flexibility in creating safe spaces within your home. Keeping Appliances Safe Kitchen appliances can pose serious risks to children. Here’s how to manage them: 1. Stove Safety 2. Oven Locks Install an oven lock to prevent children from opening the oven door. This reduces the risk of burns and other injuries. 3. Microwave Safety Place the microwave out of reach, either on a high shelf or built into the cabinetry. Ensure that hot food and liquids are not easily accessible. Choosing Safe and Age-Appropriate Items Toys and utensils in the kitchen can be both entertaining and dangerous. Here’s how to manage them: 1. Age-Appropriate Utensils Provide your children with safe, age-appropriate utensils if they like to help in the kitchen. Silicone and plastic utensils are good options for young children. 2. Avoid Small Parts Avoid toys and utensils with small parts that could be a choking hazard. Ensure that any kitchen-related toys are large enough to be safe. 3. Non-Toxic Materials Choose non-toxic materials for any items your children may handle or put in their mouths. Look for BPA-free, lead-free, and phthalate-free labels. Additional Childproofing Tips for the Kitchen 1. Anchor Furniture Secure heavy furniture and appliances, such as refrigerators and freestanding shelves, to the wall to prevent tipping. 2. Lock the Trash Can Use a childproof lock on the trash can to prevent children from accessing potentially dangerous items. 3. Corner Protectors Use corner protectors on countertops and tables to prevent injuries from falls or bumps. 4. Sharp Object Storage Store knives and other sharp objects in a locked drawer or a high, out-of-reach location. Consider using a magnetic knife strip mounted high on the wall. 5. Secure Dishwasher Install a lock on the dishwasher to prevent children from opening it and accessing sharp utensils or cleaning chemicals. 6. Avoid Tablecloths Avoid using tablecloths that can be easily pulled off, potentially causing heavy or hot items to fall. 7. Keep Floors Clean Regularly clean the floors to remove any small objects or spills that could cause slips or choking hazards. Childproofing your kitchen is an essential step in creating a safe environment for your children. By following these comprehensive tips, you can minimize the risks and allow your little ones to explore and learn safely. Always stay vigilant and regularly reassess your kitchen for potential hazards to ensure your child’s safety.