Month: April 2020

Simple Solutions for Small Appliances

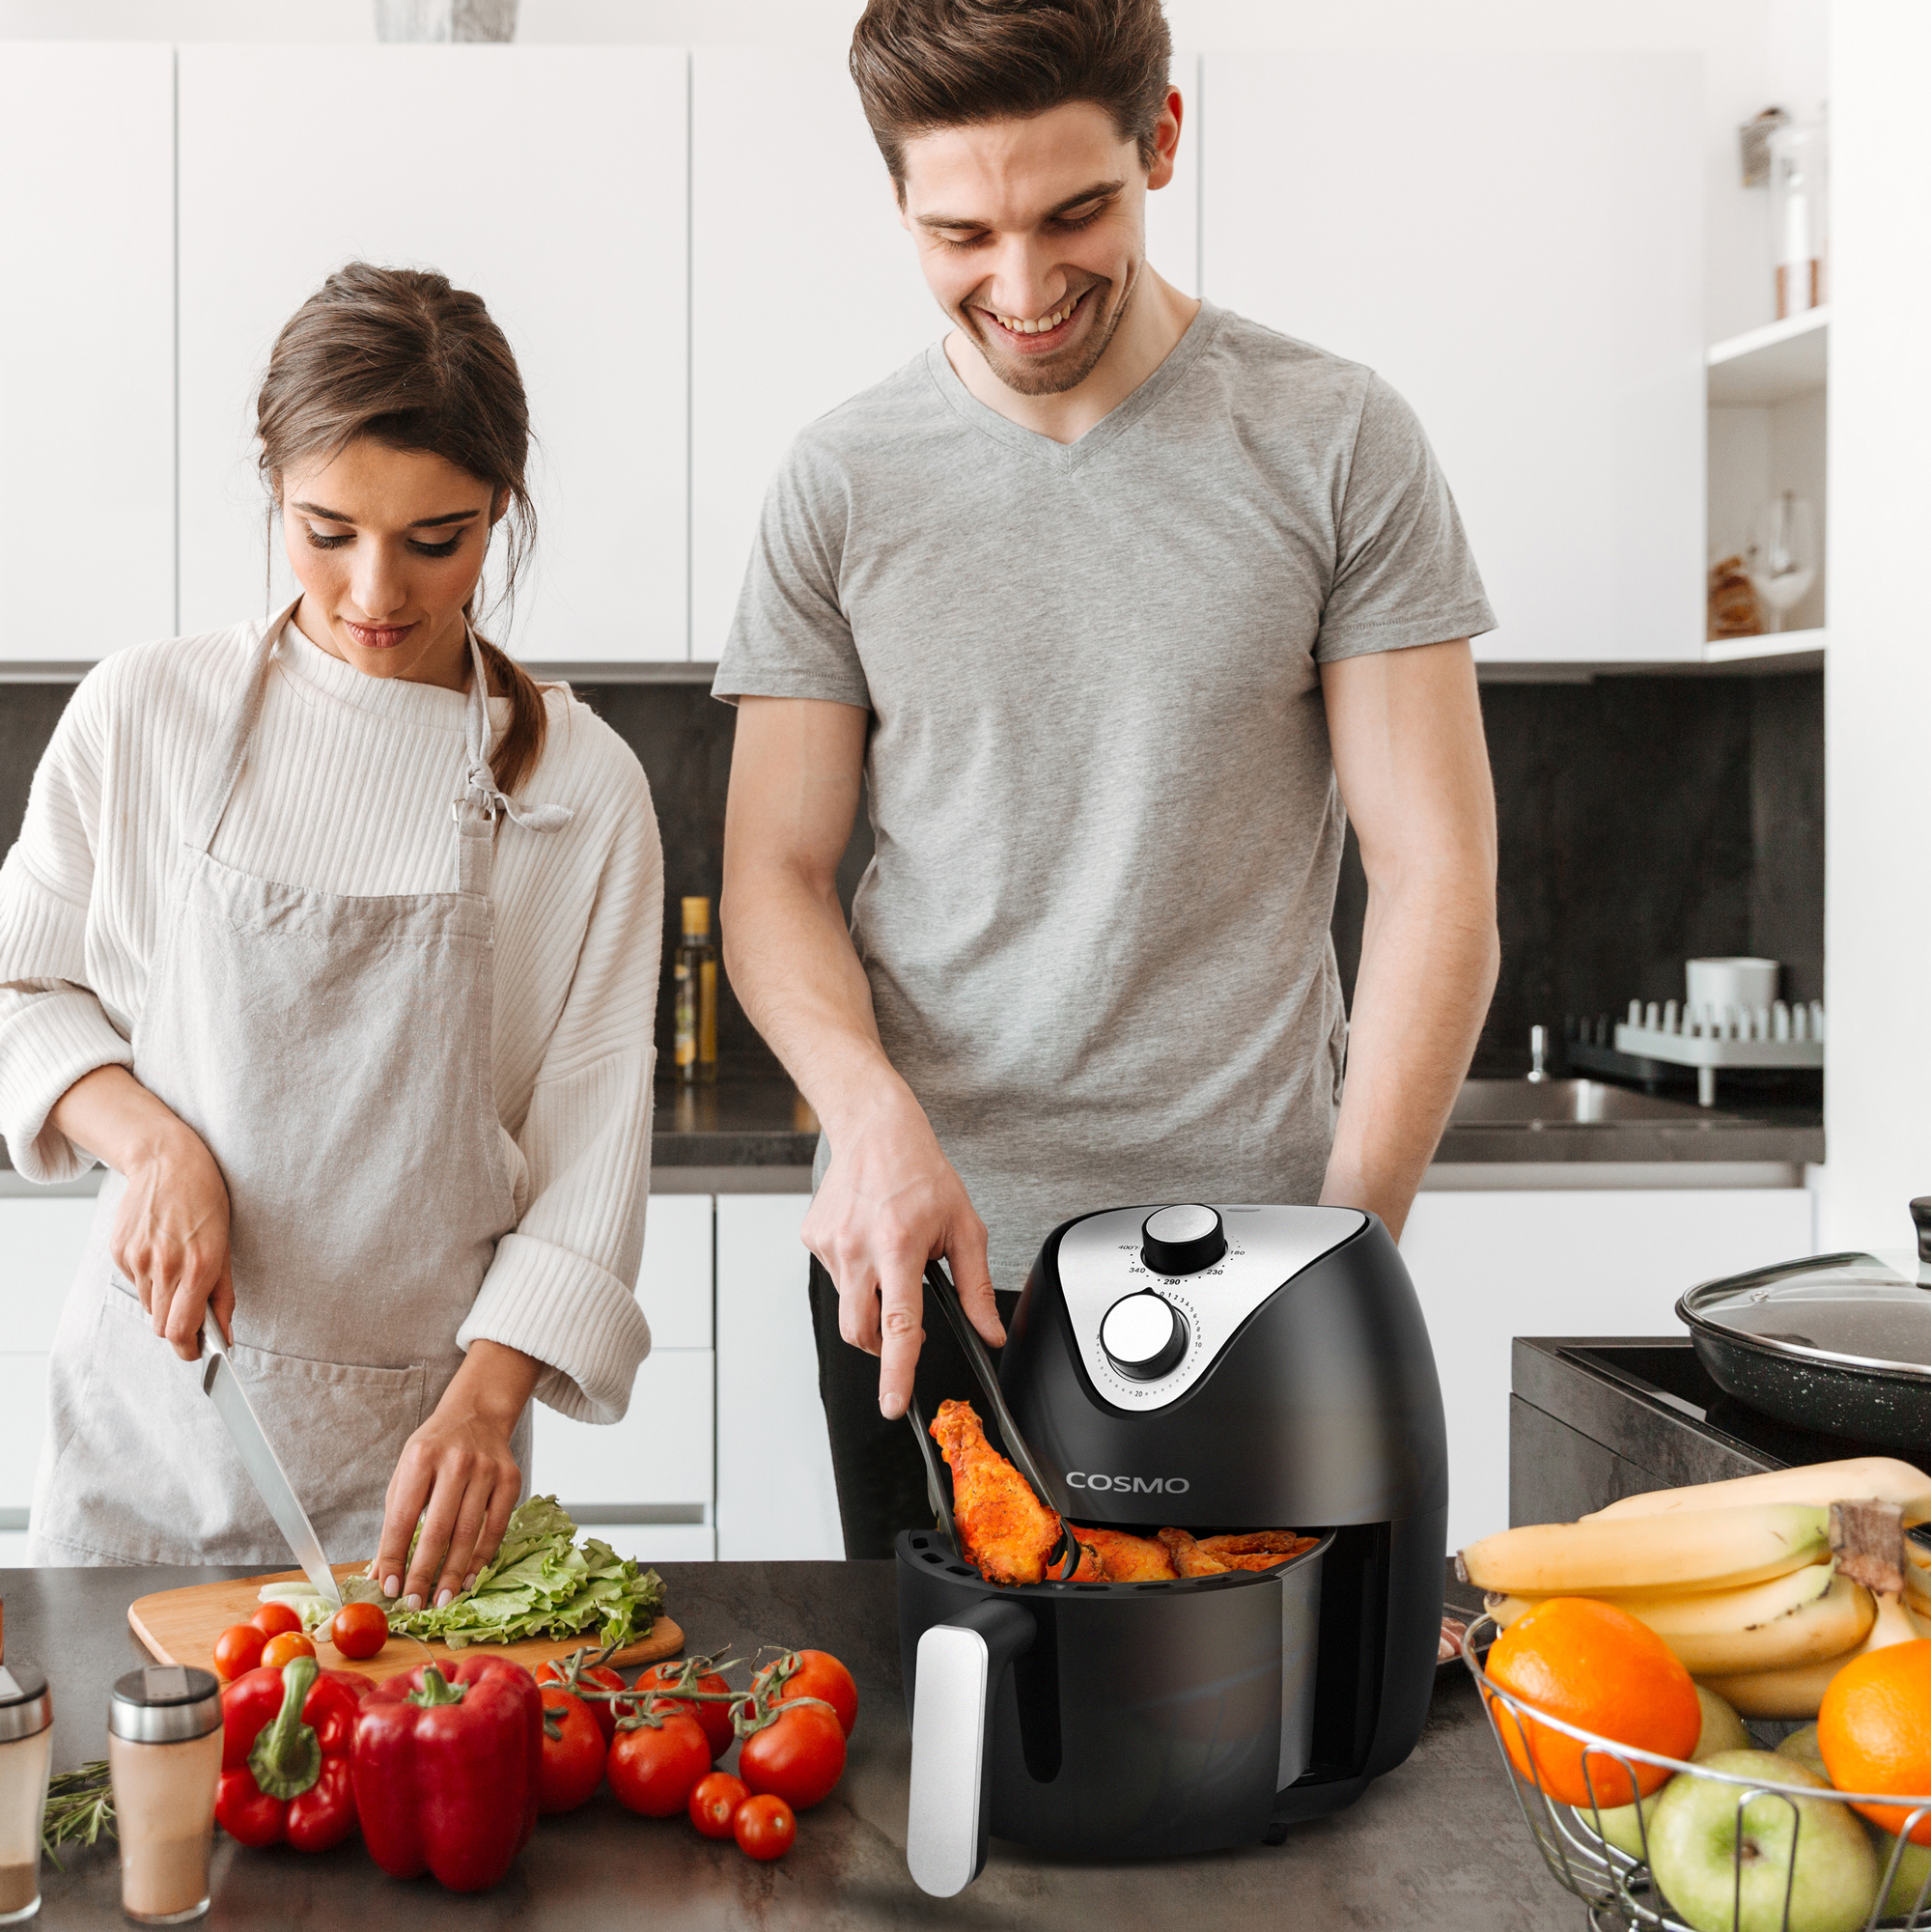
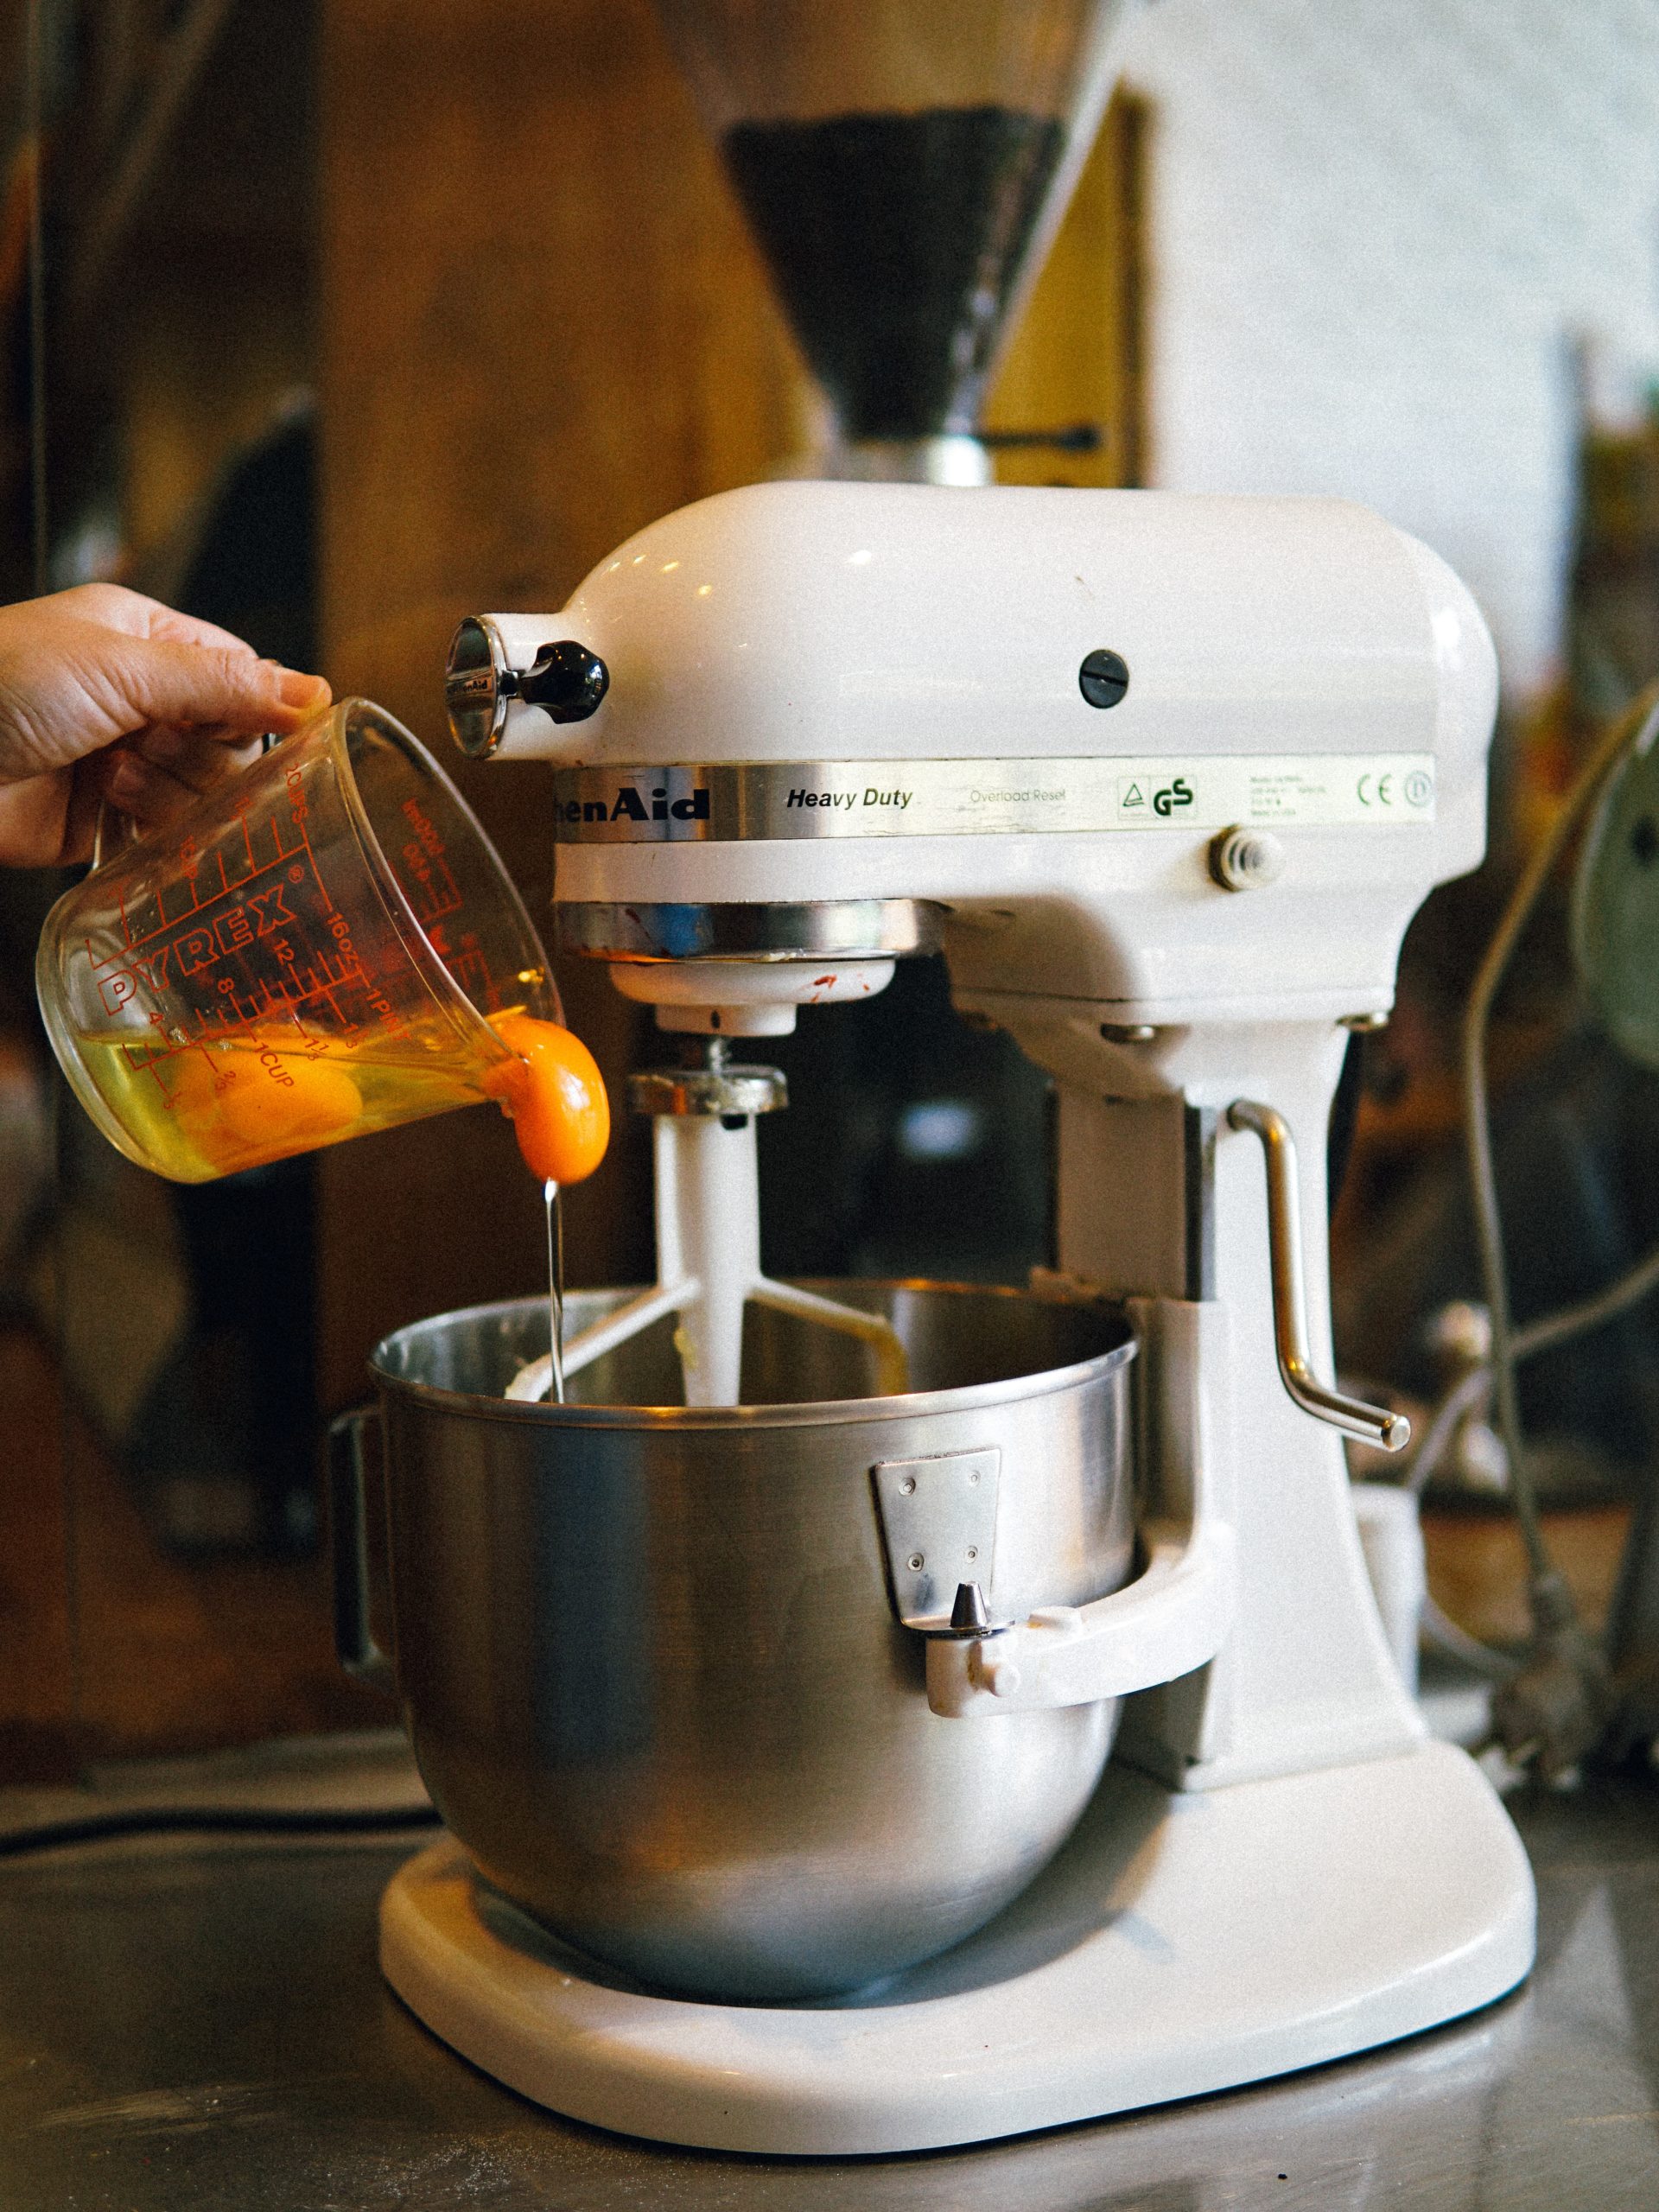
Your family depends on the appliances in your kitchen. You have a few small appliances in your home that you want to keep in good working order. Here’s a quick list of small kitchen solutions for small kitchen appliances to make cooking and cleaning more convenient. Microwave Presets to Save Energy   Did you know that using the pre-set cooking times on the touchpad can help your microwave work more efficiently and save energy? It can also help you avoid cooking accidents. Use the pre-set times when thawing foods, too. Order Matters in the Blender One of the most important tips to keep in mind with any blender is the order of the ingredients you’re adding. Go from lightest to heaviest. That mean you should ALWAYS start with liquid and make sure it covers the blades. Cover Up the Stand Mixer  To prevent unwanted dust from getting into your Stand Mixer and into your food, keep it covered by attaching a shower cap around it. Know your Slow Cooker’s Limits The high setting is for when you just want to heat things up,  If you want vegetables to stay whole, don’t put them in the slow cooker on high for 12 hours unless they’re hard-shelled, like squashes. Delicate vegetables like zucchini or peppers will melt into nothing. When you’re slow cooking vegetables, put the slow cooker on a delayed start for about three to four hours and keep it set to low.  Clean your Coffee Pot The coffee pot, itself, should be cleaned regularly. Cleaning it every two weeks will keep old coffee and grounds that are stuck in the pot from imparting your brews with unwanted flavors.  Wipe the Outside Of the Rice Cooker’s Pot A common mistake some people have is placing the pot of uncooked rice into the cooker with the outside of the pot being wet. Not only could it damage the rice cooker’s heating elements, it also affects the cooking temperature of the rice. So give it a quick wipe on the outside first before you put the rice in.

Let Kids Get Hands-On with Healthy Treats

Snacks are a way of life for people of all ages, but especially children, who consume about 25% of their daily calories from snacks, according to research published in the “Journal of Nutrition Education and Behavior.” Providing nutritionally balanced snacks for your children at home can make for a happy and healthy day. Planning snacks that are as delicious as they are healthy is a winning solution, and snacks are a simple way to add more nutrition to your child’s diet. Red, White and Blue Greek Yogurt Bark Prep time: 5 minutesServings: 12 3 cups plain non-fat Greek yogurt 1/3 cup honey, plus additional for drizzling (optional) 1 teaspoon vanilla 1/2 cup strawberries, sliced into rounds 1/2 cup blueberries 1/2 cup raspberries, halved In medium mixing bowl combine Greek yogurt, 1/3 cup honey and vanilla. On parchment paper-lined baking sheet, spread Greek yogurt mixture to 1/4-inch thickness. Press strawberries, blueberries and raspberries into yogurt. Freeze at least 3 hours. Break into pieces upon removing from freezer. Peanut Butter Yogurt Dip Prep time: 5 minutesServings: 4 3/4 cup vanilla Greek yogurt 1/4 cup peanut butter 1 dash cinnamon apples, graham crackers or other dipper of choice In bowl, six Greek yogurt, peanut butter and cinnamon until smooth. Serve with apples, graham crackers or another dipper of choice. Good Morning Yogurt Parfait Prep time: 5 minutesServings: 1 1/2 cup sliced or diced fruit, any variety 6 ounces low-fat or fat-free vanilla yogurt 1/4 cup granola or other cereal (optional) In small bowl or cup, layer fruit and yogurt, starting with fruit on bottom. Top with cereal or granola, if desired. Note: This recipe can be made using low-fat or non-fat cottage cheese sweetened with honey and cinnamon. Frozen Banana Pops Prep time: 2 hoursServings: 8 4 large bananas, peeled 8 wooden ice pop sticks 2 cups vanilla non-fat Greek yogurt 1/2 cup creamy natural peanut butter Cut each banana in half and carefully insert wooden ice pop stick in bottom of each, about one-third into banana. Place bananas on large baking sheet lined with parchment paper. Freeze bananas until partially frozen, about 30 minutes. Carefully dip each banana in tall pint glass of vanilla yogurt to coat, leaving 1/2-inch at bottom of banana uncoated. Return yogurt-coated bananas to parchment paper-lined baking sheet and freeze until completely firm, about 1 hour. Microwave peanut butter until smooth and creamy, about 30-45 seconds. Drizzle peanut butter evenly over bananas then place on baking sheet to freeze until peanut butter is firm, about 30 minutes. Serve immediately or wrap each banana in plastic wrap and store in freezer up to 3 months.

How to Chill Wine Quickly

One of the biggest factors that affects way you experience wine is serving temperature; which has an impact on the wine’s flavor, structure, and aroma. That being said, what do you do when company is on the way and you’re in need of some perfectly chilled wine now. Resist the urge to add ice cubes to your glass; this dilutes the wine.  So we decided to take a look at the proper serving temperature, because getting your wines temperature just right is one of the most important factors for enjoying wine.  Submerge the Wine Bottle in Ice Water And Salt This is the method preferred by sommeliers. Make an ice bath for your bottle, you should use a 50/50 ratio of ice and water.  There is a one special ingredient that you need –Salt! It will further drop the freezing temperature of water, which will chill your wine faster! Make sure the bottle is completely submerged, to ensure the contents of the entire bottle evenly chill. Drop Frozen Grapes into Your Wine Glass More than just a delicious healthy snack frozen grapes are also a great way to chill wine. Drop your frozen grapes into your glass—they’ll function just like ice cubes, except you won’t end up with watered-down wine. Use Wine Pearls in Your Wine Glass Unlike ice cubes which dilute your wine, Wine Pearls are hand-polished stainless steel “pearls” that have a freezing gel inside, which works to quickly cool your glass of wine, without affecting the taste in the process. Wine Pearls will keep your wine cold for up to an hour. Use your Freezer If you choose to use the freezer, be very careful (don’t want the bottle to explode). The right way to do it is to wrap the bottle in a wet tea towel before you put it in. The damp towel will freeze quickly, and thanks to the frozen towel, the wine will chill in half the time it usually would (Note: The tea towel might be stuck to the bottle when you remove it from the freezer—to fix this, simply run it under warm water and the towel will slide off.) Chill Your Wine by the Serving  Since glass bottles can be thick and insulated, the wine will chill faster once it’s out of the bottle. Keep a bag of frozen grapes in the fridge, you can just use them as needed. It is a great way to chill wine, since it will cool down the wine without watering it down too. Right now, you need to chill your wine quickly but if you want to avoid this problem in the future there is a solution that will make sure your wine is always at optimal temperature. Consider buying a wine cooler by Cosmo, designed for chilling wine and other beverages by eliminating harmful light, fluctuating temperatures, humidity, and vibration. Read about it here LEARN MORE HERE For more great recipes, tips and appliance news, follow us on Facebook or Instagram.

Cosmo’s Wine Cooler- Designed to Preserve and Protect Wine

What is a wine cooler? Wine coolers are fast becoming “the” must have appliance for wine lovers and enthusiast. Designed for chilling wine and other beverages, a wine cooler is made to eliminate harmful light, fluctuating temperatures, humidity, and vibration. If you drink a lot of wine and don’t have a proper basement for long-term storage, then a wine cooler is great for everyday use, and it creates the most ideal conditions for wine storage than refrigerators that create an environment that is too cold for a wine bottle. For those wine enthusiasts that insist on professional grade wine refrigeration, for at home use Cosmo has combined advanced technology and our signature sleek appearance for you to enjoy quick access to cold drinks and your favorite wine. Our 24 inch wine cooler delivers exactly the right temperature, with a single zone temperature that can be set at an ideal temperature to allow your wine to mature properly. Cosmo’s COS-24BIWCS wine cooler offers impressive features to preserve and protect your prized bottles.   Capacity For those that want plenty of space for their collection, the 146L (48 bottles) Cosmo model is sufficiently on the larger side of wine cooler sizes. This wine cooler will give you space to grow into, and you can remove some shelves to accommodate larger bottles. Adjustable Temperature You have the power to maintain the flavor of your favorite wine with a temperature range between 5C- 20C/ 41F 68F and a fan cooling system. When you’re using a single zone wine cooler for your various red and white wines, we recommend a cellar temperature of approx. 58 degrees Fahrenheit. Digital display and LED lighting The Cosmo Wine Cooler has an LCD display and digital touchpad, so you can set the temperature to your liking. The wine cooler is lit with blue LED lighting that illuminates the interior for an elegant presentation of your wine collection. Removable racks We designed the wine cooler with 6 shelves made of natural beech wood that is strong enough to hold the bottles.  These shelves have telescopic sliding rails and notches on the sides of the shelves to keep the bottles from falling. Glass door Fine Wine requires precision and need more than a refrigerator. Our Wine Cooler features a seamless stainless steel Insulated 3-layer glass door frame for an elegant look and heat-safe storage. Premium-Grade Stainless Steel Exterior The perfect balance of luxury design and a classic trim for a refined look to enhance the aesthetic of any room décor. With reversible doors and flexible installation options, you have the best use of space by either installing the unit under the counter with its built-In or free standing Installation that also allows you to place it anywhere. The important thing to keep in mind is the Cosmo wine cooler is the complete package and provides the ultimate environment for your wine/drink collection, so you know you will have perfectly chilled and flavored wine anytime you want some. Previous Next PROS Premium-Grade Stainless Steel Exterior Built-In / Free Standing Installation allows you to place it anywhere LED lighting illuminates the interior for elegant presentation of your collection Stores up to 48 bottles of your favorite selection of wines at the right serving temperature Insulated 3-layer glass door for an elegant look and heat-safe storage Advanced fan cooling system Technology Digital Touchpad Control enables easy control 6 Beachwood shelves with telescopic rails for convenient access to bottles Internal Temperature Range: 5°C- 20°C/ 41°F 68°F Door Lock for security I WANT THIS WINE COOLER

Use By, Best By, Sell By: Understanding Food Expiration Dates

When you’ve been going through the deep recesses of your pantry in the past weeks, you might have come across something that had a questionable expiration date. Whether you remember buying that box of oatmeal packets or not, how do you know if it’s safe to eat?  Food manufacturers use three general food expiration date markings, each corresponding to a different guideline. The important thing to remember is that expiration dates are the manufacturer making a guess at when its products won’t be at their peak quality any longer.  Use by:  This is the most direct estimation of a date by which a product should be consumed. Again, this guideline is mainly about quality, not about making you sick, but it’s still a good idea to finish the product as close to the Use-By date as you can. Sell-By:  This label is mainly for retailers. Sell-By dates indicate the last day a product should be stocked on store shelves to ensure consumers have enough of a window to use it once they bring it home. Generally, about 1/3 of a product’s lifespan remains after a Sell-By date. Best-By:  This is a more gentle suggestion for consumers. It simply means by the manufacturer’s estimation, the product will be at peak quality when it’s used by this date. Of course, there are always exceptions and warnings when it comes to food safety, regardless of date. If whatever you’re about to eat doesn’t smell right, or has a damaged or bloated can or lid, has discolored, or is just plain growing things, it’s probably time to toss it. If you’re at all in doubt, it’s probably safer not to eat it.  We hope these tips help you maintain your pantry and refrigerator food stores more easily. For more kitchen advice, inspiration and recipes, like the Cosmo Appliances Facebook page or follow us on Instagram! For more great recipes, tips and appliance news, follow us on Facebook or Instagram.

The Magic of Cooking with A Portable Induction Cooktop

Curious about induction cooking? There’s a lot to love about induction cooking and cooking with a portable cooktop has some real advantages. These fancy, futuristic looking and almost magical appliances offer sleek designs, with a smooth glass surface. Loved by chefs and food stylist, the portable induction cooktop is changing the cooking game- with its many time-and money-saving benefits. Portable induction cooktops are an excellent option for cooks looking to add extra cooking surfaces, when there are extra mouths to feed during the holidays, parties and when catering for other large gatherings.  If you have a small kitchen and need to maximize your space, you can easily tuck it away in a cabinet when you’re not using it making it the perfect space saving appliance for dorms, boats, patios, and RVs.  Unlike stovetops that rely on a gas burning flame to provide heat, an induction burner contains an electric coil that produces a magnetic field when turned on to directly and quickly heat the pan. The induction burner will only heat induction compatible cookware.  Induction cooktops use about 10 percent less energy because only the metal of the pan will heat up so all the energy goes directly into the cookware. Therefore, induction cooking is more energy efficient than cooking with a standard gas or electric cooktop.  Unlike stovetops that rely on a gas burning flame to provide heat, an induction burner contains an electric coil that produces a magnetic field when turned on to directly and quickly heat the pan. The induction burner will only heat induction compatible cookware.  Induction cooktops use about 10 percent less energy because only the metal of the pan will heat up so all the energy goes directly into the cookware. Therefore, induction cooking is more energy efficient than cooking with a standard gas or electric cooktop.  Another reason for its efficiency is the induction burners’ ability to reach precise temperature quickly. The heat created is instantaneous. It heats a pan to temperature in under a minute, and will boil water right before your eyes!  Induction cooktop burners offers a rapid response to cooking that offers almost 30% quicker heating time. Not only is it powerful, its scientifically precise temperature control means everything cooks perfectly. We are fans of the portable induction cooktop when safety is concerned- especially with kids and pets in the home.  The lack of an open flame and the fact the burner almost immediately cools down ensures its safety factor. Induction cooking is inherently safer than other methods because the burners don’t get hot, only the pan does. Plus, induction cooktops have several safety features like child-safety lock, pan detection and auto-shut off increasing their safety. Another great perk of the portable induction cooktop is its sleek surface that is easy to clean.  Because it generates little heat, there’s less cooking splatters and food doesn’t bake into the surface. Plus, with zero nooks to scrub, cleaning is simply a breeze.  Last but not least, its incredible function is matched by its aesthetic. The induction cooktop is an attractive addition to any kitchen.   While this form of cooking is more popular in Europe, its popularity is growing in the U.S. and justifiably so. Induction cooking is faster, safer, cleaner and more efficient. Considering adding a portable induction cooktop to your kitchen? Click here for more information and product features. 

Four Worthwhile Kitchen Gadgets in 2020

With all the focus on Marie Kondo, it can be tempting to cut down on the number of non-essential items in your kitchen. While we agree that your spaces should spark joy, we’ve also got a few opinions on four kitchen gadgets that are worth the space you’ll spend to keep them.  Air Fryer From crisping frozen french fries to roasting a chicken, the air fryer is a trendy, but versatile addition to any kitchen. Choose one with the capacity to suit your needs, and enjoy delicious, crisply fried foods without the grease.  Food Processor The humble food processor is an amazing utility tool- from mincing mirepoix to blending a can of tomatoes down to an easy pizza sauce, having a food processor in your kitchen can really improve your life.  Did you know that a food processor isn’t just for vegetables? You can combine butter or lard with flour for a quick and easy pie crust, with very little mess. Kitchen Scale No, it’s not just for watching your waistline. The kitchen scale can also be used to help make more complex recipes with precision, and is a must for the home baker or pastry chef. Mandoline Slicer While it can seem a little scary at first, a good mandolin makes slicing, dicing and grating vegetables easy and quick, all while ensuring uniform cuts and slices, for pretty plating and presentation. For more great recipes, tips and appliance news, follow us on Facebook or Instagram.

Mistakes You Might Be Making with Your Air Fryer

Have you been using your Air fryer a lot more lately? Then you know it’s an easy and more convenient way to get delicious meals on the table quickly.  Cooking with this miracle kitchen gadget is a game-changing experience. The possibilities are endless when you cook with an Air fryer – so to make the most of this amazingly versatile kitchen tool, we’ve put a list of common mistakes people make with their Airfryer.  Mistake # 1 Not Preheating the Air Fryer  Like your oven the air fryer needs to be hot in order to properly cook the food.  Placing food in the air fryer while it’s still cold might not yield the best results for your recipes. Even if the recipe doesn’t mention it, we recommend to turn the air fryer on 5-10 minutes before you add your food. It heats up pretty fast so it won’t take long for it to reach the perfect temperature.  Mistake # 2 Too Much Food in the Basket  It can be tempting to over crowd the basket since most air fryers are small but don’t. Your air fryer needs space for air to flow around it. There’s enough room to comfortably fit two- four servings of food depending on the size of the machine. Rather cook in smaller batches for faster, better results.  Mistake # 3 Not Using the Right Amount of Oil  The name air fryer might be misleading because you do actually need more than just air to cook in the air fryer. You don’t want too much or too little oil though. Using just enough oil will help your food crisp up.   1-2 teaspoons of oil is all you need for most items. Even if you’re avoiding added fats in your diet, you can spritz the food with some non-stick cooking spray to coat your food ( but don’t spray the basket directly). Check recipe instructions for more exact measurements.  Mistake # 4 Cutting vegetables too small Beware of small pieces of food falling through the basket holes and then burning. To avoid this from happening it’s best to cut ¼ inches wide to ensure they remain in the basket. Mistake # 5 Using wet batters A lot of deep-friend foods we love have a moist batter that don’t work well in the air fryer because there isn’t enough hot oil to set the batter like  in a vat of hot oil. To avoid a sloppy mess when wet batter sinks through the basket holes adapt your recipes or use recipes that require a thick coating instead. Mistake # 6 You don’t clean it often A number of problems can arise from not cleaning your air fryer after each use.  You’re risking food contamination, crumbs left behind or leftover oil residue can burn and cause smoke, posing a fire hazard.   Be diligent about hand washing the air fryer basket, bottom tray and drawer with warm soapy water after every use. Mistake # 7 You don’t flip your food You can’t set it and forget it- the air fryer does require some attending.  To make sure your food cooks to your desired perfection make sure to check on it. Flip your proteins halfway through while they’re still cooking to ensure the dish is evenly cooked. You will also want to move your veggies around periodically when cooking them in the air fryer.

How To Clean Stainless Steel Appliances the Natural Way

Instructions Check the manual: Before you clean a stainless steel appliance, it’s a good idea to check the manufacturer’s recommendations.  Gather your supplies: Cleaning is easier when you have all of your supplies together and ready to go. Determine the direction the grain: Like wood, Stainless steel also has a grain. Look closely. It will either be running horizontally or vertically. To clean your stainless steel, rub in the direction of that grain. To get your stainless steel appliances and fixtures sparkling clean here are some great DIY stainless steel cleaner recipes you can make at home.  Try vinegar: Wet a soft cloth (microfiber works best) with a diluted solution of 2 parts water to 1 part of vinegar. Wipe the entire surface from top to bottom, in a clockwise motion.  Follow with a dry cloth to wipe the area until completely dry. Polish with Olive Oil: To prevent smudges and fingerprints use olive oil. Apply a few drops of olive oil on a soft microfiber cloth. Wipe your stainless steel appliances in the direction of the grain.  A Baking Soda Scrub: Stainless steel pots and pans or countertops typically need a bit more attention. Make a soft paste out of baking soda and water and apply to the stain, allowing it to sit for about 20 minutes. Then, scrub the area with a cloth dampened in a solution of water and dish soap. It’s important to use a soft cloth and work parallel with the grain to avoid scratches. Be sure to fully rinse and dry. Add Shine with Coconut Oil: A small amount of coconut oil will give your stainless steel a nice shine. Use a soft cloth to buff. The Steam Clean: To sterilize stainless steel, you can also use a steam cleaner with a nozzle attachment. The steam will disinfect the surface, which can then be wiped dry with a soft cloth. Stainless steel can scratch easily so avoid using a brush attachment or any stiff cleaning tools.  For more recipes, ideas and inspiration follow our Facebook page For product information visit our website

Cook Once, Enjoy it Twice Mexican Beef Recipes

With so many Americans preparing meals at home, the practice of cooking once and eating twice can extend your grocery budget while also making meal planning less stressful and more comforting. Cook a base dish that can be enjoyed today and used for an entirely different meal tomorrow. It’s a kitchen practice as simple as it sounds. For example, bake some fish for tonight’s dinner, and   fish tacos for tomorrow’s lunch. Cooking meals that feed the entire family is essential and even better if they give you a jump on a second meal. Whether your love for cooking runs deep or is being newly discovered, keep the following in mind when planning to cook once and eat twice: Stock up on staples. Before heading out to the store, develop a list of ingredients that can be used for multiple dishes. Canned goods, such as black beans and corn, are great items to store in the pantry and have on hand for a variety of favorite family recipes. Other basics like corn tortillas can be used in multiple ways, such as tacos, casseroles and even salads. Don’t forget produce. To increase flavor and nutrition, adding produce is key in your planning.  Make meat go further by using the same meat base two days in a row in two different ways in dishes like Mexican Lasagna and Tacos.  Beef Tacos Makes: 8 tacos Ingredients 1 lb. 90% to 93% lean ground beef 1 Tablespoon chili powder 1 teaspoon ground cumin 3/4 teaspoon salt 1/2 teaspoon dried oregano 1/2 teaspoon garlic powder 1/4 teaspoon ground black pepper 1/2 cup tomato sauce 1/4 cup water 12 taco shells – either hard shells or small 6-inch soft flour tortillas will work Optional Taco Toppings: shredded cheese shredded lettuce, chopped tomatoes, diced red onion, taco sauce, sour cream, guacamole, etc. Instructions Add the beef to a large skillet over medium-high heat. Break the meat apart with a wooden spoon. Add the chili powder, cumin, salt, oregano, garlic powder, and pepper to the meat. Stir well. Cook until the meat is cooked through, about 6-8 minutes, stirring occasionally. Reduce the heat to medium. Add the tomato sauce and water. Stir to combine. Cook, stirring occasionally, for 7-8 minutes, until some of the liquid evaporates but the meat mixture is still a little saucy. Remove from the heat. Warm the taco shells according to their package directions. Fill the taco shells with 2 heaping tablespoons of taco meat. Top with desired taco toppings: shredded cheese, shredded lettuce, chopped tomatoes, diced red onion, taco sauce, sour cream, guacamole, etc.   Mexican Lasagna Servings: 6-8 Ingredients 1 pound ground beef  1 package taco seasoning 1 (10 ounce) can of tomatoes with green chilies, undrained 1 (15 ounce) can refried beans 1 (15 ounce) can corn, drained and rinsed 1 (15 ounce) can black  beans, drained and rinsed 2 cups shredded cheddar cheese 1/2 cup sour cream 10-12 corn tortillas Instructions Preheat oven to 350 In a large skillet brown ground beef, drain off any grease. Add the undrained tomatoes with green chilies and package of taco seasoning, stir mixture until seasoning has dissolved. Let mixture simmer until all liquid is gone, about 6 minutes. Then remove from heat and set aside. Meanwhile, drain and rinse the black beans and corn. Set aside. Open refried beans and set aside. Spray a 9×13 casserole dish with cooking spray. Begin your casserole with a base layer of corn tortillas 4-6 depending on the size. Then layer the rest of the ingredients in this order, refried beans, taco meat, corn, black beans, sour cream and cheese. Repeat, until your fillings are gone. Bake 30 minutes, let cool 5 minutes before serving. Top with your favorites like avocados, tomatoes, and cilantro!