Creating Lasting Memories with Family Recipes: A Culinary Journey Through Generations
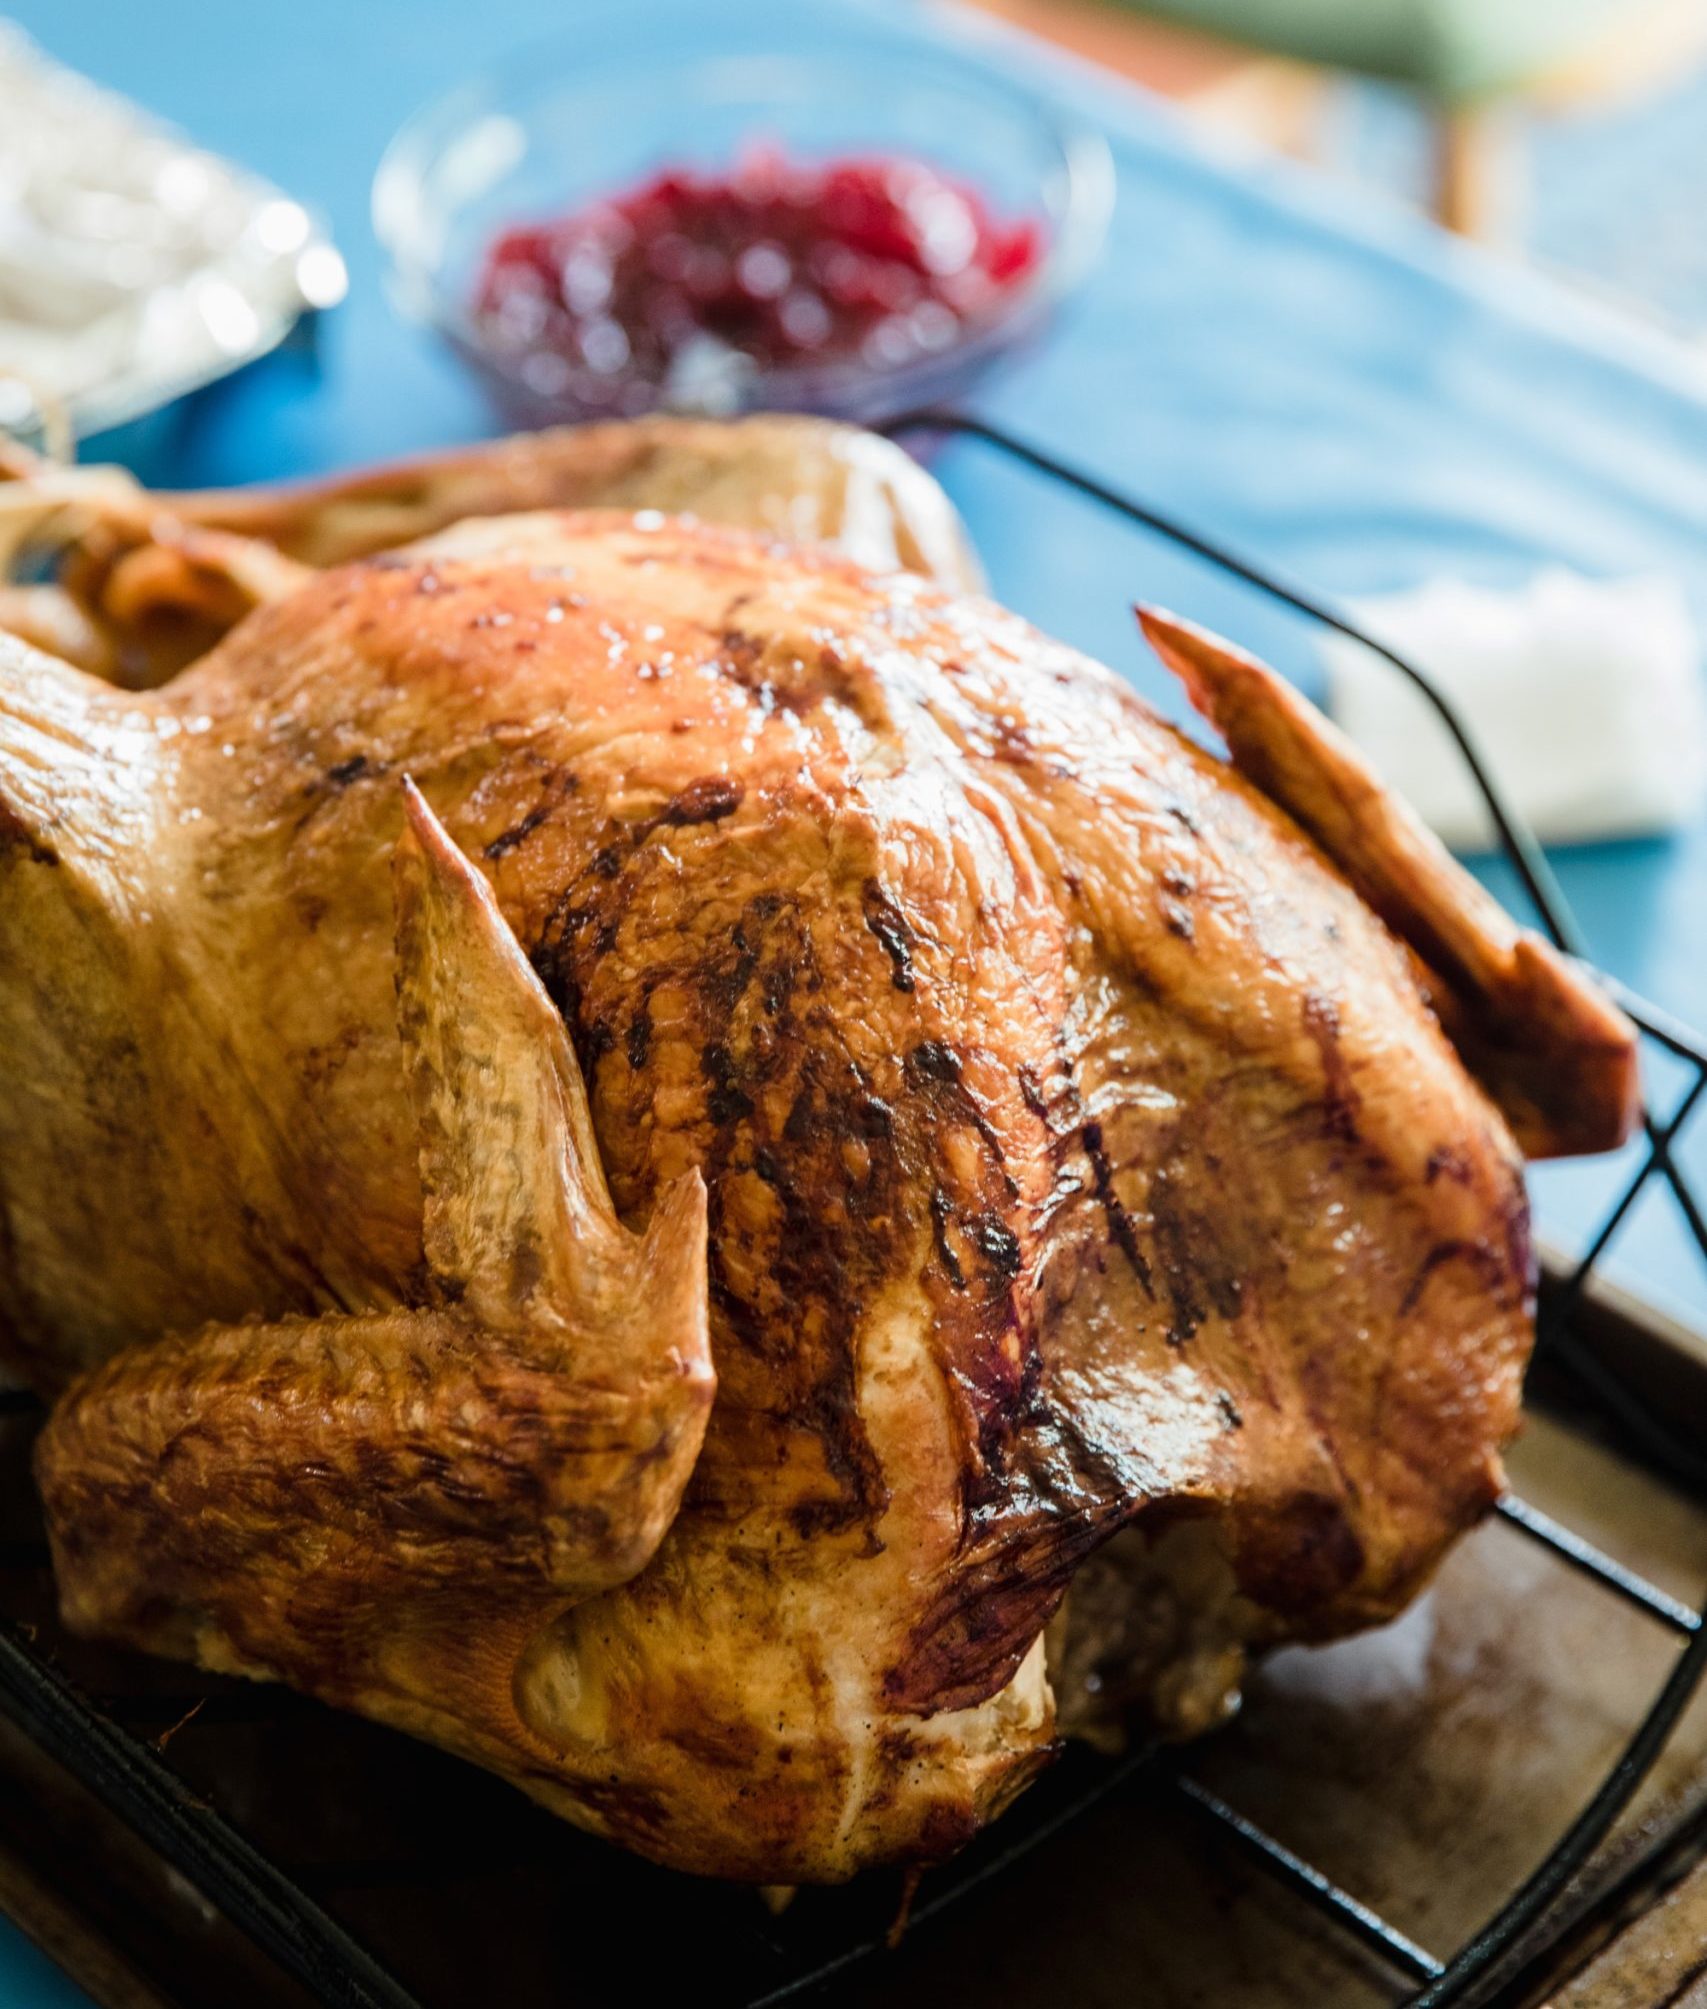
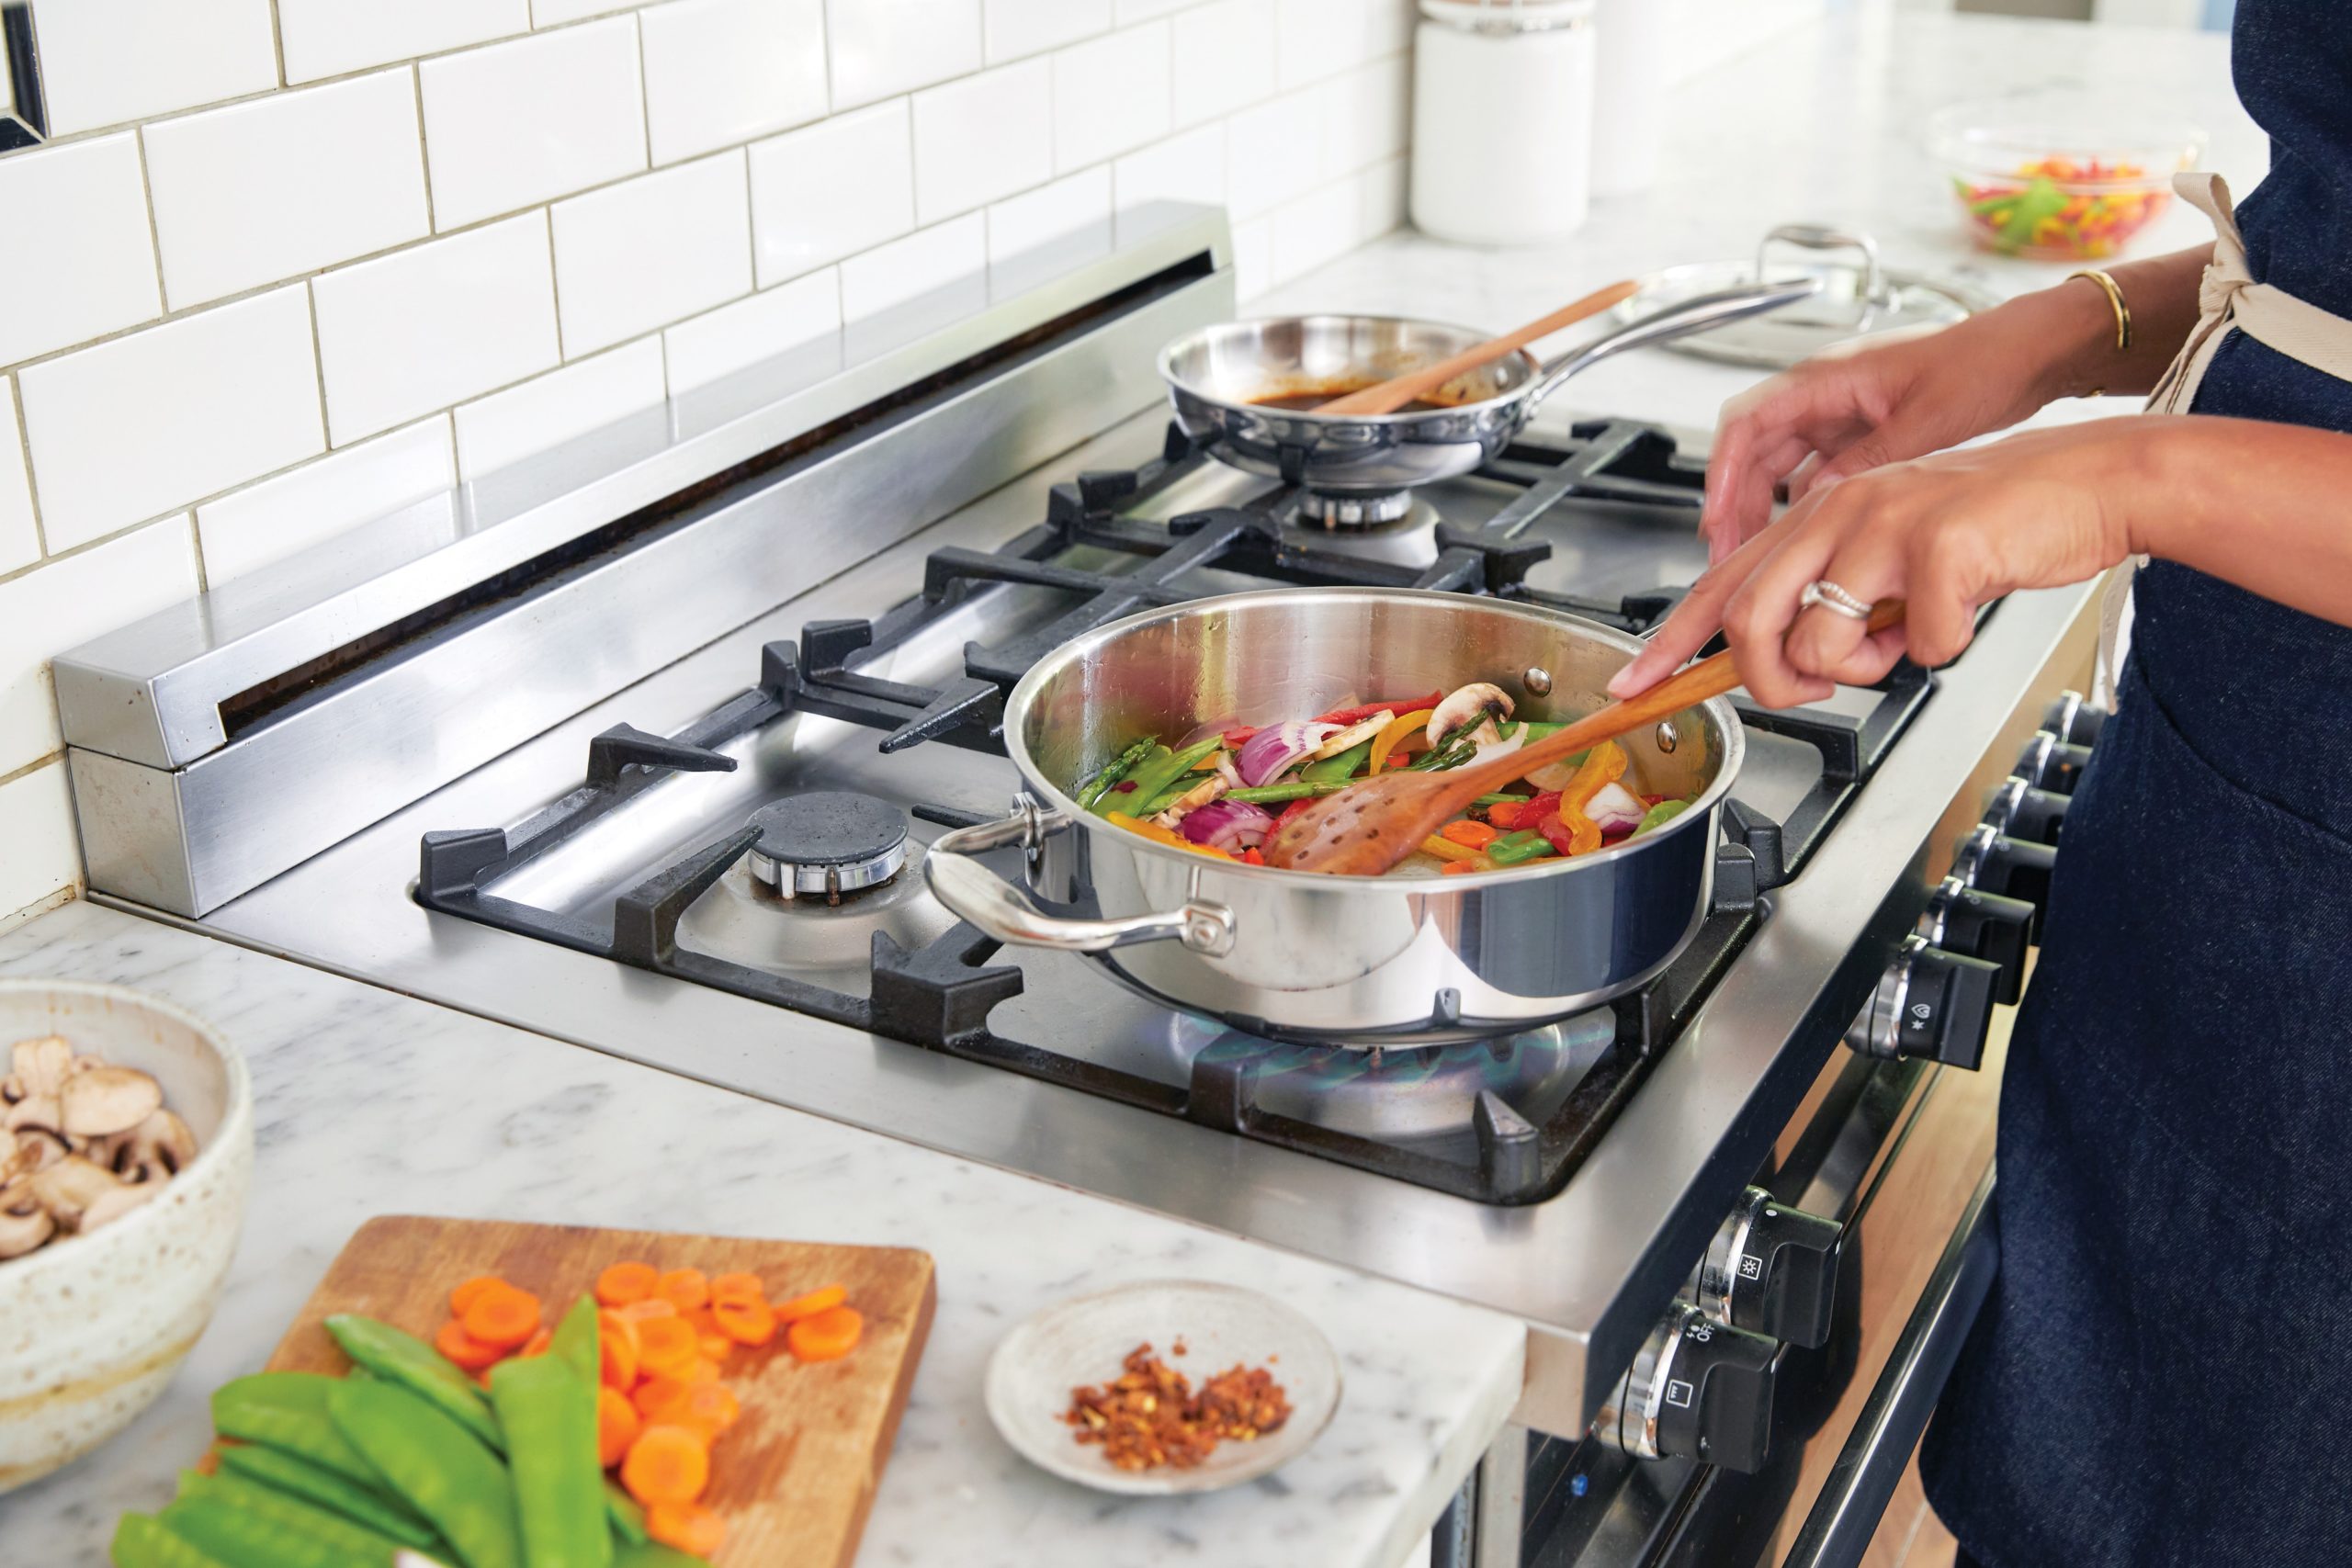
In the heart of every family’s recipe book lies a collection of cherished dishes that transcend mere ingredients and instructions. These recipes are more than just culinary creations; they are a tapestry of memories woven together by generations past and present. From Grandma’s secret pie crust to Dad’s famous spaghetti sauce, family recipes hold the power to evoke nostalgia, preserve traditions, and create lasting bonds that withstand the test of time. Embark on a culinary journey through the generations, exploring the profound impact of family recipes and the memories they inspire. The Power of Tradition Nostalgia on a Plate Passing Down the Torch Cooking as Connection Celebrating Milestones and Traditions In the ever-changing landscape of modern life, family recipes serve as a beacon of tradition, connection, and love. From the humblest of ingredients springs forth a wealth of memories and stories, woven together by the shared experience of cooking and eating together. So, the next time you dust off Grandma’s recipe book or whip up Dad’s famous dish, take a moment to savor the flavors and relish in the memories – for it is in these simple acts of cooking and sharing family recipes that the true essence of family and togetherness is found.